 Save to Pinterest
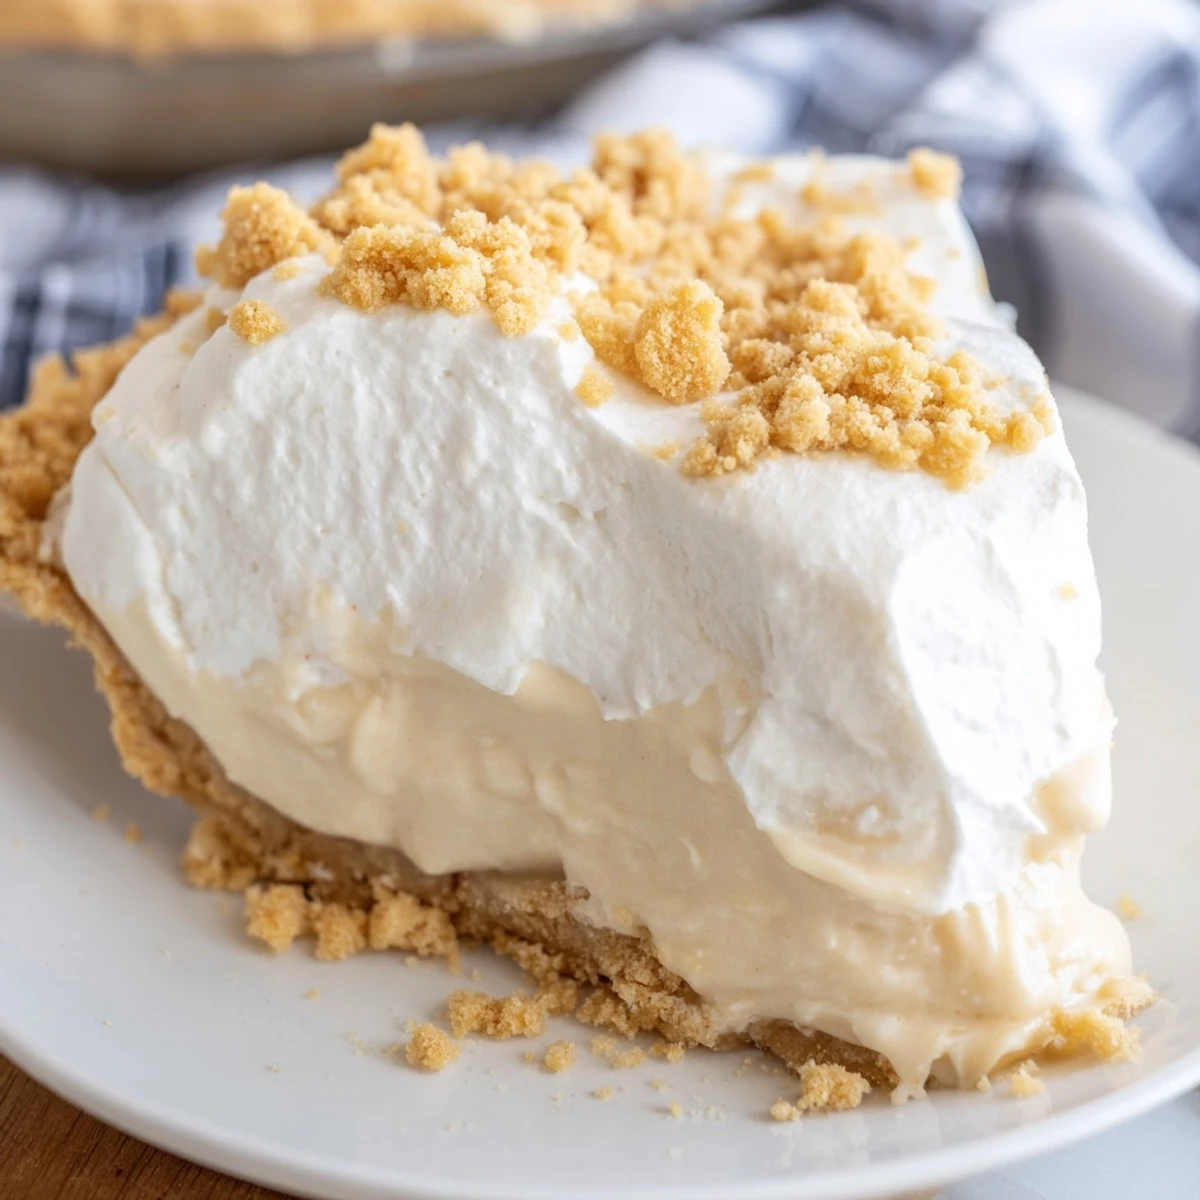
 This classic Amish dessert combines velvety peanut butter filling with a crisp pie shell and luscious whipped cream topping. The rich, creamy center rests on a layer of sweet peanut butter crumbs, while the finished creation is crowned with more crumbly goodness for delightful texture contrast. Perfect for gatherings, this easy-to-make treat requires just 25 minutes of active preparation before chilling to set.
The first time I encountered this pie at an Amish bake sale, I couldn't believe something so simple could taste so extraordinary. The woman behind the table just smiled and said it was her mother's recipe, the kind that travels through generations without ever being written down. I went back for seconds before I even left the parking lot.
I made this for my dad's birthday one year when I was completely broke and couldn't afford a fancy cake. He took one bite, closed his eyes, and told me it was better than anything he'd ever had at a restaurant. Now it's his yearly request, no exceptions.
Ingredients
- 1 9-inch prepared pie crust baked and cooled: Save yourself the stress and buy a good quality crust, focus your energy on the filling instead
- 3/4 cup creamy peanut butter: Don't use natural peanut butter that separates, you want the stable creamy kind for proper crumb texture
- 1 cup powdered sugar: This transforms the peanut butter into the most incredible crumble topping you've ever tasted
- 2/3 cup granulated sugar: This sweetens the custard filling just enough without making it cloying
- 1/3 cup all-purpose flour: The secret thickener that makes the filling silky rather than starchy
- 1/4 teaspoon salt: Just enough to make all the flavors pop without tasting salty
- 2 cups whole milk: Don't skimp here, the richness is essential for that dreamy texture
- 3 large egg yolks: Save the whites for another use, but don't skip the yolks, they're crucial
- 1 teaspoon pure vanilla extract: Use the good stuff, it makes a noticeable difference
- 2 tablespoons unsalted butter: Adds that final touch of velvety richness to the filling
- 1 cup heavy whipping cream: Cold from the fridge for best whipping results
- 2 tablespoons powdered sugar: Just enough to sweeten the whipped cream without making it stiff
- 1/2 teaspoon vanilla extract: A little extra vanilla in the topping ties everything together beautifully
Instructions
- Make the magic crumbs:
- Mix the peanut butter and powdered sugar with a fork until it looks like damp sand, absolutely crumbly and gorgeous
- Layer the bottom:
- Press half those crumbs into your pie crust, don't worry about making it perfectly even, it's going to get covered anyway
- Start the custard base:
- Whisk granulated sugar, flour, and salt in your saucepan, then gradually whisk in the milk until you can't see any dry powder anymore
- Cook until thick:
- Set it over medium heat and whisk constantly, seriously don't stop, until it bubbles and thickens into something that coats the back of your spoon
- Temper your eggs:
- Whisk those yolks in a separate bowl, then slowly drizzle in some of the hot mixture while whisking furiously so they don't scramble
- Finish the filling:
- Pour everything back into the saucepan, cook for 2 more minutes until glossy and thick, then stir in butter and vanilla until smooth
- Assemble and chill:
- Pour filling over those waiting crumbs, let it cool 15 minutes, then refrigerate at least 2 hours until completely set
- Make the topping:
- Beat whipping cream, powdered sugar, and vanilla until you have stiff peaks, then spread generously over the chilled pie
- Final touch:
- Sprinkle the remaining peanut butter crumbs over the top just before serving, right when you're ready to impress everyone
 Save to Pinterest
 My neighbor came over unexpectedly while this was chilling and ended up staying for dinner just so she could have a slice. She still texts me every few months asking if I have any in my fridge.
Making It Ahead
You can make this pie up to 24 hours in advance, which honestly might be for the best since the flavors get even better after mingling in the fridge. Just wait to add the whipped cream topping until a couple hours before serving so it stays fluffy and fresh.
Serving Suggestions
This pie wants to be served cold, straight from the fridge, with a cold glass of milk or a hot cup of coffee. The temperature contrast is part of what makes it so incredibly satisfying.
Perfecting The Texture
Watch your custard like a hawk once it starts thickening, the difference between perfect pudding and scrambled eggs is about thirty seconds. Trust your whisk and your instincts, you'll know when it's glossy and ready.
- A chilled bowl helps whipped cream form faster
- Room temperature egg yolks temper more smoothly
- Patience during chilling is absolutely worth it
 Save to Pinterest
 There's something about this pie that makes people close their eyes after the first bite, every single time. That's how you know you've made something worth remembering.
Questions & Answers
- → How long does this Amish peanut butter pie need to chill?
-
Refrigerate for at least 2 hours until completely set. For best results, chill 3-4 hours or overnight allows the flavors to meld beautifully and ensures a firm sliceable texture.
- → Can I use crunchy peanut butter instead of creamy?
-
Creamy peanut butter works best for both the filling and crumb topping to achieve the smooth, velvety texture. Crunchy varieties would alter the desired consistency and create unexpected texture throughout.
- → What type of crust works best for this dream pie?
-
A traditional 9-inch baked pie crust works perfectly. For extra flavor and authenticity, try a homemade graham cracker or shortbread crust. The crust must be fully baked and cooled before adding the filling.
- → How do I prevent the filling from curdling when adding eggs?
-
Always temper your egg yolks by gradually whisking in small amounts of the hot milk mixture before combining everything. This technique gently raises the egg temperature without cooking them prematurely.
- → Can I make this peanut butter dream pie ahead of time?
-
Absolutely! This dessert actually improves when made 1-2 days ahead. The flavors deepen and the texture becomes perfectly firm. Store covered in the refrigerator and add any final toppings just before serving.
- → What's the best way to achieve stiff peaks for the whipped cream?
-
Chill your bowl and beaters in the freezer for 10 minutes first. Use cold heavy whipping cream and beat on medium-high speed until peaks hold their shape when the beaters are lifted. Don't overbeat or it may separate.