 Save to Pinterest
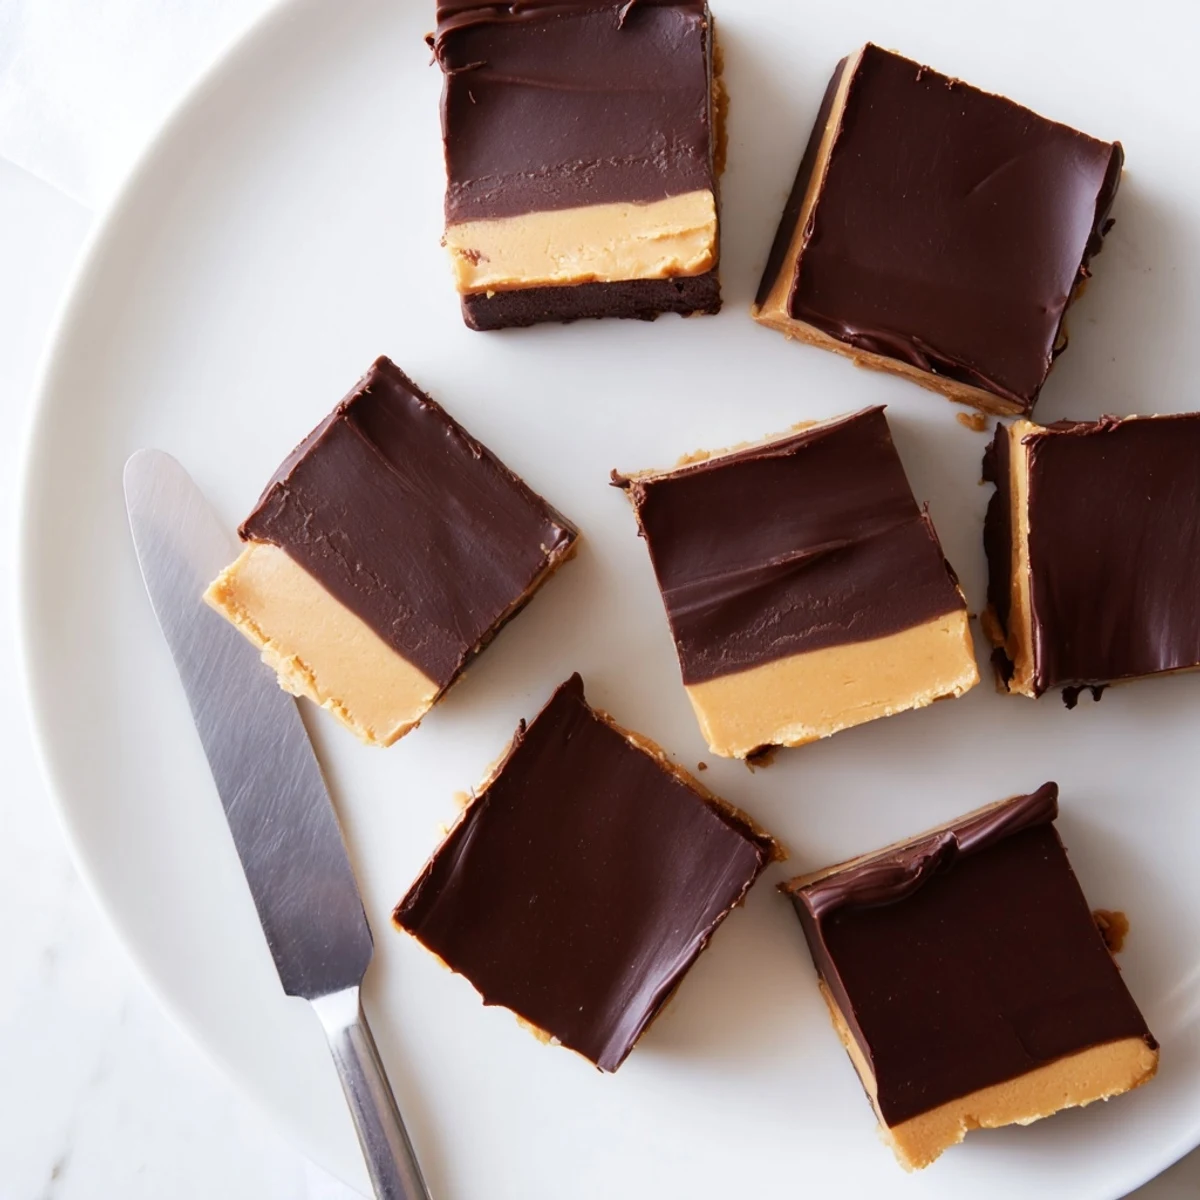
 Indulge in this classic American confection that combines the creamy richness of peanut butter with the luxurious sweetness of semisweet chocolate. The two-layer creation features a velvety peanut butter base made with melted butter, vanilla, and powdered sugar, topped with a glossy chocolate ganache. After just 15 minutes of preparation and 5 minutes of cooking, your kitchen will be filled with the irresistible aroma of melting chocolate and peanut butter. The fudge requires a minimum of two hours to set in the refrigerator, developing perfectly firm yet melt-in-your-mouth texture. Each piece delivers a harmonious balance of salty and sweet, making it an ideal treat for gatherings, gift-giving, or satisfying afternoon cravings.
My grandmother kept a secret stash of fudge in the freezer, wrapped in wax paper with a rubber band, and discovering it felt like finding treasure. The way the chocolate and peanut butter melted together on your tongue was pure magic. This recipe captures that same velvety richness but with a silky ganache topping that makes it feel extra special.
I made three batches last December because my husband kept taking them to work and coming home with requests from his coworkers. The fourth batch I hid behind the frozen peas so there would actually be some left for Christmas morning.
Ingredients
- Creamy peanut butter: The natural oils create that signature melt in your mouth texture, so avoid the no stir kind with added stabilizers
- Unsalted butter: Letting it soften slightly on the counter helps it blend more smoothly with the peanut butter
- Powdered sugar: Sifting it first prevents any gritty little lumps from ruining that perfect creamy consistency
- Semisweet chocolate chips: The slight bitterness balances the sweet peanut butter layer beautifully
- Heavy cream: Room temperature cream incorporates faster into the chocolate for a glossy, restaurant quality ganache
Instructions
- Prep your canvas:
- The parchment paper overhang is your best friend here, giving you handles to lift the whole fudge block out later without any sticking drama
- Melt the base:
- Keep the heat gentle and stir constantly, watching as the peanut butter and butter transform into a glossy river of liquid gold
- Add the sweetness:
- Pour in the powdered sugar slowly, whisking out any stubborn lumps before they can hide
- Create the foundation:
- Spread the peanut butter mixture with an offset spatula, working quickly before it starts to set up on you
- Make the magic topping:
- Watch the cream carefully, looking for those tiny bubbles around the edges that signal its ready, then pour over the chocolate chips
- Layer it on:
- Pour the ganache immediately while its still fluid and gorgeous, tilting the pan to help it find every corner
- Patience pays off:
- Let the refrigerator do its work for at least two hours, though overnight makes cutting even cleaner
- The grand finale:
- Use a sharp knife warmed under hot water, wiping it clean between cuts for those picture perfect squares
 Save to Pinterest
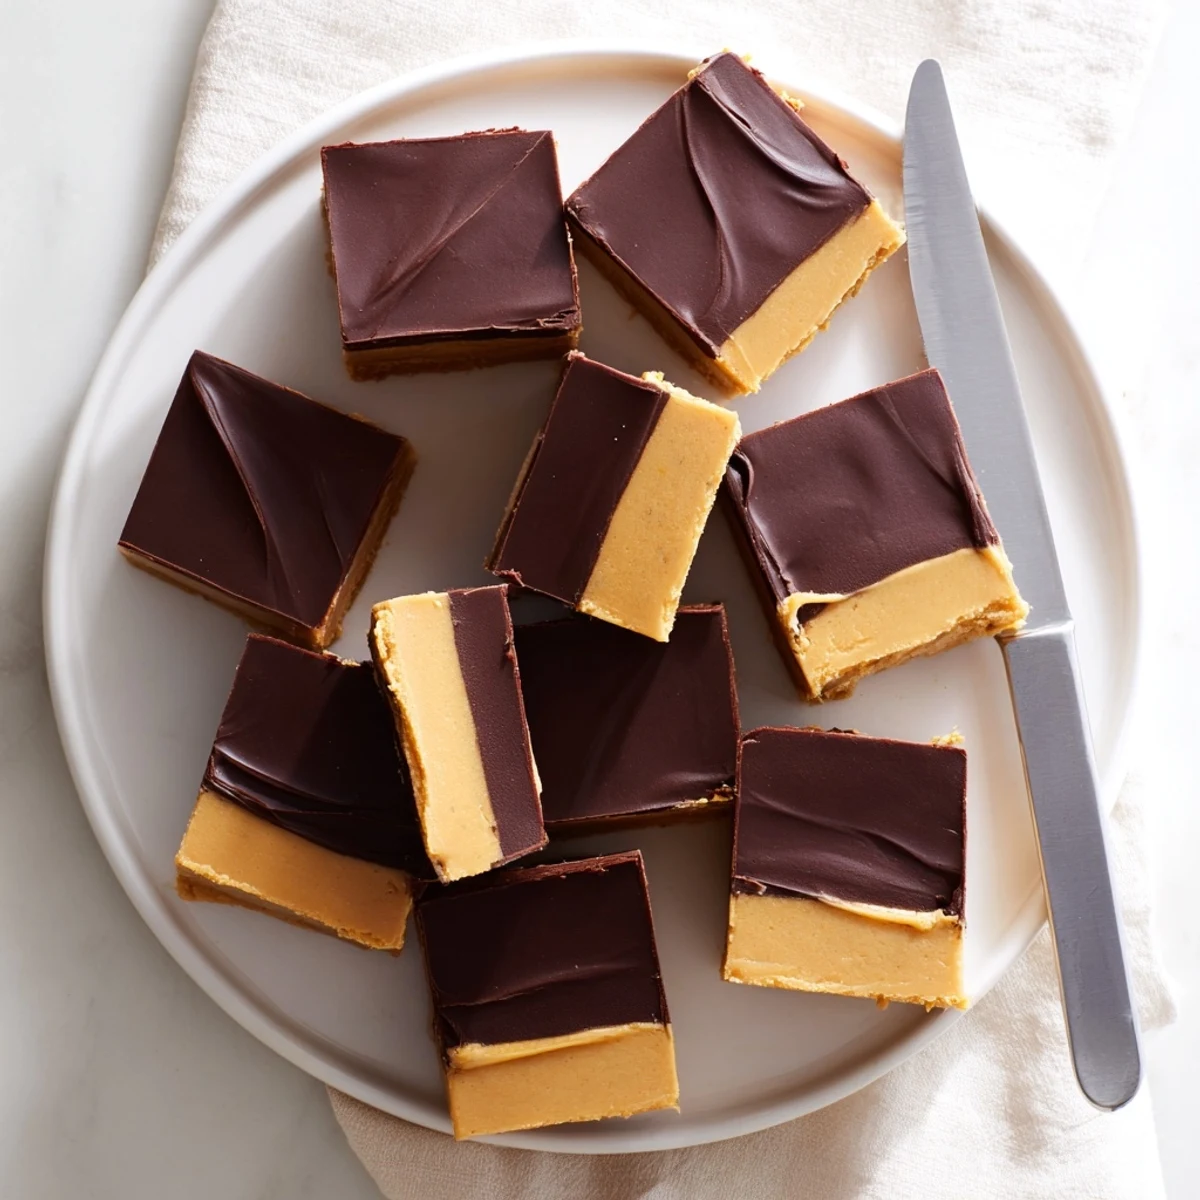
 Now this fudge has become our go to hostess gift, wrapped in little boxes with red ribbon. People actually gasp when they bite into it, which might be the best kitchen compliment I have ever received.
Getting The Perfect Texture
The secret is in the powdered sugar, working as both sweetener and structure builder. Too little and the fudge will never set properly, turning into a sticky mess instead of those clean squares you are after.
Temperature Matters
I learned the hard way that hot kitchens are the enemy of fudge making. On warm summer days, I let the peanut butter mixture cool for five minutes before spreading it, which prevents the chocolate layer from melting into it.
Make It Your Own
Once you have mastered the base, the variations are endless and exciting. The recipe is wonderfully forgiving once you understand how the ingredients work together.
- Swirl a tablespoon of raspberry jam into the peanut butter layer before topping for a pb and j version
- Sprinkle flaky sea salt over the chocolate layer while its still wet for that sweet salty finish
- Add chopped roasted peanuts between the layers for extra crunch and texture contrast
 Save to Pinterest
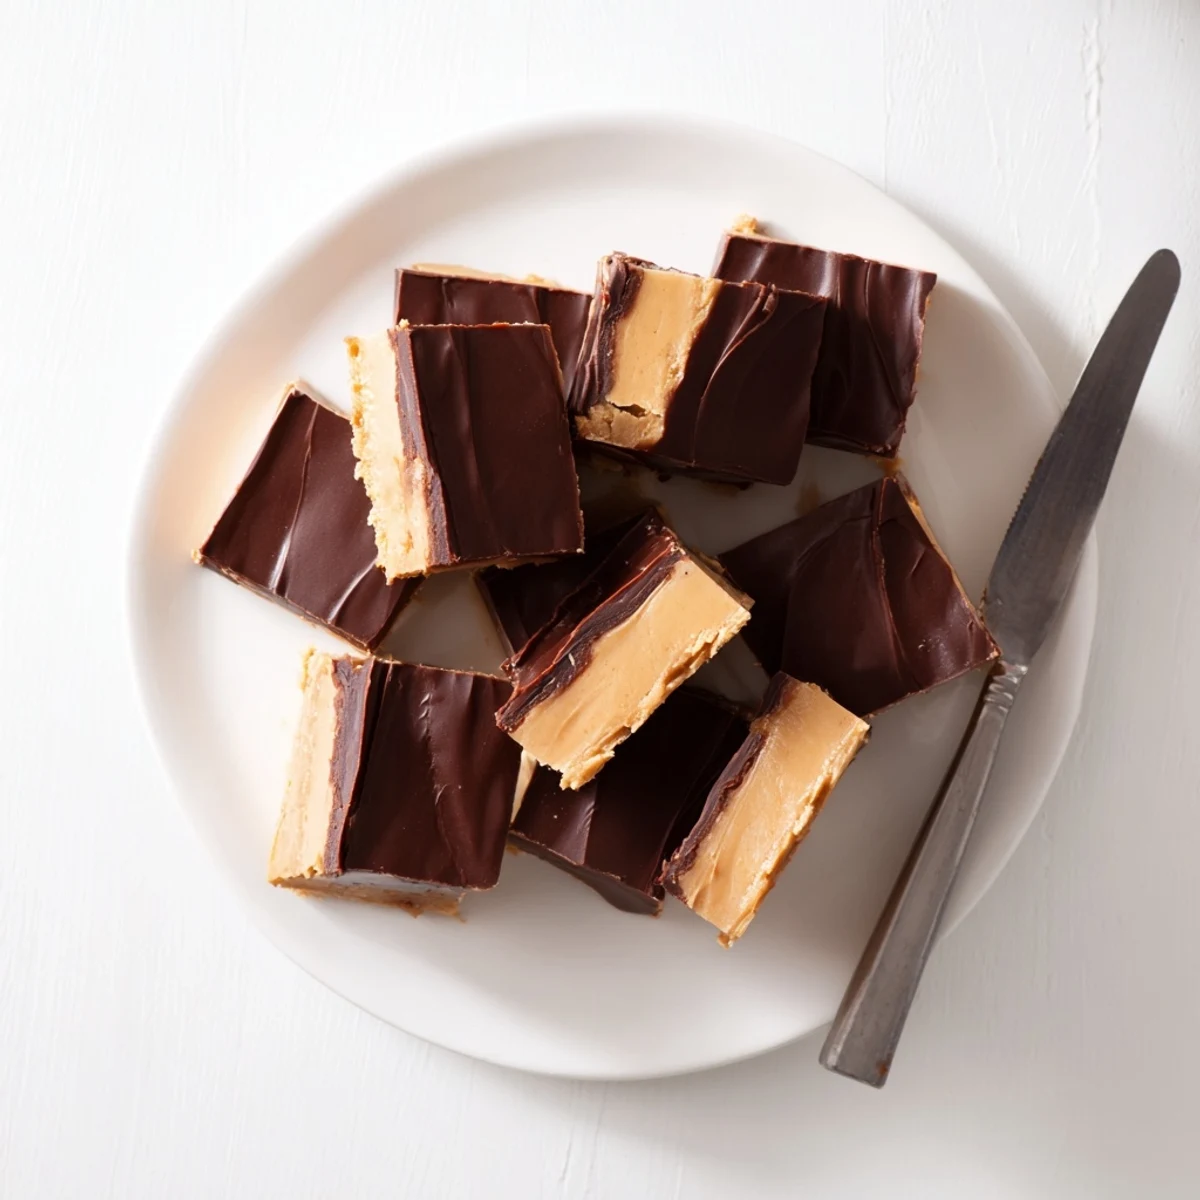
 There is something deeply satisfying about pulling that perfect slab of fudge from the pan, knowing you created something this indulgent with your own two hands.
Questions & Answers
- → How long does chocolate peanut butter fudge need to set?
-
The fudge requires at least 2 hours in the refrigerator to fully set. This chilling time allows both the peanut butter layer and chocolate ganache to firm up properly, making it easier to cut into clean squares. For best results, avoid rushing this step.
- → Can I use natural peanut butter instead of creamy?
-
Creamy peanut butter is recommended because it contains stabilizers that help the fudge set properly. Natural peanut butter tends to separate and may result in a softer, oilier texture. If you prefer natural varieties, expect a slightly different consistency and consider reducing the butter slightly.
- → How should I store the finished fudge?
-
Keep your fudge refrigerated in an airtight container for up to 1 week. The layers maintain their texture best when chilled. You can also freeze the fudge for up to 3 months—wrap individual pieces in plastic wrap and place in a freezer-safe container.
- → Can I make this fudge dairy-free?
-
Yes, substitute the unsalted butter with vegan butter sticks and replace the heavy cream with full-fat coconut milk or a plant-based cream alternative. Use dairy-free chocolate chips labeled as vegan. The texture may vary slightly but will still be delicious.
- → Why did my chocolate layer turn grainy?
-
Grainy chocolate typically results from overheating or adding cold ingredients to warm chocolate. Always heat the cream just until simmering, not boiling, and pour it over the chocolate chips off the heat. Stir gently until glossy and smooth before pouring over the peanut butter layer.
- → Can I add mix-ins to the fudge?
-
Absolutely! Chopped roasted peanuts add delightful crunch to the peanut butter layer. You could also swirl in caramel, sprinkle sea salt on top before chilling, or mix in mini marshmallows for a rocky road variation. Add these after step 3 for the base layer.