 Save to Pinterest
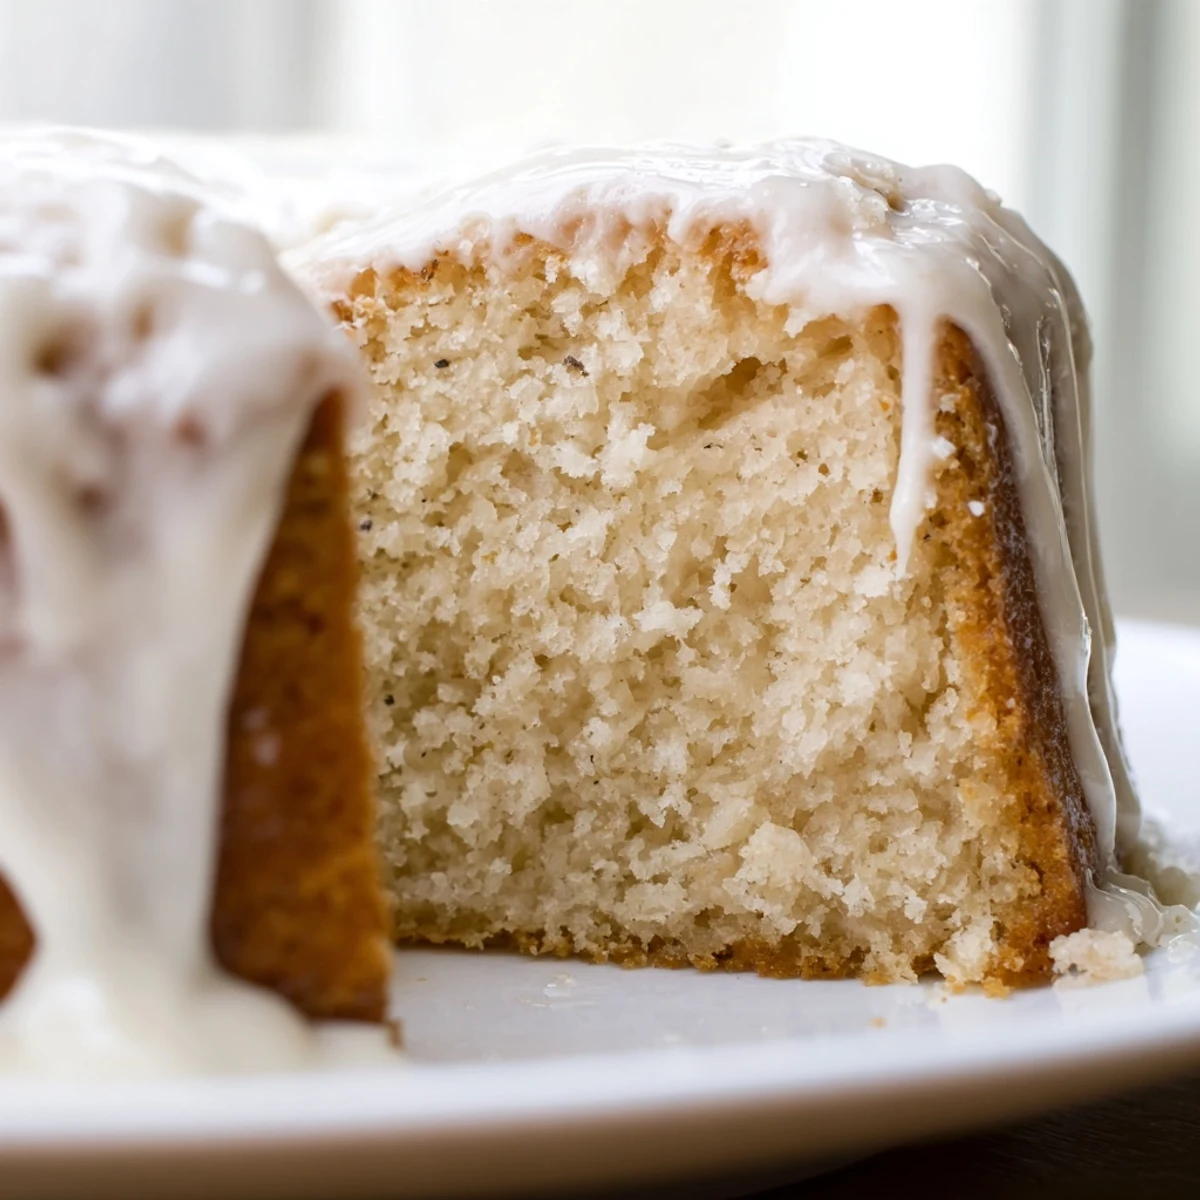
 This classic church cake delivers a tender, moist crumb thanks to buttermilk and plenty of butter. The vanilla sponge bakes up golden and light, then gets crowned with a simple powdered sugar glaze that adds just the right amount of sweetness.
What makes this cake special is its straightforward preparation and crowd-pleasing flavor. The 9x13 pan size yields twelve generous servings, making it ideal for potlucks, bake sales, and community events. Plus, the glaze comes together in minutes with just three pantry staples.
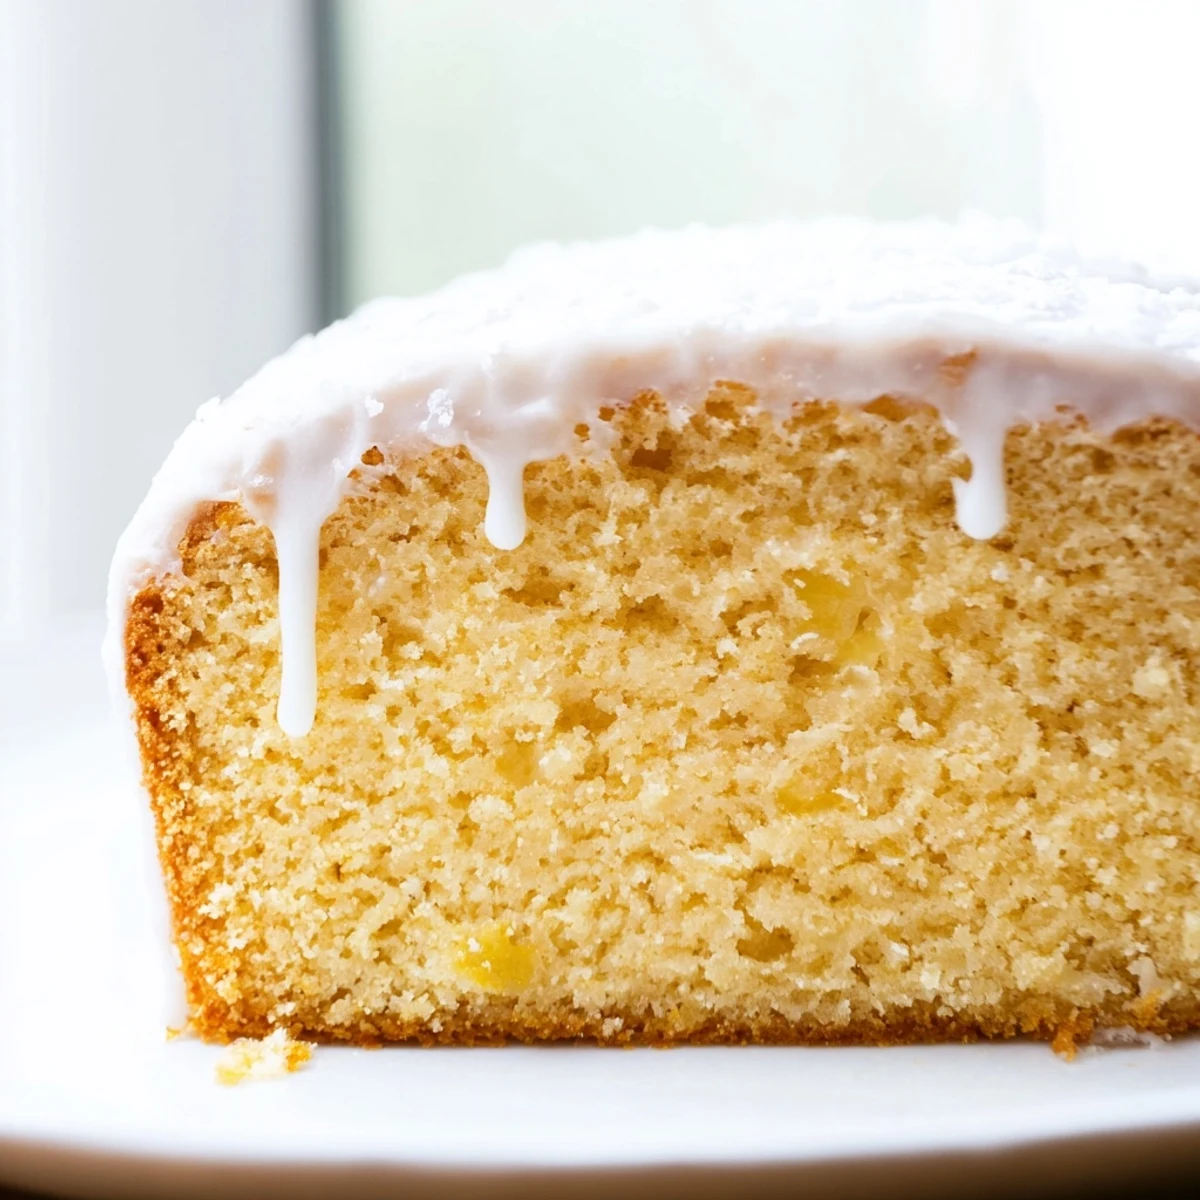
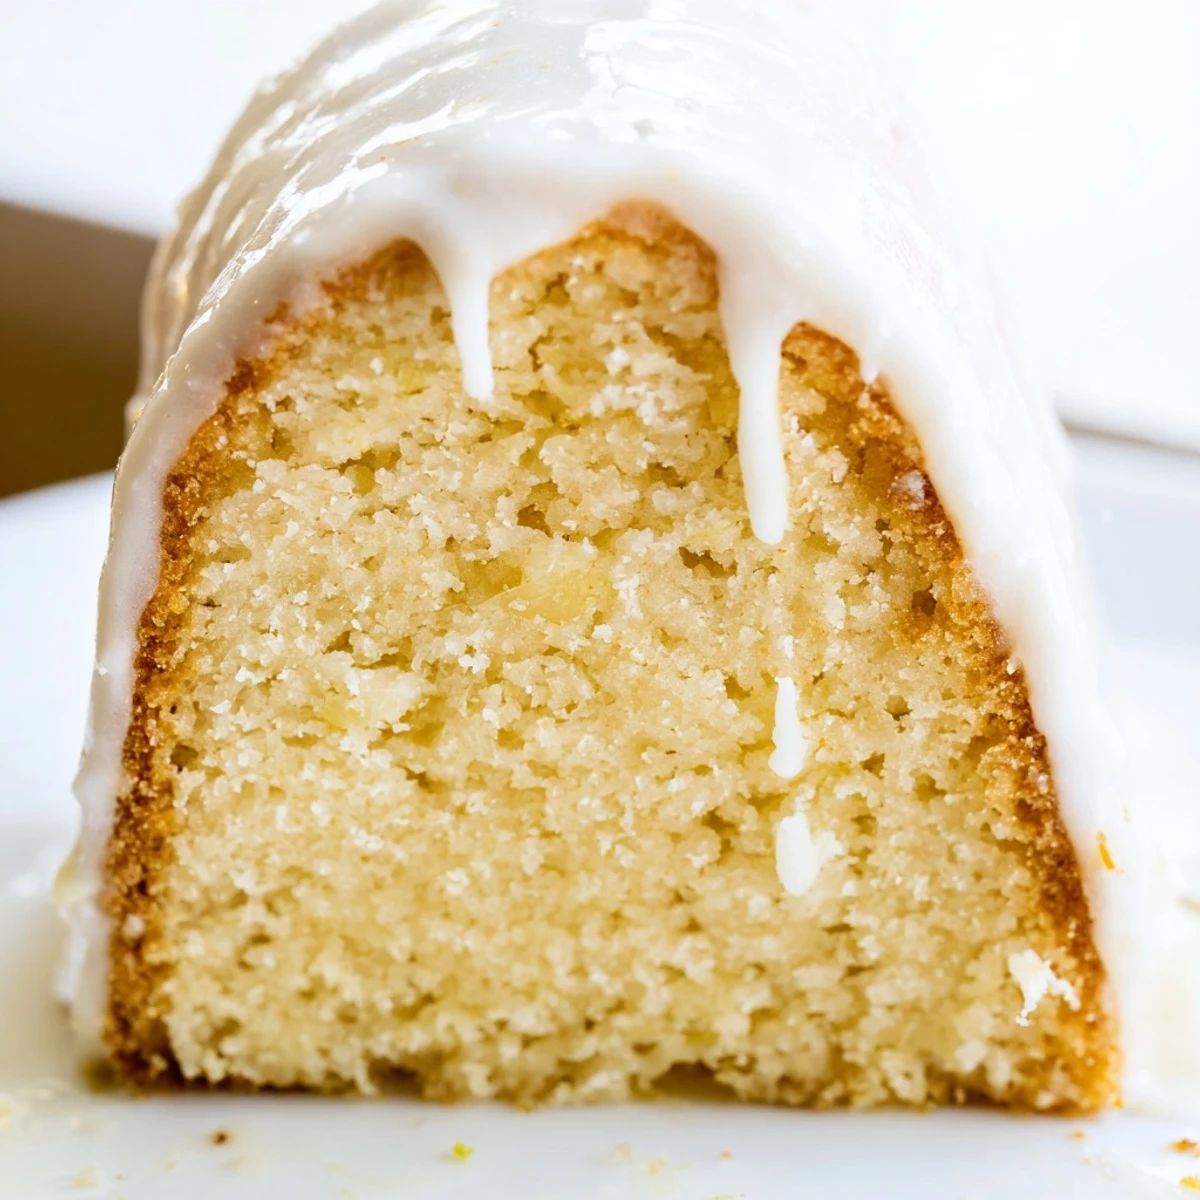
You can easily customize this foundation with lemon zest, chopped nuts, or dried fruits. The batter comes together quickly using a one-bowl method, and the cake stays fresh for days when stored properly.
The first time I brought this cake to a Sunday morning potluck, three different people asked for the recipe before coffee was even poured. Something about that tender vanilla sponge and simple glaze just makes people feel at home.
I learned this recipe from Mrs. Henderson who brought it to every church function for thirty years. She told me the secret was room temperature ingredients and never overmixing the batter. Last summer I made it for my daughters graduation party and it disappeared faster than anything else on the dessert table.
Ingredients
- 2 1/2 cups all-purpose flour: Spoon and level instead of scooping directly to avoid packing too much flour into your measuring cup
- 2 tsp baking powder: Make sure your baking powder is fresh by dropping a spoonful in water it should bubble immediately
- 1/2 tsp baking soda: Works with the buttermilk to give the cake its tender rise and subtle tang
- 1/2 tsp salt: Enhances the vanilla flavor without making the cake taste salty
- 1 cup unsalted butter softened: Leave it on the counter for at least an hour so it blends perfectly into the sugar
- 1 3/4 cups granulated sugar: Cream this thoroughly with the butter until it looks pale and fluffy for the best texture
- 3 large eggs: Also at room temperature so they incorporate smoothly into the batter
- 1 tbsp vanilla extract: Use real vanilla not imitation it makes all the difference in a simple cake like this
- 1 cup buttermilk: If you do not have buttermilk mix regular milk with a tablespoon of lemon juice and let it sit for five minutes
- 1 1/2 cups powdered sugar: Sift this first to avoid any lumps in your glaze
- 2 to 3 tbsp milk: Start with two tablespoons and add more only if the glaze is too thick to pour
- 1/2 tsp vanilla extract: This small amount in the glaze adds a lovely aromatic finish to each bite
Instructions
- Getting everything ready:
- Preheat your oven to 350F and grease a 9x13 inch baking dish with butter then dust it with flour tapping out any excess.
- Whisking the dry ingredients:
- In a medium bowl combine the flour baking powder baking soda and salt whisking them together thoroughly so everything is evenly distributed.
- Creaming butter and sugar:
- Beat the softened butter and sugar with an electric mixer for about three minutes until the mixture looks pale fluffy and almost doubled in volume.
- Adding eggs and vanilla:
- Crack in the eggs one at a time beating well after each one then mix in the vanilla until everything is completely incorporated.
- Combining everything:
- Add the flour mixture in three parts alternating with the buttermilk in two parts starting and ending with the flour and mixing only until just combined.
- Baking the cake:
- Spread the batter evenly into your prepared pan and bake for 30 to 35 minutes until a toothpick inserted in the center comes out clean or with just a few moist crumbs.
- Cooling completely:
- Let the cake rest in the pan for 15 minutes then move it to a wire rack to cool completely before adding the glaze.
- Making the vanilla glaze:
- Whisk together the powdered sugar milk and vanilla until smooth and pourable then drizzle it over the cooled cake letting it set for about 15 minutes before slicing.
 Save to Pinterest
 My grandmother always said church cakes taste better when you are not rushed. I finally understood what she meant one rainy Saturday when I took my time creaming the butter and sugar. The cake that emerged was somehow lighter and more delicate than any version I had made before.
Making It Ahead
This cake actually benefits from being made a day ahead. The flavors have time to meld and the texture becomes even more moist and tender. Wrap it tightly once cooled and glaze it the next morning.
Serving Suggestions
I love serving this slightly warm with fresh berries if they are in season. The tart fruit cuts through the sweetness perfectly and makes each bite feel special without any extra work.
Storage And Keeping
Keep the cake covered at room temperature for up to three days though it rarely lasts that long in my house. The glaze will stay soft and the cake remains perfectly moist.
- Place a paper towel over the cut edges before covering to keep them from drying out
- Never refrigerate this cake as it makes the sponge dry and dense
- Freeze unglazed portions wrapped tightly for up to three months
 Save to Pinterest
 There is something wonderful about a recipe that asks for nothing fancy but still delivers pure comfort every single time.
Questions & Answers
- → Why is it called church cake?
-
This dessert earned its name from frequent appearances at church potlucks, socials, and community gatherings. The large 9x13 pan size feeds a crowd affordably, while the simple ingredients and straightforward preparation make it accessible for home cooks bringing dishes to share.
- → Can I make church cake ahead of time?
-
Absolutely. The sponge actually develops better flavor after resting overnight. Bake and cool completely, then wrap tightly in plastic or store in an airtight container. Add the glaze the day you plan to serve for the freshest appearance and texture.
- → What if I don't have buttermilk?
-
Make a quick substitute by pouring 1 cup of regular milk and stirring in 1 tablespoon of lemon juice or white vinegar. Let it sit for 5-10 minutes until slightly thickened and curdled. This homemade version provides the same acidity and tenderizing effect as traditional buttermilk.
- → How do I know when the cake is done baking?
-
Insert a wooden toothpick or cake tester into the center of the cake. If it comes out clean or with just a few moist crumbs, the cake is finished. The edges should pull slightly away from the pan, and the top will spring back when gently pressed.
- → Can I freeze this cake?
-
Yes, freeze the cooled unglazed cake by wrapping it tightly in plastic wrap and then foil. Store for up to 3 months. Thaw overnight at room temperature before glazing and serving. Alternatively, freeze individual slices for quick portions.
- → What pan size works best?
-
A standard 9x13-inch rectangular pan creates the ideal thickness for this cake. The surface area allows even baking while providing enough slices for a crowd. You can also use two 8-inch round pans if you prefer a layered presentation, though baking time may decrease slightly.