 Save to Pinterest
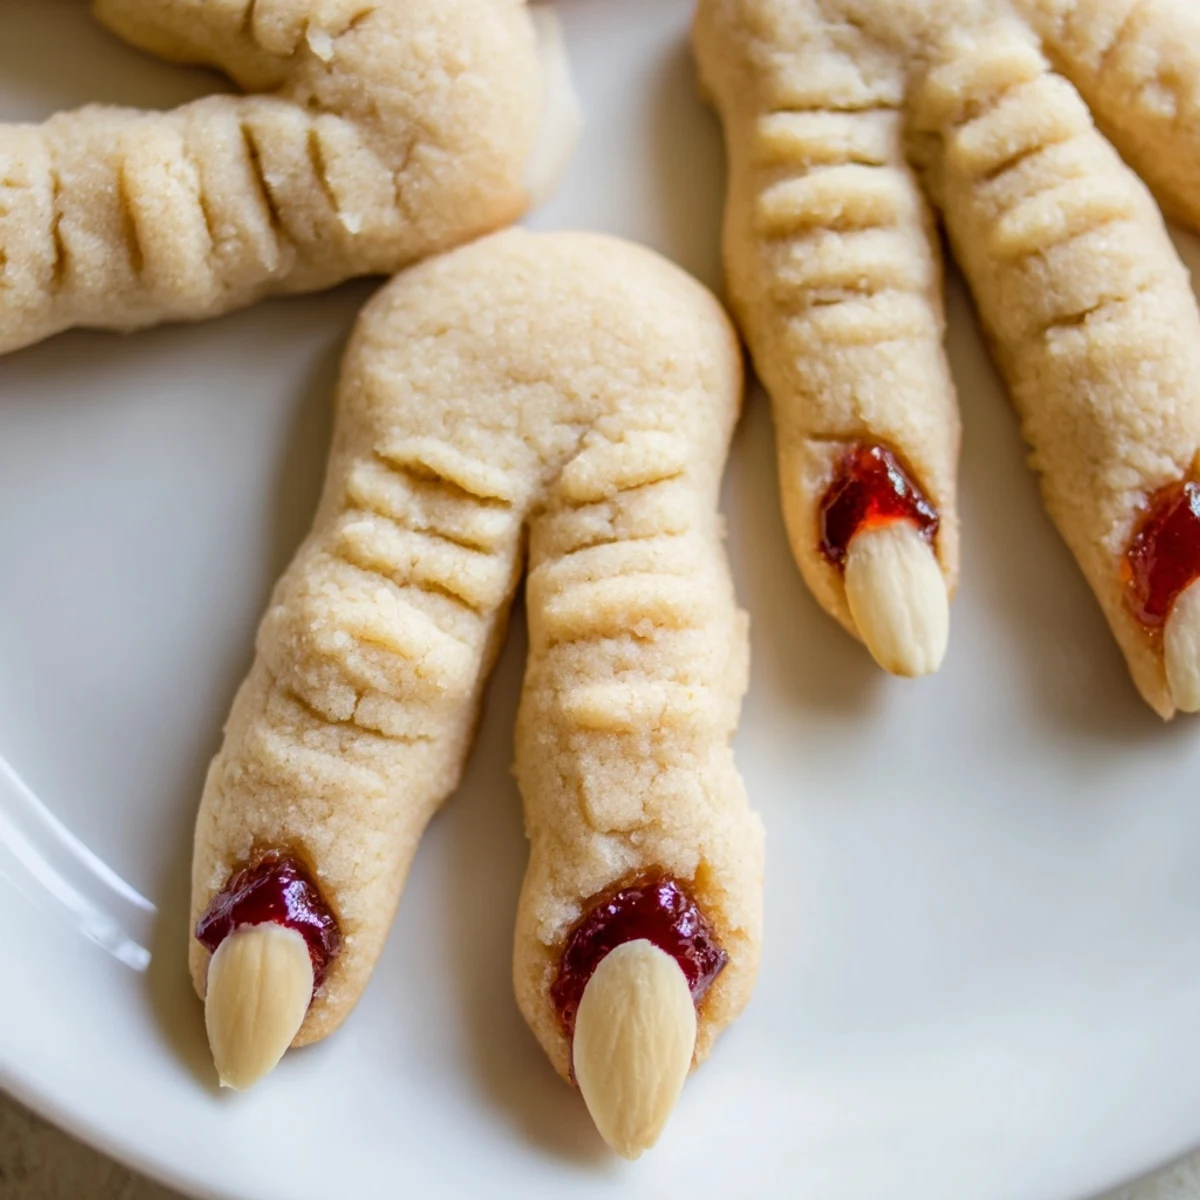
 These creepy witch finger cookies combine buttery almond-flavored dough with a gruesome presentation that's perfect for Halloween entertaining. The dough comes together quickly with softened butter, sugar, and flour, then gets shaped into realistic fingers complete with knuckle details and blanched almond fingernails. A final touch of red food coloring or strawberry jam creates a delightfully bloody effect around each nail.
The cookies bake up tender and lightly golden in about 20 minutes, making them ideal for preparing ahead of your spooky gathering. You can easily tint portions of the dough green or gray for extra creepiness, and the almond flavor can be swapped for lemon extract if preferred. Each cookie delivers 145 calories of festive fun that pairs perfectly with hot cider or themed cocktails.
This vegetarian dessert yields 24 fingers and requires only basic baking tools and ingredients you likely have on hand. The detailed shaping process is simple enough for beginners but impressive enough to delight party guests of all ages.
The first time I made these witch finger cookies for my daughter's classroom Halloween party, I actually made one of the kids cry. These spooky almond cookies look so realistic that they're equal parts delightful and disturbing. Now they're the most requested treat at every October gathering I host. The combination of buttery vanilla almond flavor and creepy presentation is somehow irresistible.
Last year my neighbor asked for the recipe after seeing them on Instagram, then texted me at midnight confessing she couldn't stop eating them despite how creepy they looked. I've learned to make a double batch because these disappear faster than ghosts at dawn. The best part is watching people's reactions when they realize what they're eating.
Ingredients
- 1 cup unsalted butter softened: Room temperature butter is non-negotiable for that creamy dough texture that holds its shape
- 1 cup granulated sugar: Cream this thoroughly with the butter until it looks pale and fluffy
- 1 large egg: Bring this to room temperature too so it incorporates smoothly
- 1 ½ tsp pure vanilla extract: Don't skimp on quality here since vanilla is a primary flavor
- ½ tsp almond extract: This gives the distinctive almond flavor that makes these cookies special
- 2 ¾ cups all-purpose flour: Measure by weight if possible for consistent results every time
- 1 tsp baking powder: This gives just enough lift without making them puff too much
- ½ tsp salt: Balances the sweetness and enhances all the other flavors
- 24 whole blanched almonds: These create the perfectly creepy fingernails look
- Red gel food coloring or strawberry jam: This creates the bloody effect that makes them truly terrifying
Instructions
- Prep your oven and pans:
- Preheat to 325°F and line two baking sheets with parchment paper so nothing sticks.
- Cream the butter and sugar:
- Beat them together until the mixture is pale and fluffy which takes about 3 minutes with an electric mixer.
- Add the wet ingredients:
- Mix in the egg then both extracts until everything is completely combined and smooth.
- Whisk the dry ingredients:
- Combine flour baking powder and salt in a separate bowl so they distribute evenly.
- Combine everything:
- Gradually add the dry mixture to the wet ingredients mixing only until dough forms.
- Shape the fingers:
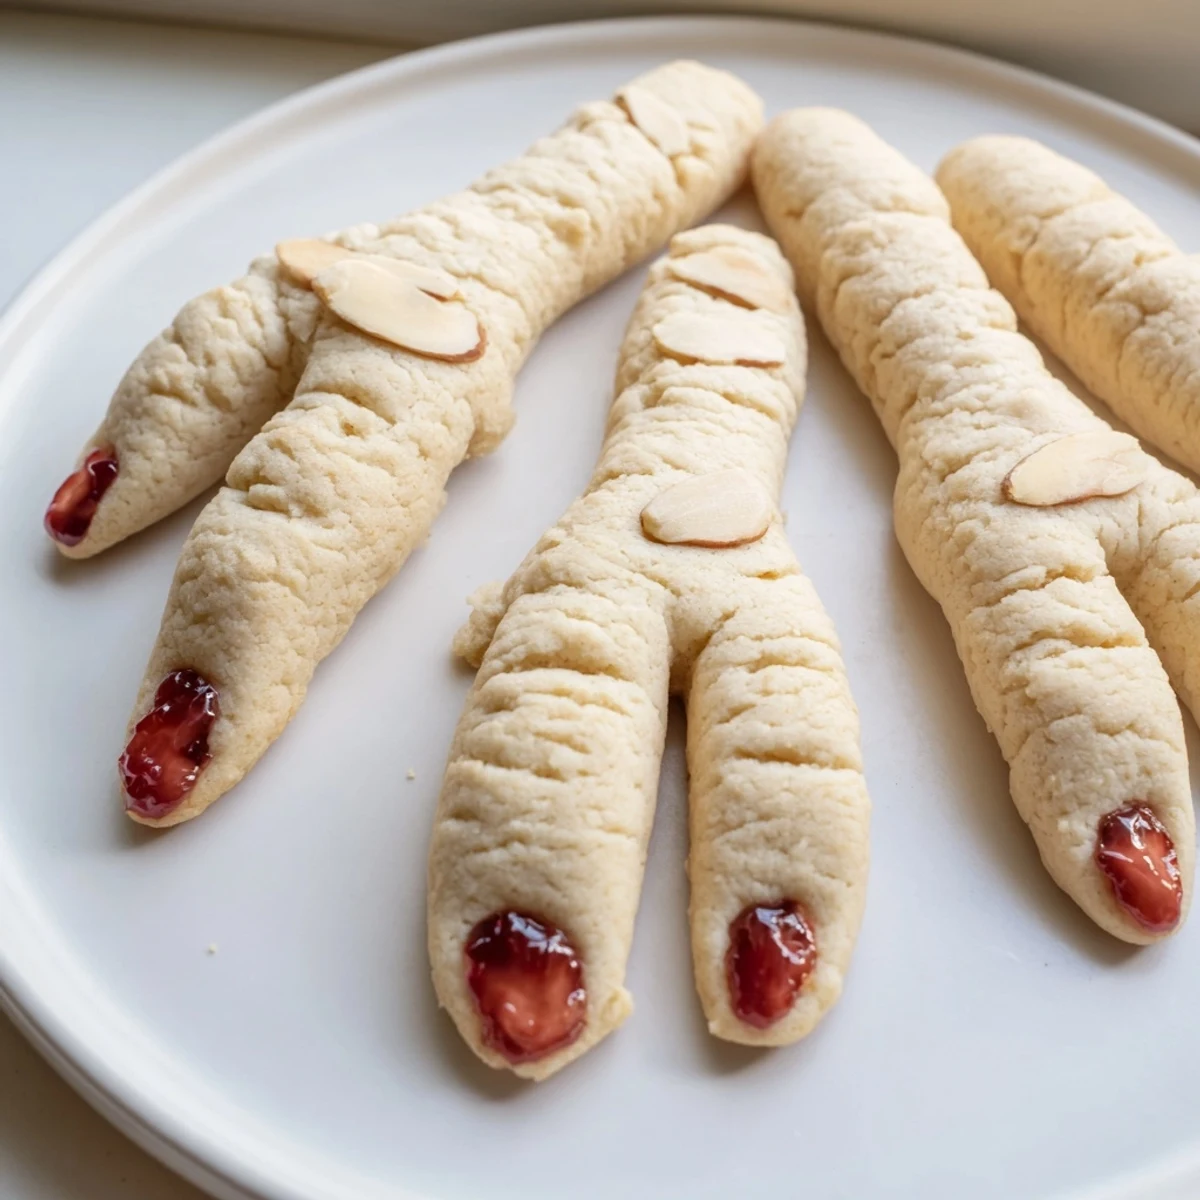
- Roll tablespoons of dough into 3 to 4 inch ropes making them slightly thicker at one end.
- Add knuckles and nails:
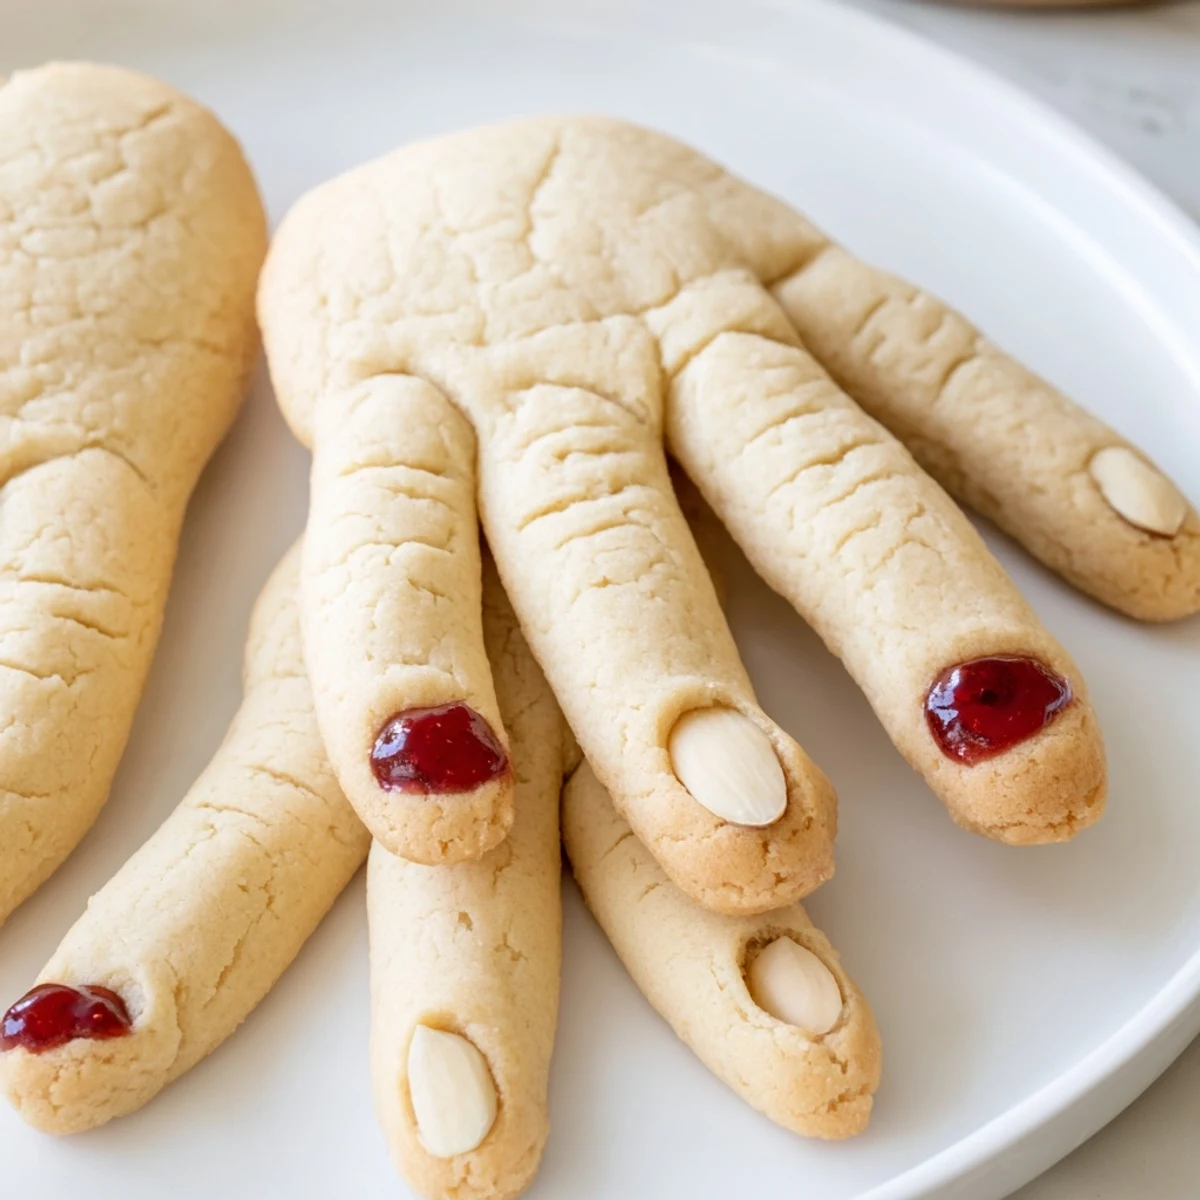
- Use a knife to mark knuckle lines and press an almond into the thicker end for each fingernail.
- Bake until golden:
- Space them 2 inches apart on baking sheets and bake for 18 to 20 minutes until lightly golden.
- Create the bloody effect:
- Carefully remove each almond add red coloring or jam to the nail bed and press the almond back in place.
- Let them cool completely:
- Transfer to a wire rack and let cool completely before serving or they'll break apart.
 Save to Pinterest
 My niece now requests these for her birthday every year even though it's in March because she says regular cookies are boring. Something about eating something that looks so grotesque but tastes so wonderful makes people giddy. These have become our family's signature Halloween treat.
Getting The Creepy Look Right
I've learned that irregular shapes make these look more authentic. Don't worry about making every finger the same size or perfectly straight. Some can be curved some bent slightly some thinner than others. The imperfections are what make them look convincingly like real fingers instead of cookie shapes.
Flavor Variations That Still Scare
While almond extract is traditional you can swap it for lemon or orange extract for a brighter flavor. I once made a batch tinted with pale green food coloring for a zombie finger variation that was equally unsettling. The base dough is versatile enough to handle different flavors while still holding its creepy shape.
Presentation Ideas For Maximum Impact
Serve these sticking out of a hollowed out pumpkin or arranged on a platter with edible dirt made from crushed chocolate cookies. I've also placed them around a bowl of red fruit punch for a really dramatic effect. The presentation matters almost as much as the cookies themselves for the full Halloween experience.
- Work with cold hands by running them under cold water periodically
- Keep extra blanched almonds handy since some might crack during pressing
- Make the bloody nail effect just before serving so it looks fresh and gore
 Save to Pinterest
 These witch fingers have become such a tradition that Halloween doesn't feel complete without a batch cooling on my counter. Hope they bring some wonderfully creepy fun to your table too.
Questions & Answers
- → How far ahead can I make these witch finger cookies?
-
You can prepare the dough up to 2 days in advance and store it refrigerated. Shape and bake when ready to serve, or bake completely and store in an airtight container for up to 5 days. The bloody nail effect is best applied just before serving for maximum freshness.
- → Can I freeze these Halloween cookies?
-
Yes! Freeze unbaked shaped fingers on a baking sheet until firm, then transfer to a freezer bag for up to 3 months. Bake from frozen, adding 2-3 minutes to the baking time. Already baked cookies freeze well for 2 months—thaw at room temperature before adding the fresh bloody nail detail.
- → What's the best red coloring for the bloody effect?
-
Strawberry or raspberry jam works beautifully as it adds both color and a sticky, realistic blood-like texture. Red gel food coloring creates a cleaner, more graphic effect. For the most gruesome presentation, mix a small amount of jam with a drop of red gel coloring.
- → Can I make these without almond extract?
-
Absolutely! Substitute with an equal amount of lemon extract for a bright citrus flavor, or simply increase the vanilla extract to 2 teaspoons for classic vanilla cookies. The almond extract gives traditional flavor but isn't essential for the spooky presentation.
- → How do I get the knuckle details to look realistic?
-
Use the dull side of a small knife to make three shallow horizontal lines at the joint areas where knuckles would be. Don't press too deep—just enough to create texture. The lines will become more pronounced as the cookies bake and puff slightly.
- → What if I don't have blanched almonds?
-
Sliced almonds work well for a more ragged fingernail look. Pumpkin seeds or sunflower seeds can create creepy alternative nails. For nut-free versions, use small pieces of white chocolate or shape fingernails from the dough itself.