Save to Pinterest
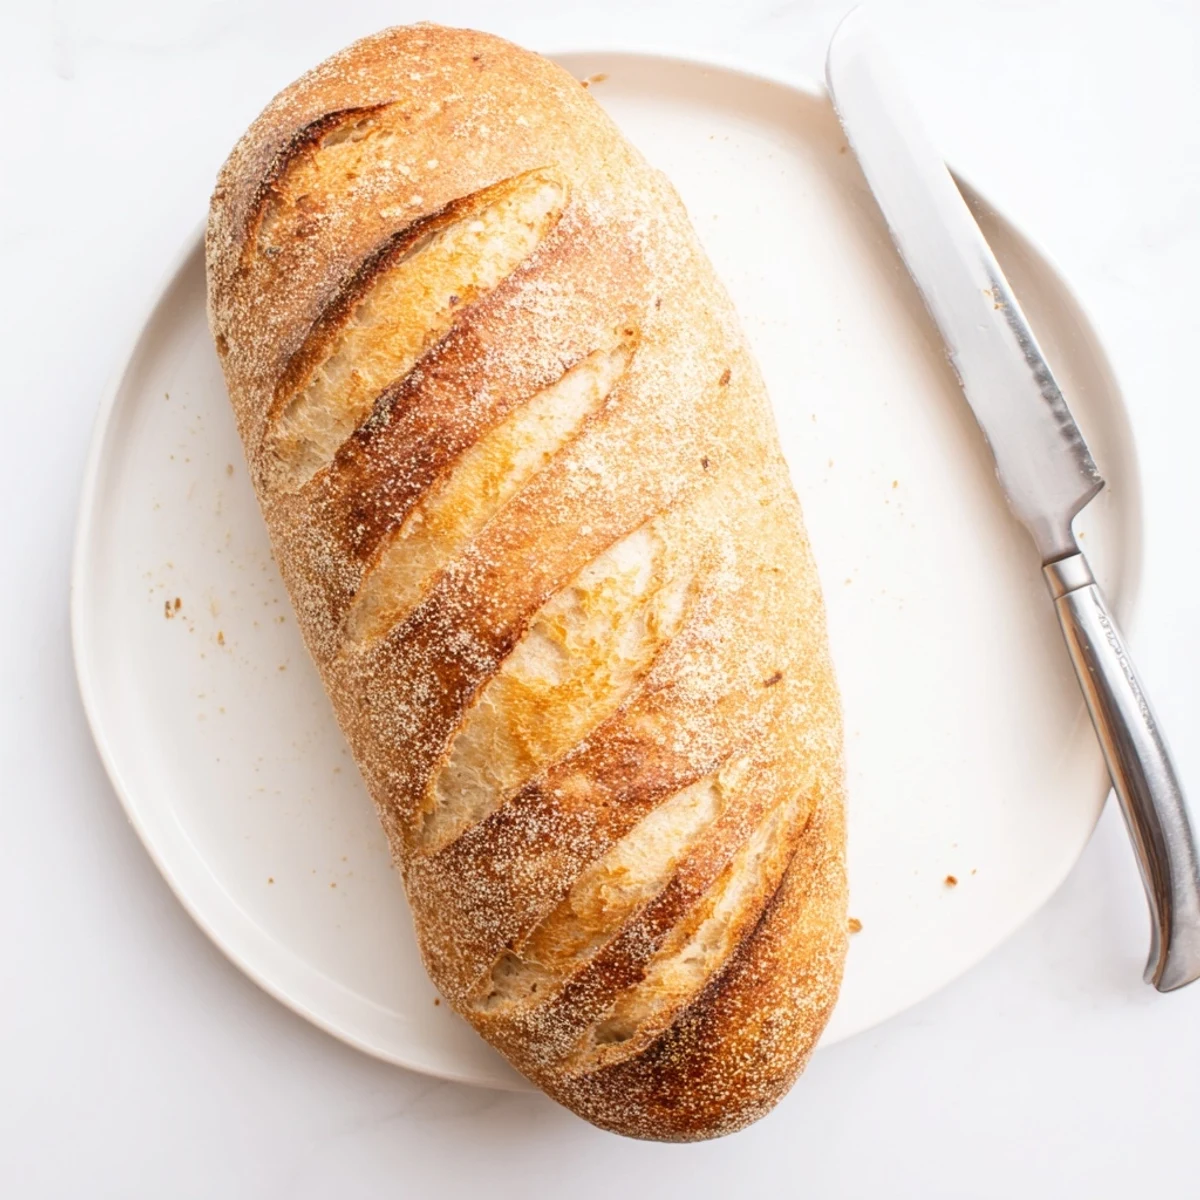
 This authentic Italian bread features a signature golden-brown crust with a satisfying crunch and a tender, airy interior. The dough develops flavor through a slow fermentation process, creating those classic air pockets and chewy texture Italians love.
The steam baking technique ensures that perfect crusty exterior while keeping the inside soft and pillowy. One loaf yields 8-10 generous slices, making it ideal for family dinners or meal prep.
Fresh from the oven, this bread pairs beautifully with extra virgin olive oil and balsamic vinegar, transforms into exceptional panini, and stands up heartily to robust soups and sauces.
My tiny apartment kitchen filled with the most incredible smell on a rainy Tuesday afternoon. I had been experimenting with bread recipes for months, but something about this simple Italian loaf clicked. The crust came out golden and singing, the inside chewy and tender. My roommate wandered in from the living room, drawn by the aroma, and asked what bakery I had visited.
I made this bread for a dinner party last winter, serving it warm with olive oil and flaky salt. My friend Sarah, who never takes second helpings of carbs, went back for three slices. Now she texts me every time she bakes a loaf, celebrating her own golden crusts and hollow taps. Theres something deeply satisfying about making bread that actually works.
Ingredients
- Bread flour: The higher protein content creates that perfect chewy texture we love in Italian bread
- Warm water: Keep it around body temperature, about 40°C, to wake up the yeast without killing it
- Olive oil: Adds subtle flavor and keeps the crust tender
- Cornmeal: Prevents sticking and adds a rustic crunch to the bottom crust
Instructions
- Wake up the yeast:
- Dissolve the yeast and sugar in warm water and wait for foamy bubbles to form on the surface
- Mix the dough:
- Combine flour and salt, create a well in the center, and pour in the yeast mixture along with the olive oil
- Knead until smooth:
- Work the dough on a floured surface for 8 to 10 minutes until it feels elastic and bounces back when pressed
- First rise:
- Place the dough in an oiled bowl, cover, and let it double in size in a warm spot
- Shape the loaf:
- Punch down the risen dough and form it into a tight oval or round, then let it rise again for 45 minutes
- Create steam:
- Preheat the oven with an empty pan on the bottom rack, then pour hot water into it just before baking
- Bake until golden:
- Score the top with a sharp knife and bake for 30 to 35 minutes until the loaf sounds hollow when tapped
 Save to Pinterest
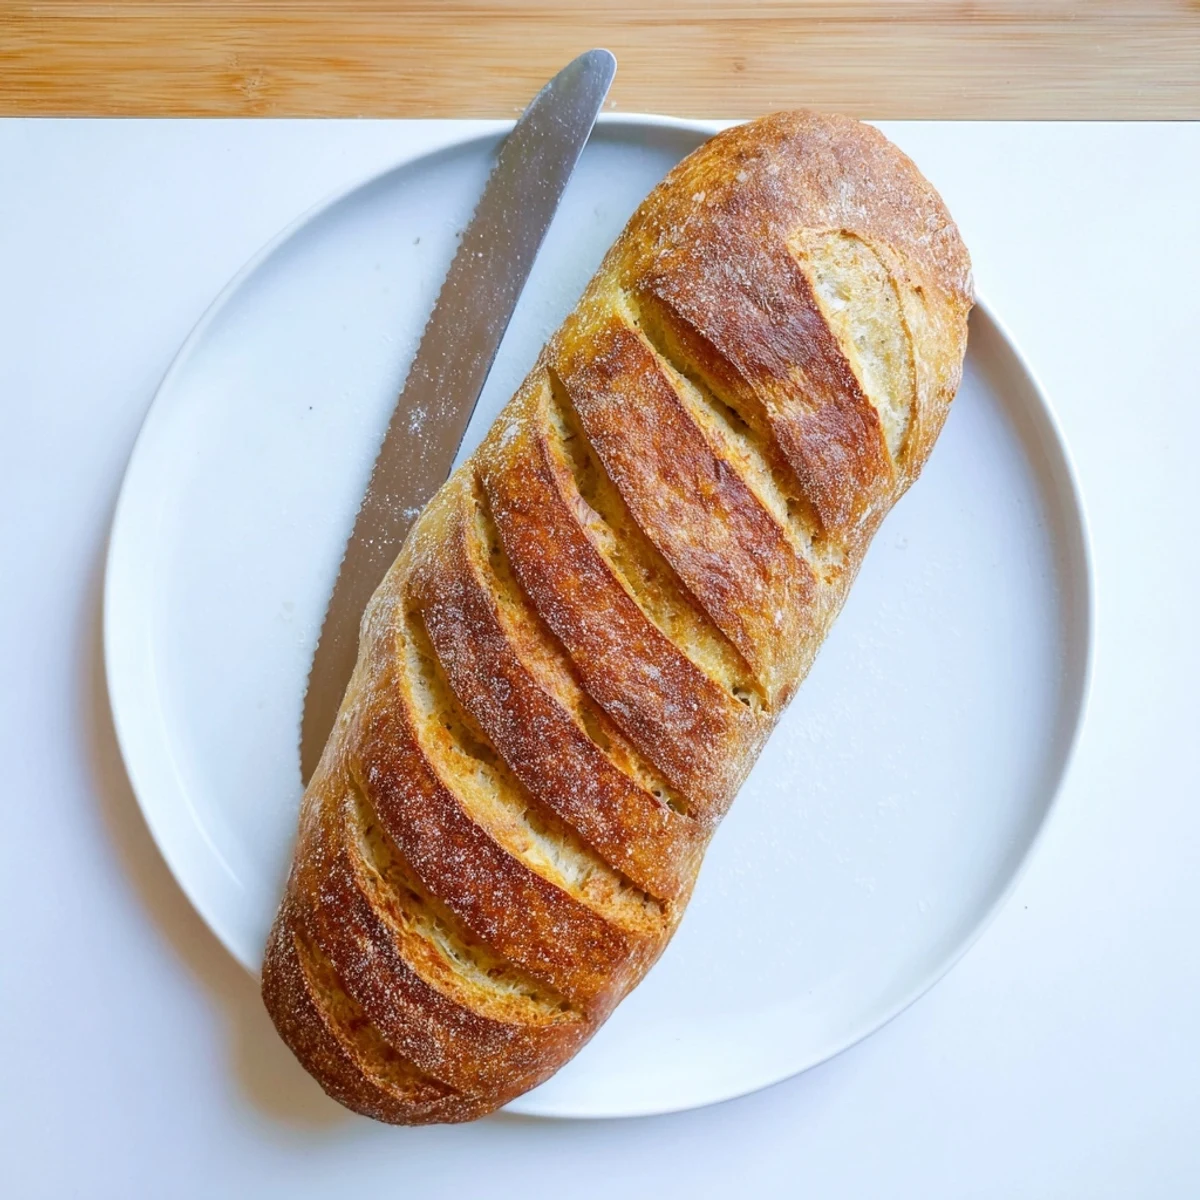
 This loaf became my go to for weeknight meals, torn into chunks for soup or piled high with sandwich fixings. Something about breaking bread you baked yourself makes ordinary dinners feel special.
Getting The Rise Right
I used to rush the rising process, eager to get bread in the oven. Now I understand that patience is the secret ingredient. Find the warmest corner of your kitchen, maybe near a sunny window or above a preheating oven. The dough needs time to develop flavor and structure. Your schedule might dictate timing, but the dough knows what it needs.
Scoring Your Loaf
My first attempts at scoring looked like clumsy surgery. Use your sharpest knife and make confident swift cuts at a slight angle. The slashes are not decorative, they give the bread a place to expand as it bakes. A simple pattern works beautifully, and you will get better with every loaf you bake.
Storing And Freezing
Fresh bread is best the day it is baked, but this loaf freezes remarkably well. Slice it first, then wrap tightly in plastic and foil. You can pull out individual slices and toast them straight from frozen. The texture returns almost completely, making weeknight meals feel special.
- Store room temperature bread in a paper bag for up to two days
- Revive slightly stale loaves in a 350°F oven for 10 minutes
- Avoid the refrigerator, which makes bread go stale faster
 Save to Pinterest
 There is nothing quite like tearing into a warm loaf you baked yourself, the steam rising and the crust crackling. Happy baking.
Questions & Answers
- → What makes Italian bread crusty?
-
The steam created by pouring hot water into the preheated baking pan generates moisture in the oven, allowing the crust to develop slowly and become exceptionally crisp and golden.
- → How do I know when the dough has risen enough?
-
The dough is ready when it has doubled in size and a gentle press with your finger leaves an indentation that slowly springs back. This typically takes 1-1.5 hours in a warm, draft-free area.
- → Can I make this without a stand mixer?
-
Absolutely. Hand-kneading works beautifully and takes about 8-10 minutes on a floured surface. You'll know the dough is properly developed when it feels smooth, elastic, and springs back when touched.
- → Why do I slash the top before baking?
-
Scoring the loaf creates controlled expansion points, allowing the bread to rise properly in the oven without tearing unevenly. It also gives the loaf that classic artisanal appearance.
- → How should I store this bread?
-
Keep at room temperature in a paper bag for up to 2 days. For longer storage, slice and freeze in an airtight container. Avoid refrigerating, as this accelerates staling.
- → Can I add herbs or cheese?
-
Dried herbs like rosemary, thyme, or oregano blend seamlessly into the dough. For cheese variations, incorporate grated Parmesan or cubes of mozzarella during the final minutes of kneading.