 Save to Pinterest
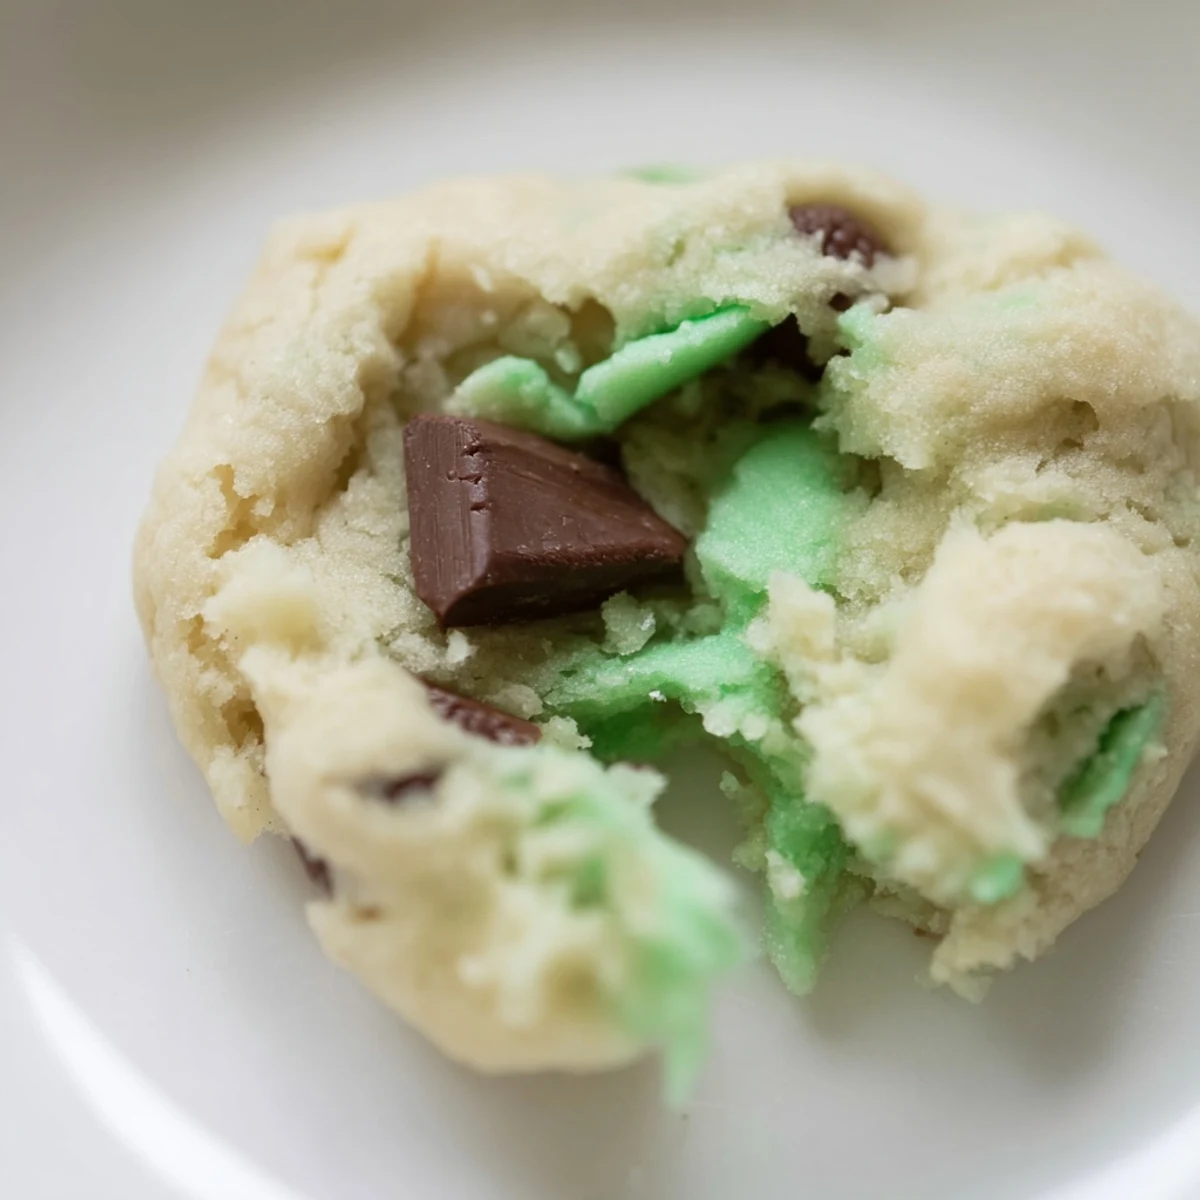
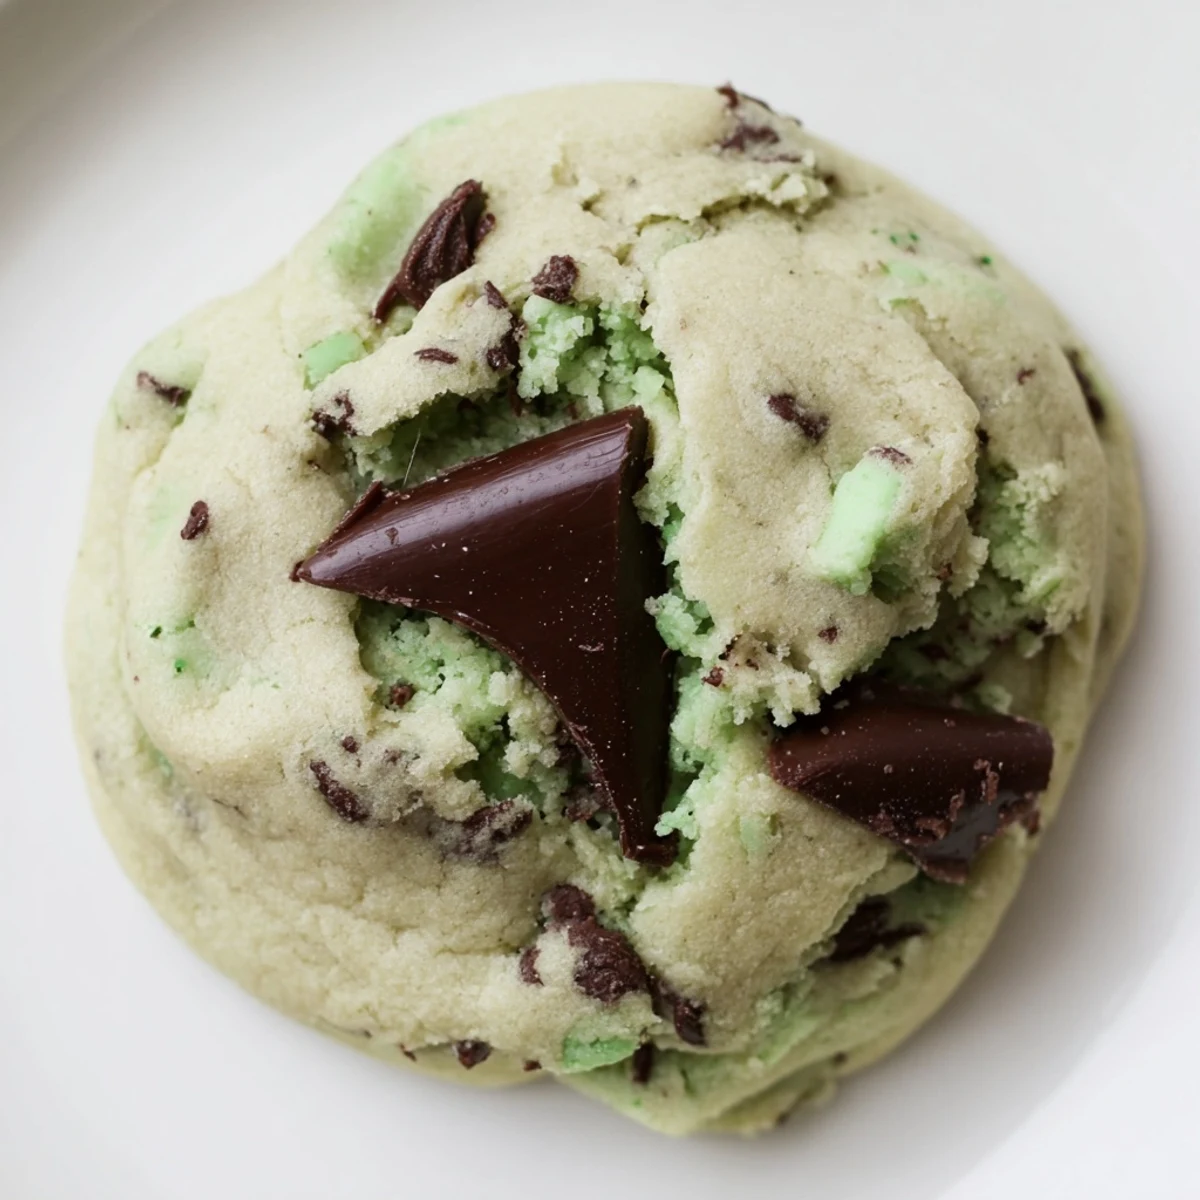
 These Emerald Isle Mint Chocolate Chip Cookies combine soft, chewy textures with refreshing mint flavor and rich chocolate throughout. The dough comes together by creaming butter with both sugars, then incorporating eggs, mint and vanilla extracts, and optional green coloring for an authentic hue. Dry ingredients are gently folded in before adding chocolate chips and optional Andes mints. Bake until edges are set but centers remain soft for maximum chewiness. Ready in just 32 minutes total, these yield 24 cookies perfect for serving alongside hot cocoa or Irish coffee. They freeze beautifully for up to two months, making them ideal for advance preparation.
The day I discovered these Emerald Isle Mint Chocolate Chip Cookies was a dreary Seattle afternoon that desperately needed brightening. Rain pelted against my kitchen window as I whisked together a dough that slowly transformed into the most vibrant shade of green. The aroma of mint and chocolate swirled through my apartment, instantly transporting me away from the gloom and into something that felt magically Irish.
Last St. Patricks Day, I brought a batch of these to our neighborhood potluck, stacking them high on my grandmothers china plate. My normally stoic neighbor Tom asked for the recipe while simultaneously reaching for his third cookie, green crumbs dusting his usually immaculate sweater. Something about their festive color and familiar yet unexpected flavor seems to make even the most reserved people light up.
Ingredients
- Mint extract: I learned through painful trial and error to look for pure mint extract rather than peppermint oil, which can quickly overwhelm the entire batch.
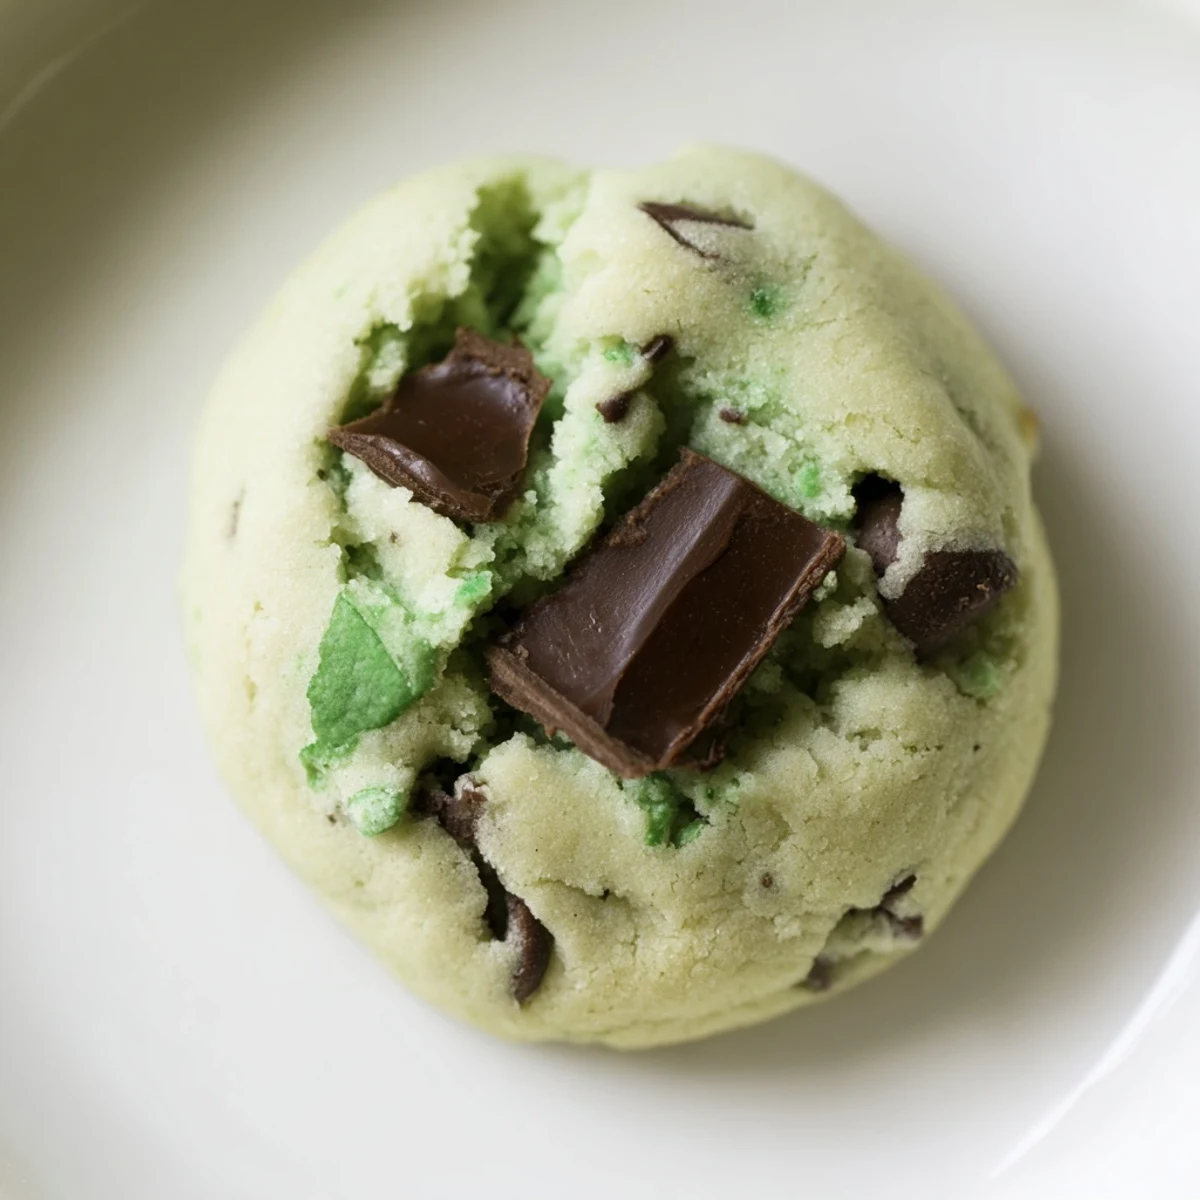
- Green food coloring: Totally optional but adds that magical emerald hue, just 4-6 drops achieves the perfect balance between festive and natural looking.
- Andes mints: These create these delightful melty pockets throughout the cookies that regular chocolate chips alone cant achieve.
- Light brown sugar: The slight molasses flavor creates depth that perfectly complements the bright mint notes.
Instructions
- Prepare your foundation:
- Whisk together 2¼ cups flour, 1 teaspoon baking soda, and ½ teaspoon salt in a medium bowl, setting yourself up for success. This simple step ensures even distribution of leavening agents, preventing those disappointing cookie mountains with crater centers.
- Create the buttery base:
- Cream together 1 cup softened butter with ¾ cup each of granulated and light brown sugars until the mixture becomes notably lighter in color. Your patience here directly translates to a better cookie texture, so give it the full 2-3 minutes.
- Bring in the emerald magic:
- After beating in 2 eggs one at a time, add 1½ teaspoons mint extract, ½ teaspoon vanilla, and those optional drops of green food coloring. The aroma will suddenly transform your kitchen into something delightfully nostalgic.
- Mix with intention:
- Gradually incorporate dry ingredients into wet, mixing just until combined. Overworking the dough activates gluten and leads to tough cookies, so channel your inner gentle baker here.
- Add the treasure:
- Fold in 2 cups chocolate chips and ½ cup chopped Andes mints using a spatula, not the mixer. This careful hand-folding preserves those beautiful chunks that create perfect melty pockets throughout each cookie.
- Shape for success:
- Drop rounded tablespoons of dough onto parchment-lined baking sheets, spacing them 2 inches apart. The cookies will spread as they bake, so give them room to grow into their full potential.
- Bake with vigilance:
- Slide into a 350°F oven for 10-12 minutes, watching for set edges while centers remain slightly soft. That moment when the cookies look almost but not quite done is exactly when to pull them out.
- Perfect the cooling process:
- Allow cookies to rest on the hot baking sheet for 5 minutes before transferring to a wire rack. This brief pause lets them firm up enough to move without breaking while retaining their chewy centers.
 Save to Pinterest
 One Christmas Eve, when everyone was tired of traditional holiday flavors, I made these cookies on a whim. My niece, usually glued to her phone, actually put it down to help drizzle melted chocolate over the cooled batch. We ended up creating a new tradition that night, mint cookies and hot cocoa while watching holiday movies, the perfect counterpoint to all the cinnamon and ginger flooding the season.
Storage Secrets
I once accidentally discovered these cookies actually taste better on day two. The mint flavor seems to settle in and harmonize with the chocolate overnight, creating an even more memorable cookie experience. Store them in an airtight container with a slice of bread to maintain that perfect chewy texture for up to five days, though they rarely last that long in my household.
Seasonal Adaptations
During summer months, I add a handful of crushed freeze-dried strawberries to the dough for a subtle berry contrast that complements the mint beautifully. For winter holidays, white chocolate chips and a light dusting of crushed candy canes transform these into festive treats. In autumn, swapping in some dark chocolate chunks and adding a pinch of espresso powder creates a sophisticated version that pairs wonderfully with after-dinner coffee.
Troubleshooting Common Issues
After making these cookies dozens of times, Ive encountered nearly every possible pitfall and learned how to overcome them all. When cookies spread too much, your butter was likely too warm or you used too little flour, so chill the dough for 30 minutes before baking. If cookies are too pale and cakey, your oven temperature might be running low, as a proper 350°F gives them that perfect golden edge while maintaining the soft center.
- If your cookies come out flat and greasy, try reducing the butter by 2 tablespoons and adding an extra 2 tablespoons of flour.
- When your mint flavor seems to disappear after baking, try adding a tiny drop of mint extract to the chocolate chips before folding them in.
- For picture-perfect cookies, reserve a handful of chocolate chips to press into the tops of dough balls right before baking.
 Save to Pinterest
 These Emerald Isle cookies have traveled with me to potlucks, holiday gatherings, and late-night comfort sessions. They never fail to spark conversation and bring a moment of pure, mint-chocolate joy to whoever takes that first bite.
Questions & Answers
- → How do I ensure my cookies stay chewy?
-
Remove them from the oven when the edges are set but the centers still look slightly underbaked. They continue to cook on the baking sheet during the 5-minute cooling period. Storing in an airtight container with a slice of bread helps maintain moisture.
- → Can I adjust the mint intensity?
-
Absolutely. The standard recipe uses 1.5 tsp mint extract. You can increase to 2 tsp for bolder flavor, but be cautious not to overpower the chocolate. Start with an extra half teaspoon and taste the dough.
- → What's the best way to chop Andes mints?
-
Chill the mints in the freezer for 10 minutes, then chop them finely with a sharp knife or food processor. Freezing prevents them from melting and makes chopping easier. Add them to the dough just before baking.
- → How should I store these for long-term use?
-
Cool completely on a wire rack, then layer in an airtight container with parchment paper between layers. They keep for up to 2 months in the freezer. Thaw at room temperature for 20-30 minutes before serving.
- → Can I use dark chocolate instead of semisweet?
-
Yes, dark chocolate works wonderfully and provides a richer, less sweet flavor that complements the mint beautifully. Use the same quantity of dark chocolate chips for a more sophisticated taste profile.
- → Is there a dairy-free alternative for butter?
-
Dairy-free butter alternatives work reasonably well. Use an equal amount of vegan butter, ideally one with higher fat content for better texture. The cookies may be slightly less tender, but the mint and chocolate flavors remain strong.