 Save to Pinterest
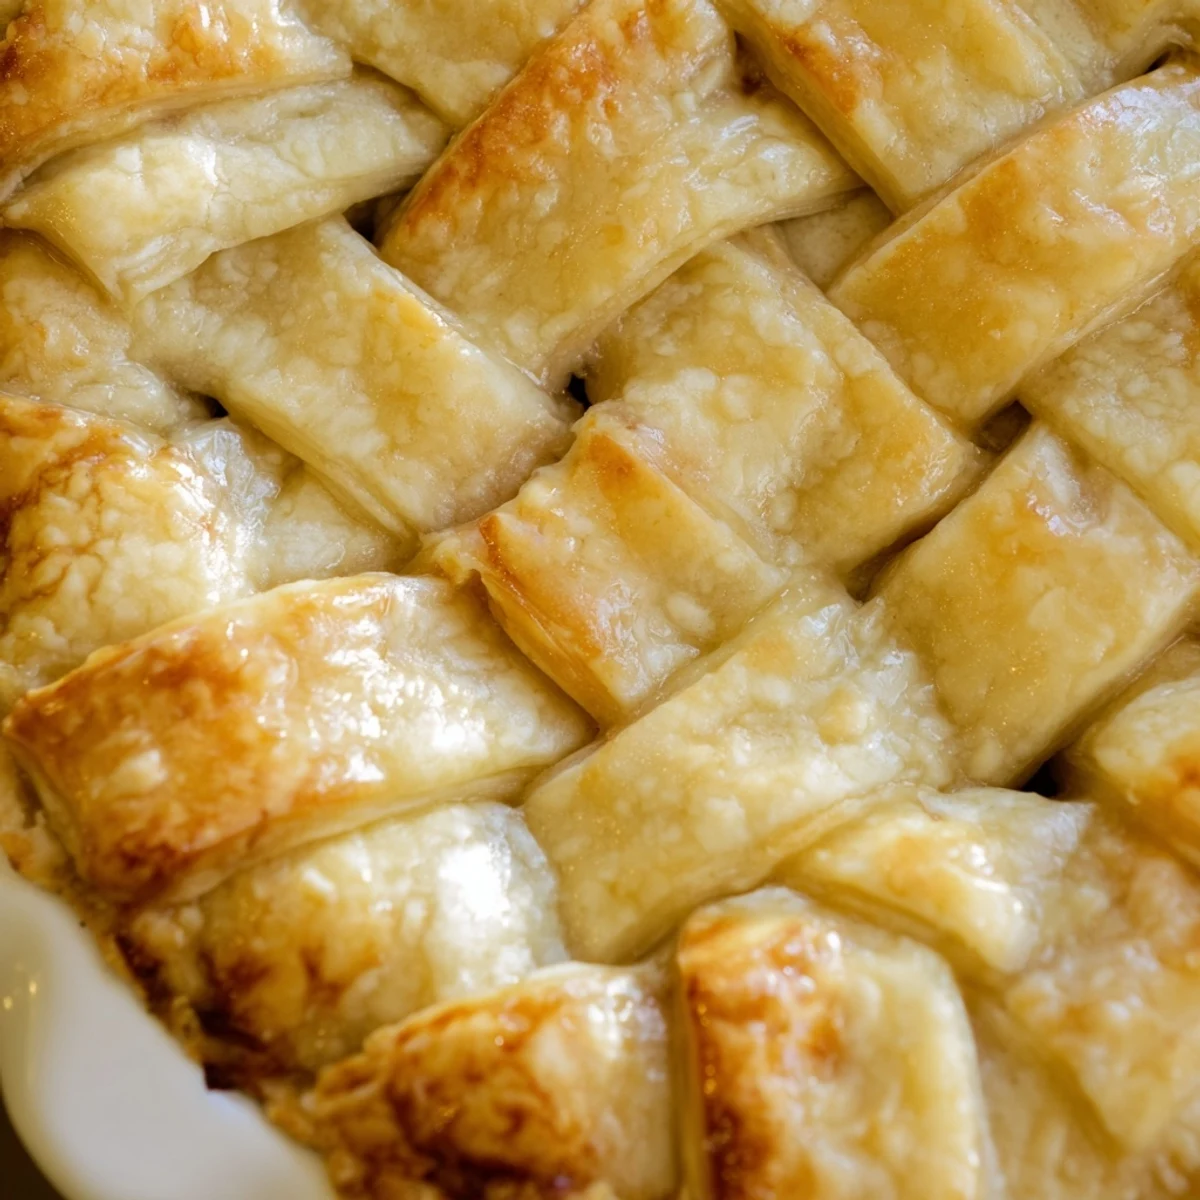
 Craft a professional-quality decorative crust using simple braiding techniques that transform basic dough into an impressive presentation element. This versatile finishing touch works beautifully with fruit pies, quiches, savory pot pies, and custard fillings. The method involves rolling chilled dough into even strips, weaving them using a modified fishtail technique, and securing the braid around pie edges before baking. Keep dough cold throughout the process for clean cuts and defined braids. The egg wash creates a golden, glossy finish that highlights the intricate woven pattern. Perfect for holidays, dinner parties, or anytime you want to elevate your baking presentation.
The first time I attempted a decorative crust, my kitchen looked like a flour bomb had exploded. I was trying to impress dinner guests with what I called a fancy pie, but the braids kept sticking to my counter and falling apart. Three attempts later, I finally figured out the secret: cold dough, patience, and accepting that imperfection is part of the charm. Now this fishtail braid crust has become my go-to for turning ordinary pies into conversation pieces.
Last Thanksgiving, I brought a braided apple pie to my inlaws gathering. My sisterinlaw actually asked where Id ordered it from, and when I told her Id made it myself, she demanded a tutorial on the spot. We ended up having an impromptu pie crust braiding session in their tiny kitchen while the turkey rested. Now its become a weirdly beloved tradition.
Ingredients
- 2 1/2 cups allpurpose flour: The foundation of everything. Ive learned that weighing flour (315g) gives more consistent results than scooping
- 1 cup unsalted butter, cold: Cold butter creates those flaky layers we all want. Cut it into cubes before starting
- 1 tsp salt: Even for sweet pies, this enhances the flavor
- 1 tbsp sugar: Optional but adds a subtle sweetness that pairs beautifully with fruit fillings
- 1/4 to 1/2 cup ice water: Start with less and add only what you need
- 1 egg, beaten: For that golden professional finish
- 1 tbsp milk or water: Thins the egg wash for easier brushing
Instructions
- Make the dough:
- Whisk flour, salt, and sugar together in a large bowl. Work in cold butter with a pastry cutter until you have coarse crumbs with pea sized pieces still visible. Sprinkle in ice water gradually, mixing gently until the dough just holds together.
- Chill thoroughly:
- Divide dough in half, form into disks, wrap tightly, and refrigerate for at least one hour. This step is nonnegotiable for braiding success.
- Roll and strip:
- On a floured surface, roll one disk into a rectangle about 1/8 inch thick. Cut at least six even strips, each about 12 inches long and 1/2 inch wide. A ruler and pizza cutter work best for this.
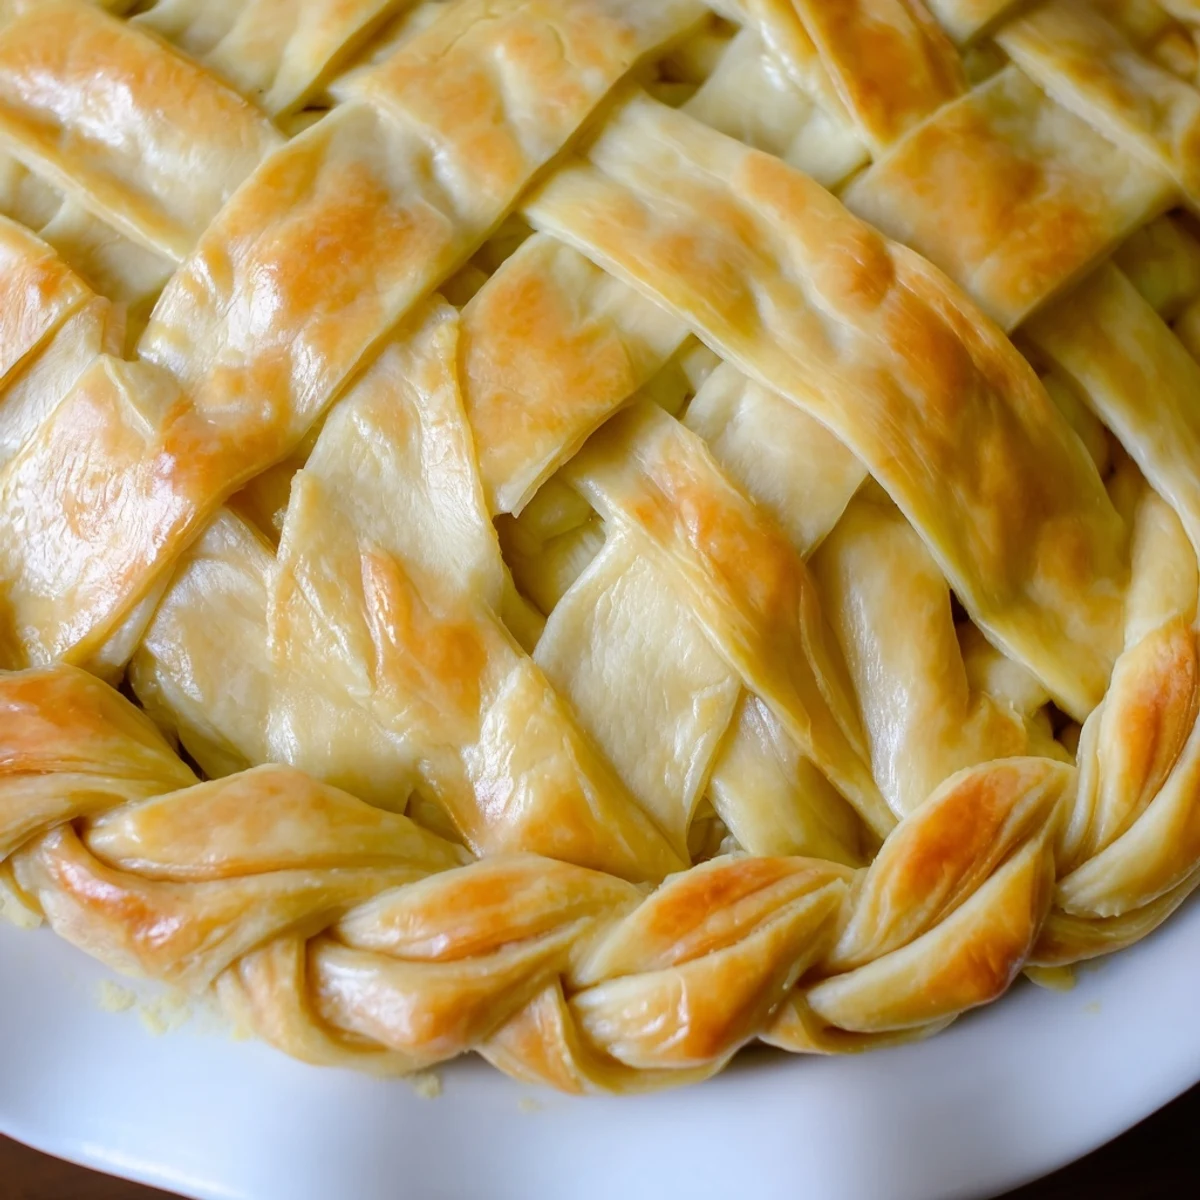
- Create the fishtail:
- Lay three strips together and press one end closed. Alternate bringing the outer right strip to center, then outer left to center, continuing until complete. Press ends together to seal.
- Assemble your pie:
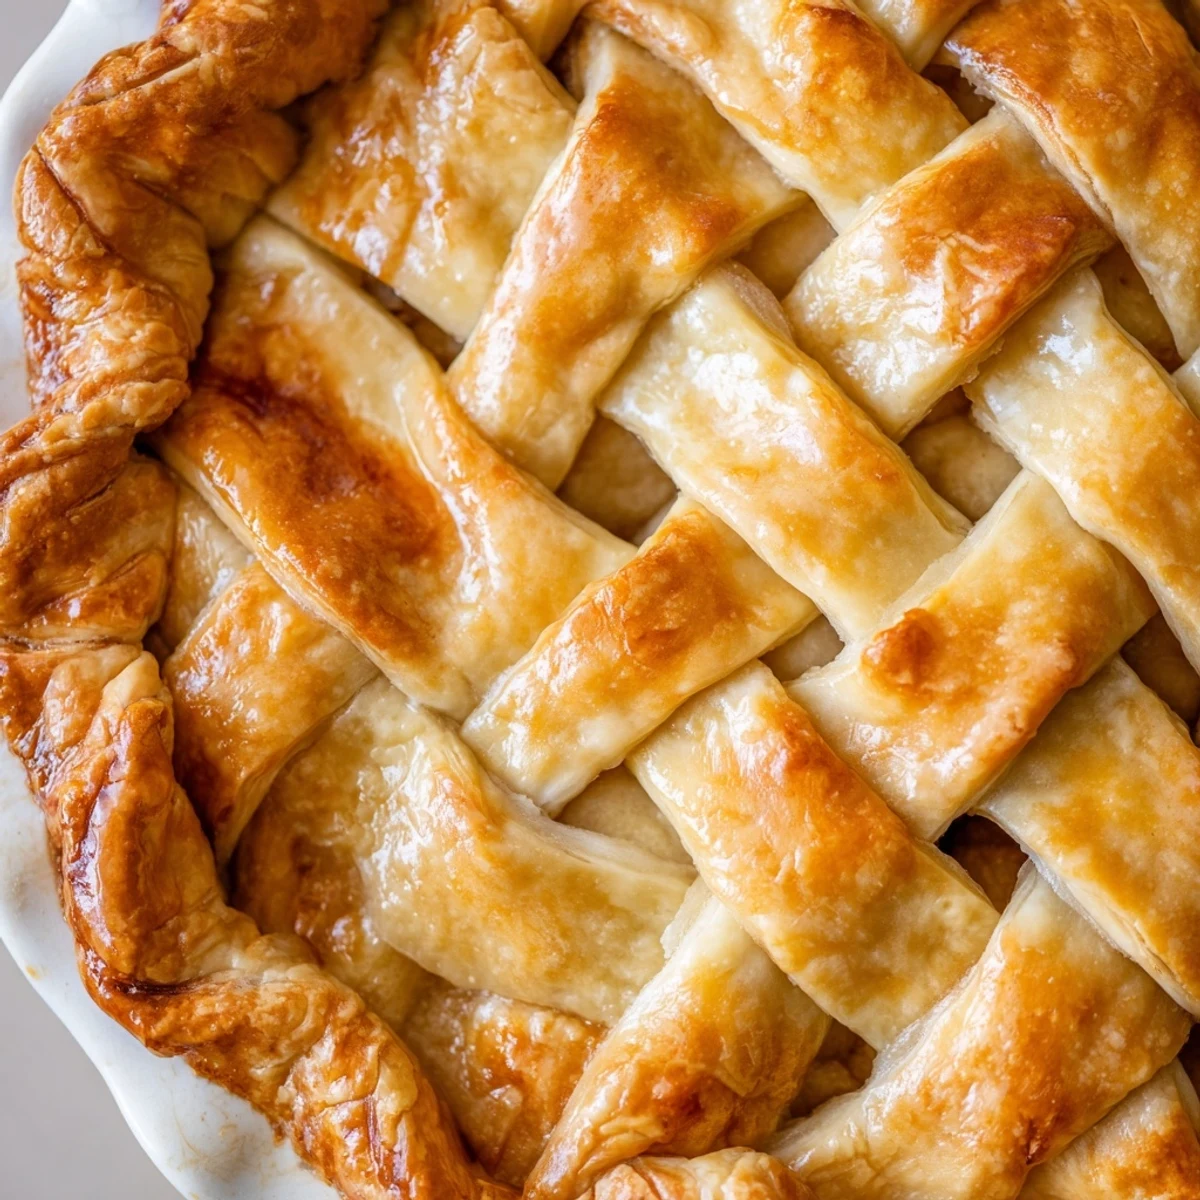
- Trim excess dough from your filled pie, brush the rim with water, and carefully place the braid around the edge. Press gently to adhere, then brush with egg wash for that gorgeous golden finish.
 Save to Pinterest
 I once made a braided crust for a chocolate cream pie and brought it to a potluck. Someone actually took a photo before cutting into it, which felt both surreal and incredibly satisfying. That little bit of extra effort with the crust transforms something simple into something worth celebrating.
Temperature Control
Keep your ingredients and workspace as cool as possible. If you have marble or granite countertops, use them. The colder everything stays, the more distinct your flaky layers will be, and the easier those braids will be to handle.
Color Variations
For something truly stunning, try mixing in colored dough strips made with beet juice, spinach puree, or turmeric. The effect when braided together is absolutely gorgeous, especially for holiday pies or special occasions.
Storage and Make Ahead Tips
The dough can be made up to three days ahead and kept wrapped in the refrigerator. You can also freeze the dough disks for up to three months. For ultimate convenience, braid the strips and freeze them separately on a baking sheet, then store in freezer bags.
- Let frozen dough thaw overnight in the refrigerator before using
- Brush your braid with egg wash right before baking, not ahead of time
- Extra braids can be baked separately and used as edible garnish
 Save to Pinterest
 Theres something deeply satisfying about serving a pie that looks this special. The extra 20 minutes spent braiding creates memories that last far longer than the dessert itself.
Questions & Answers
- → How do I keep the braided strips from breaking?
-
Work with thoroughly chilled dough and avoid warming it with your hands. If strips become too soft, return them to the refrigerator for 10-15 minutes before continuing. Use a sharp knife or pizza cutter for clean edges, and handle strips gently when transferring to the pie.
- → Can I make the braids ahead of time?
-
Yes, prepare the braids up to 24 hours in advance. Wrap them tightly in plastic and refrigerate. You can also freeze unbaked braids for up to 3 months—thaw in the refrigerator before applying to your filled pie and baking.
- → What's the difference between a regular braid and a fishtail braid?
-
A regular three-strand braid crosses strips from alternating sides over the center. A fishtail braid uses the same starting technique but then continuously crosses outer strands inward, creating a flatter, more intricate woven pattern that resembles a fish tail.
- → Do I need to pre-bake the braided crust?
-
Pre-baking depends on your filling. For custards or no-bake fillings, blind bake the crust with braid at 375°F for 12-15 minutes until golden. For fruit pies or pot pies that bake longer, add the braid before the final bake and brush with egg wash for color.
- → How many braids do I need for one pie?
-
For a standard 9-inch pie, you typically need 2-3 braids depending on thickness. Each braid uses three strips. Roll dough evenly and cut 6-9 strips total. The exact number varies based on strip width and how tightly you weave the braid.
- → Can I use store-bought dough for this technique?
-
Yes, refrigerated pie dough works well. Ensure it's thoroughly chilled before rolling and cutting. Handle it quickly to prevent softening. Homemade dough allows more control over thickness and may hold intricate patterns slightly better.