 Save to Pinterest
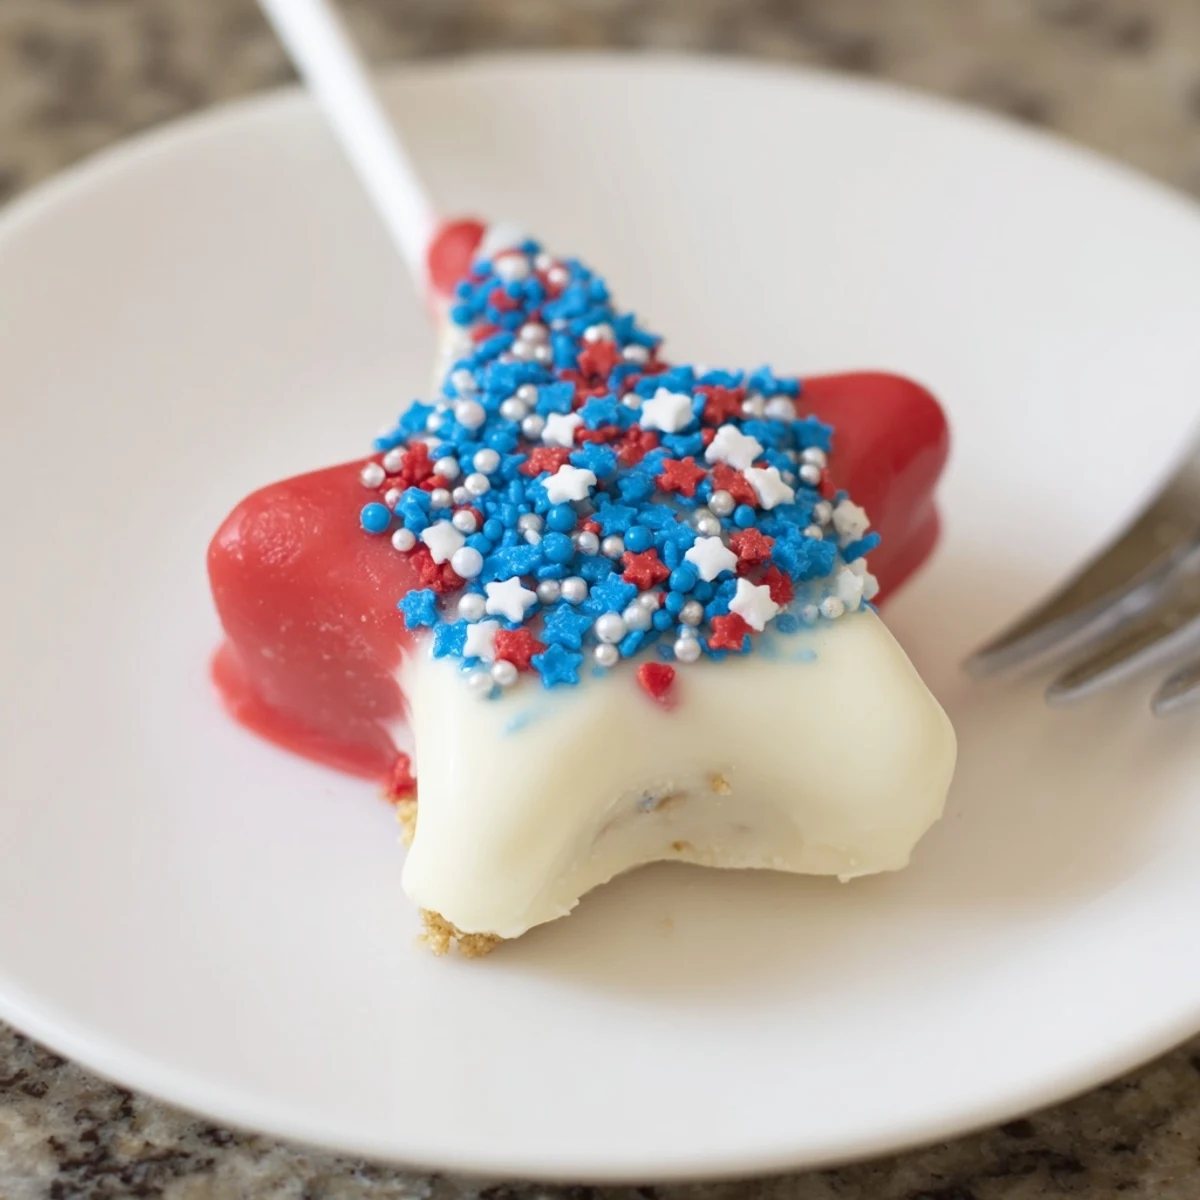
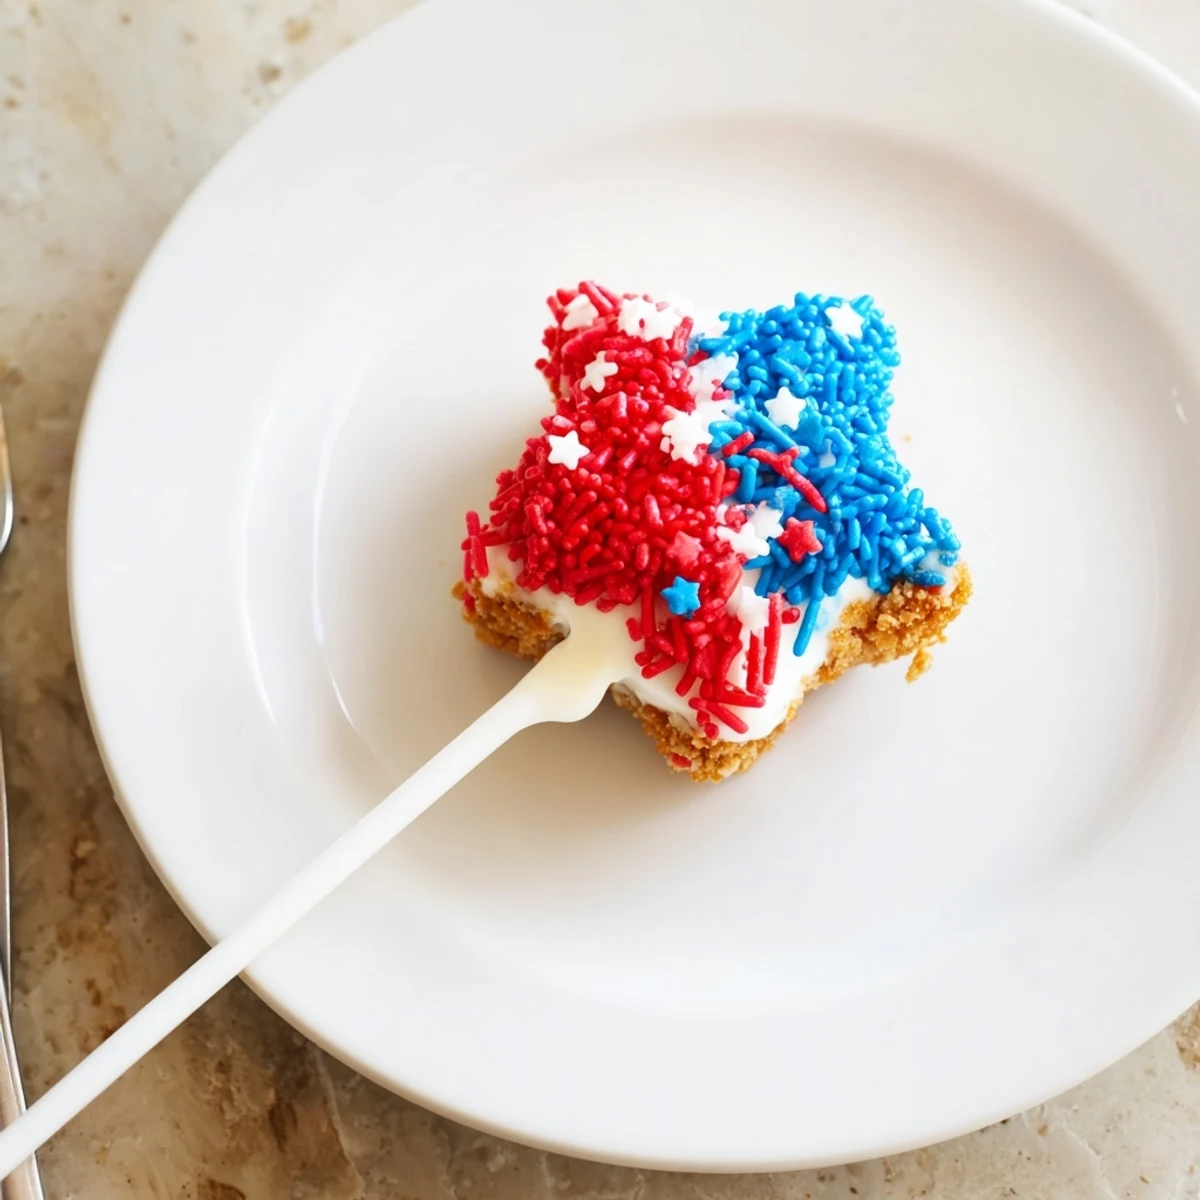
 These Fourth of July star cheesecake pops begin with a creamy blend of softened cream cheese, powdered sugar and vanilla folded with graham cracker crumbs. Press the mixture thin on a tray and freeze about 1 hour, cut stars, insert lollipop sticks and freeze another 30 minutes. Melt white chocolate, tint red and blue, dip each star and add sprinkles.
Let coated pops set chilled and store in the refrigerator up to four days. For a gluten-free option swap the crumbs for GF biscuits; use milk or dark chocolate to vary the flavor. A star cutter and lollipop sticks make assembly quick and festive.
Nothing says summer quite like the sound of sparklers mixed with the gentle clink of lollipop sticks as everyone reaches for a treat. Last year, my kitchen was splattered with streaks of red and blue as I wrestled with white chocolate and star-shaped cookie cutters. The hum of anticipation from my family, impatiently waiting for something festive and sweet, still rings in my ears. These cheesecake pops were born from my craving for something both celebratory and creamy, minus the fuss of baking in the July heat.
I first made these for a neighborhood Fourth of July picnic, and my hands were covered in sprinkles when my neighbor dropped by early. We ended up laughing as we improvised more stars than planned, and somehow it turned into a decorating contest with everyone vying for the most patriotic pop. Those happy, messy moments made the holiday even brighter.
Ingredients
- Cream cheese: Softened cream cheese is the heart of that velvety cheesecake center—always beat until there are absolutely no lumps.
- Powdered sugar: Adds gentle sweetness and dissolves smoothly into the mixture, preventing any graininess.
- Vanilla extract: Just a splash brings a deep, comforting aroma—don’t be tempted to skip it.
- Graham cracker crumbs: They lend that familiar cheesecake base flavor and help the pops hold their shape; a quick blitz in the food processor gets the crumbs extra fine.
- White chocolate or candy melts: For a shiny, snappy exterior that’s easy to tint; go slow and melt gently to avoid seizing.
- Red and blue food coloring: Gel coloring creates vibrant shades without thinning the chocolate.
- Red, white, and blue sprinkles: The finishing touch—sprinkle liberally for the full festive effect.
- Lollipop sticks: Essential for turning cheesecake into a portable, star-topped treat.
Instructions
- Make the base:
- Beat the cream cheese, powdered sugar, and vanilla until silky and smooth—the mixture should slide easily off a spoon.
- Mix and spread:
- Stir in graham cracker crumbs, then use a spatula to spread the mixture on a parchment-lined sheet, about half an inch thick.
- Chill and cut:
- Freeze the cheesecake slab until firm, then press your star cookie cutter straight down with a satisfying crunch.
- Stick and freeze:
- Carefully insert lollipop sticks into each star, keeping the points sharp, and freeze again to lock them in place.
- Color the chocolate:
- Melt the chocolate or candy melts in a bowl, divide, and stir in red and blue food coloring—leave one bowl white for classic flair.
- Dip and decorate:
- Swirl each frozen star pop into the chocolate, let the excess drip, and shower on the sprinkles before it sets.
- Set and serve:
- Lay each decorated pop on clean parchment and let them set until the chocolate is crisp and ready to crunch.
 Save to Pinterest
 The first time I carried a tray of these pops outside, little hands snatched them up before I could finish setting them down. I laughed as confetti-like sprinkles rained down on the grass, and for a moment, the heat and noise faded while everyone shared something simple and sweet together.
Why Chill Time Is Key
Patience pays off: firm cheesecake holds its shape perfectly, so don’t be tempted to cut corners on freezer time. I learned this lesson when my first batch melted into star puddles—since then, I always set a timer and move on to prepping the sprinkles.
Simple Shortcuts for Faster Prep
If you’re in a hurry, pop the lined sheet into the freezer’s coldest spot and prep your decorations while you wait. Using candy melts instead of real chocolate means you skip the fuss with tempering and get a perfect finish every time.
Decorating Like a Pro (Even With a Messy Table)
Don’t worry about perfection—each star takes on its own personality with splashes of color and wild scatterings of sprinkles. Enlist kitchen helpers for this part; extra hands always mean extra fun.
- Set up a baking sheet to catch runaway sprinkles and make cleanup a breeze.
- Dip pops one at a time to avoid smudged chocolate or cold fingers.
- Chill finished pops for a few minutes more if your kitchen is warm.
 Save to Pinterest
 However you decorate them, these star pops bring big smiles and a burst of July cheer. May your holiday be extra sweet—and your hands just a little bit sticky!
Questions & Answers
- → How do I get clean star shapes without crumbling?
-
Freeze the pressed cheesecake layer until very firm (about 1 hour) before cutting. Use a sharp star cutter and press straight down; chill the cut stars again before inserting sticks to minimize crumbling.
- → What is the best way to color the coating?
-
Melt white chocolate or candy melts gently over a double boiler or in short bursts in the microwave. Stir in oil-based candy coloring for chocolate or powdered colorants for melts to avoid seizing. Tint small batches for even shades.
- → Can I make these ahead of time?
-
Yes. Make and dip the pops, then keep them refrigerated in a single layer for up to four days. For longer holding, freeze them solid, then thaw in the refrigerator before serving to preserve texture.
- → How can I make a gluten-free version?
-
Replace graham cracker crumbs with finely crushed gluten-free biscuits or GF graham-style crumbs. Confirm all coatings and sprinkles are labeled gluten-free to avoid cross-contamination.
- → Any tips for avoiding melted chocolate drips?
-
Let excess coating drip off by holding the pop vertically and tapping gently on the edge of the bowl. Place on parchment and allow the coating to set at room temperature or in the fridge for a neat finish.
- → How should I store and serve these pops?
-
Store chilled in an airtight container in the refrigerator for up to four days. Serve straight from the fridge for firm bites, or let sit a few minutes at room temperature for a softer texture.