 Save to Pinterest
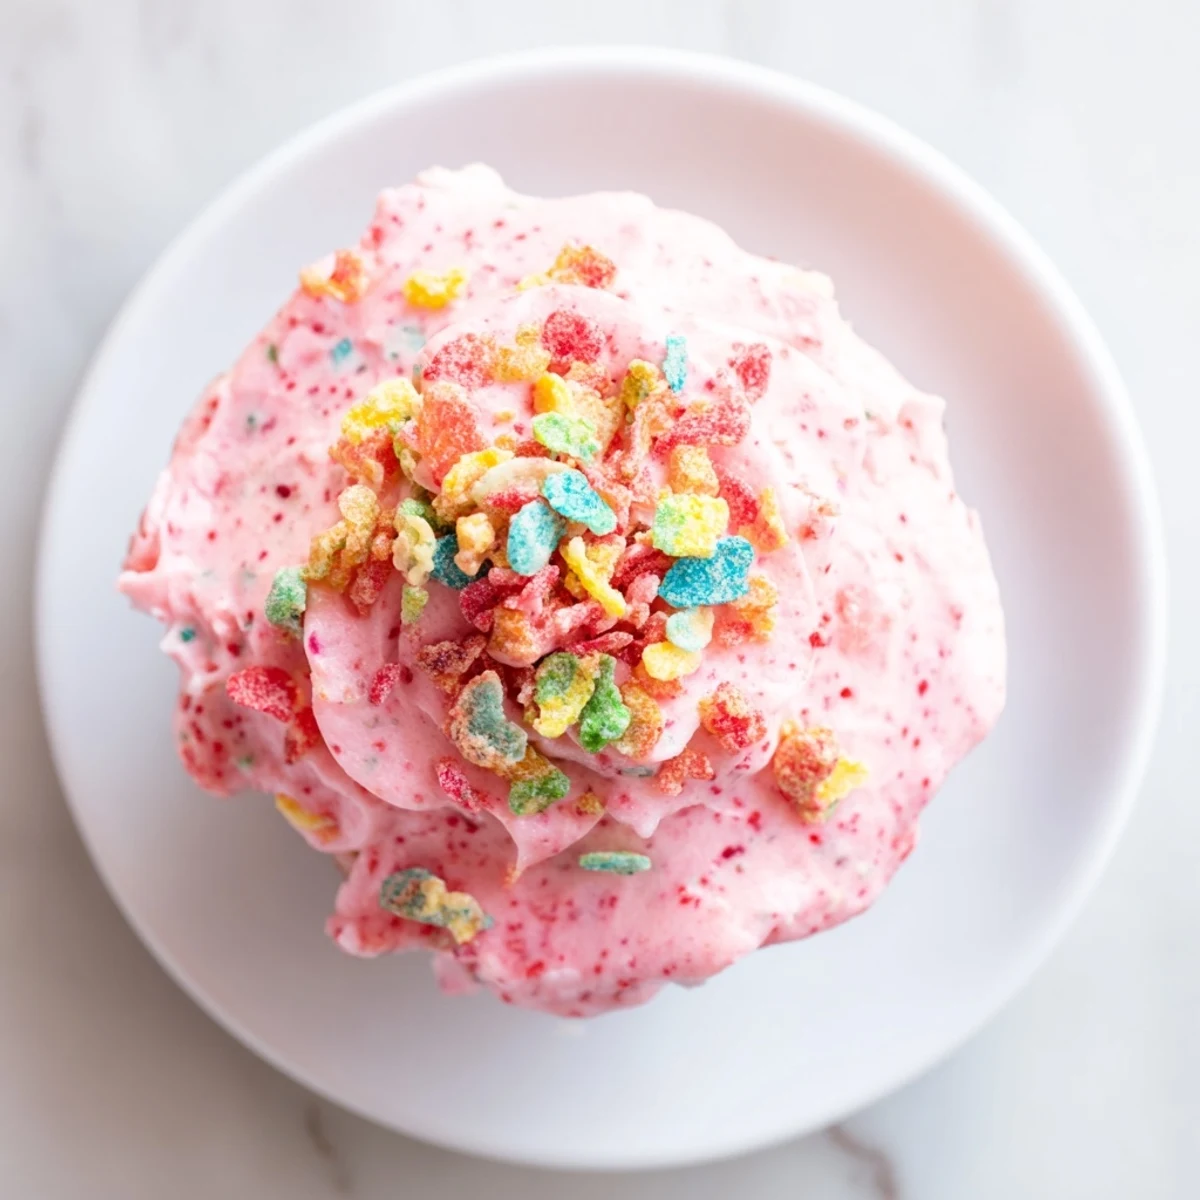
 This vibrant frosting combines the nostalgic taste of Fruity Pebbles with a classic buttercream base. Simply grind the cereal into a fine powder and blend it with butter, powdered sugar, vanilla, and milk until light and fluffy. The result is a colorful, fruity topping that adds whimsy to any baked treat. Adjust the consistency easily with more milk for a thinner spread or additional sugar for thicker coverage. Garnish with whole cereal pieces right before serving for extra crunch and visual appeal.
The smell of Fruity Pebbles takes me straight back to Saturday morning cartoons, bare feet on cold kitchen tile, and a bowl that was more sugar than milk. I never imagined those same neon bits would one day end up smeared across a layer cake, but here we are. This frosting came to life during a late night experiment for my niece's birthday, and it stole the show before the candles were even lit. It is absurdly easy and unapologetically fun.
My niece took one bite, looked up with pink smeared across her cheeks, and declared it the best cake in the entire universe, which honestly felt like winning a Michelin star.
Ingredients
- 1 cup Fruity Pebbles cereal (plus extra for garnish): This is the heart of the recipe so do not skimp here, and keep extra whole pieces for a crunchy colorful topping.
- 1/2 cup unsalted butter, softened: Leave it out for about an hour so it creams smoothly without lumps.
- 2 cups powdered sugar: Add it gradually to avoid a sweet cloud explosion all over your counter.
- 2 tablespoons whole milk (more as needed): Whole milk gives the best body but any milk works in a pinch.
- 1 teaspoon vanilla extract: A quiet backbone that rounds out the fruity chaos beautifully.
- Pinch of salt: Just a pinch wakes up every flavor and keeps the sweetness honest.
Instructions
- Crush the cereal:
- Toss the Fruity Pebbles into a food processor and pulse until you get a fine dusty powder, or seal them in a zip top bag and roll with a rolling pin until your arms feel the burn. The finer the crush, the smoother your frosting will be.
- Beat the butter:
- In a large bowl, whip the softened butter with an electric mixer until it turns pale, creamy, and cloudlike. This usually takes about two minutes and you will see the texture change before your eyes.
- Add the sugar slowly:
- Pour in the powdered sugar a half cup at a time, beating well after each addition and scraping down the sides so nothing hides in the corners.
- Bring it all together:
- Add the ground cereal, vanilla, salt, and milk, then beat on medium high speed until everything is light, fluffy, and streaked with the softest shade of rainbow.
- Adjust the texture:
- If the frosting feels too stiff, splash in another half tablespoon of milk. If it is too loose, dust in more sugar until it holds its shape when you lift the beaters.
- Frost and garnish:
- Spread or pipe the frosting onto your cooled cakes, cupcakes, or cookies, then scatter whole Fruity Pebbles on top right before serving for maximum color and crunch.
 Save to Pinterest
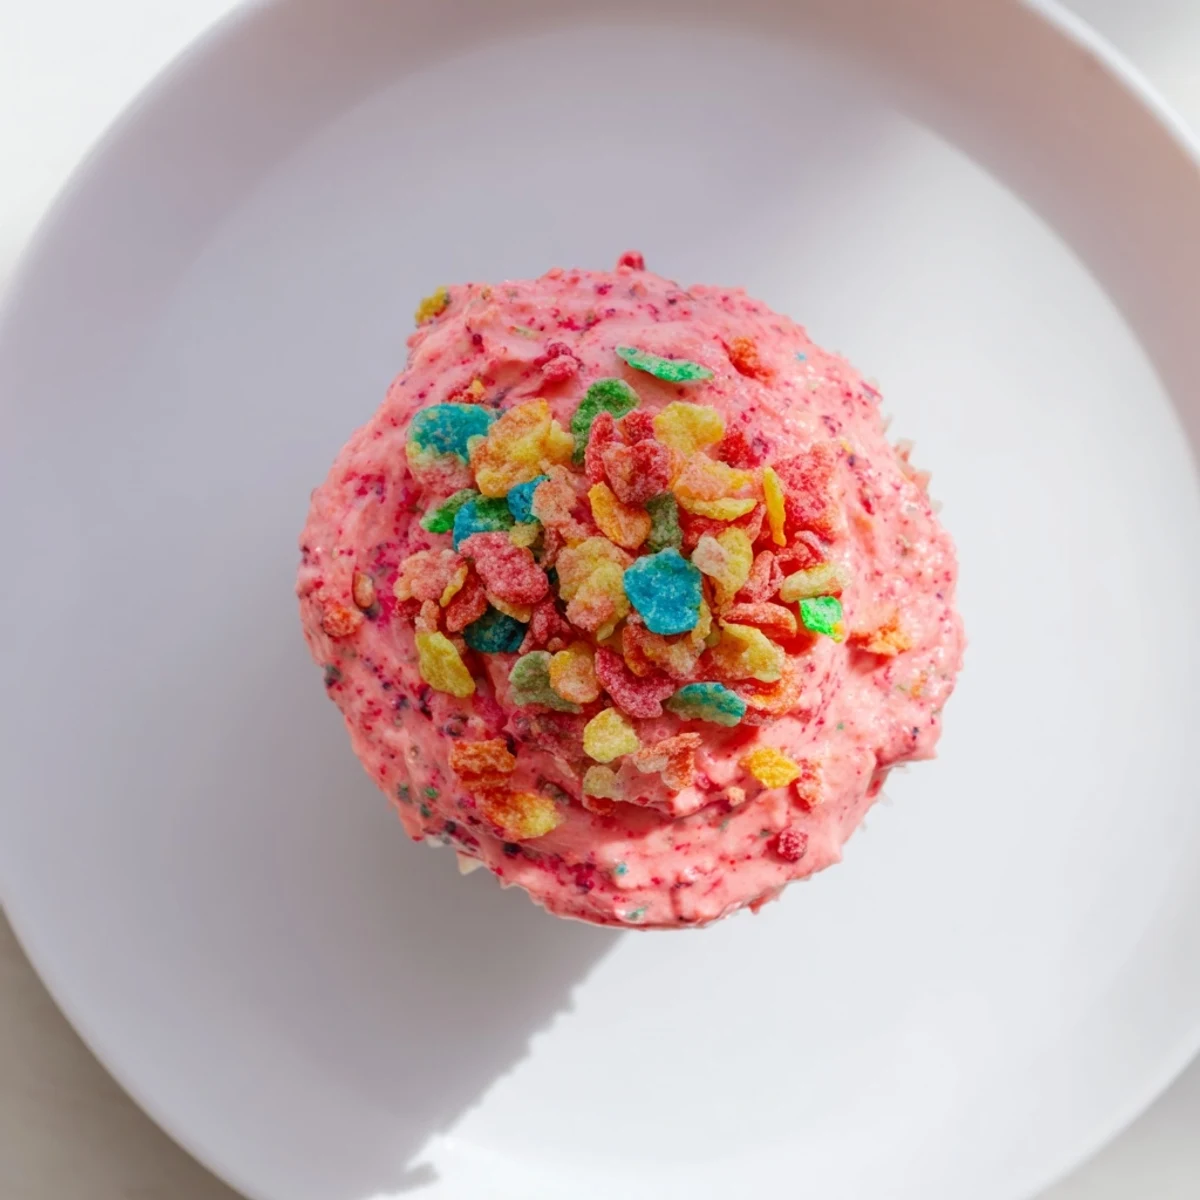
 The moment this frosting left the bowl and hit a vanilla cupcake, I realized I had accidentally created something that made grown adults fight over the last one.
What to Spread It On
Vanilla cake is the obvious canvas but this frosting truly sings on strawberry cupcakes, where the berry notes echo each other. I have also slathered it between chocolate layers and the contrast is unexpectedly wonderful, like a childhood cereal bowl collided with a bakery display case.
Making It Dairy Free
Swap the butter for a good quality vegan butter stick and use oat or almond milk instead of whole milk. The flavor shifts slightly but the fruity cereal personality stays front and center, and nobody at the party will guess it is vegan unless you tell them.
Storage and Make Ahead
This frosting keeps well in an airtight container in the fridge for up to five days. Let it come to room temperature and give it a quick rewhip before using so it regains that fluffy spreadable consistency.
- Do not freeze the frosted cake or the garnish will turn soggy and sad.
- Always stir the frosting gently after refrigerating to bring back its smooth texture.
- Taste before serving because cold dulls sweetness and you may want a tiny sugar boost.
 Save to Pinterest
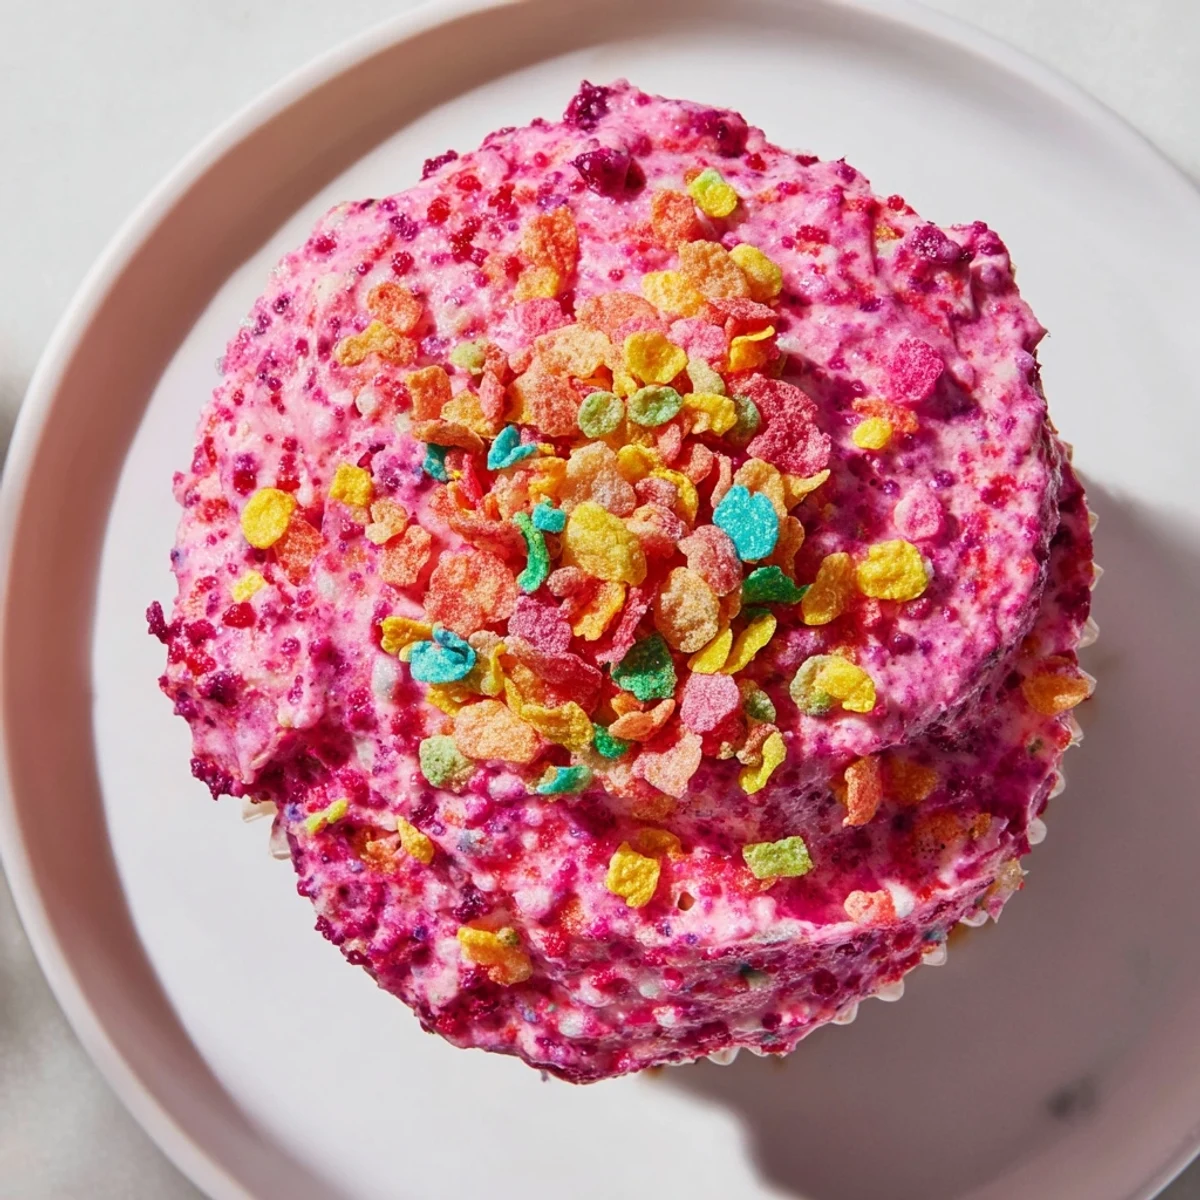
 Some recipes try too hard to be clever, but this one is just pure messy joy in a bowl, and every sprinkle fleck is worth the smile it creates.
Questions & Answers
- → Can I use other cereals instead of Fruity Pebbles?
-
Absolutely! This technique works wonderfully with any colorful cereal. Try Cocoa Pebbles for a chocolate version, Fruit Loops for a different fruity profile, or even crushed Lucky Charms for a marshmallow-studded treat.
- → How should I store this frosting?
-
Store in an airtight container at room temperature for up to 2 days, or refrigerate for up to a week. Bring to room temperature and re-whip before using for the best texture.
- → Can I make this frosting ahead of time?
-
Yes! Prepare the frosting up to 3 days in advance and store it in the refrigerator. Let it come to room temperature, then beat it briefly with a mixer to restore fluffiness before applying to your baked goods.
- → Why do I need to grind the cereal first?
-
Grinding the cereal creates a smooth texture throughout the frosting while infusing it with maximum fruity flavor. Whole pieces would create a gritty texture, but the fine powder blends seamlessly into the buttercream.
- → Is this frosting suitable for piping decorations?
-
Yes, this frosting pipes beautifully. For detailed piping work, use slightly less milk to create a stiffer consistency that holds its shape well on cupcakes and decorated cakes.
- → Can I freeze this frosting?
-
This frosting freezes well for up to 3 months. Thaw overnight in the refrigerator, then bring to room temperature and re-whip before using for the best results.