 Save to Pinterest
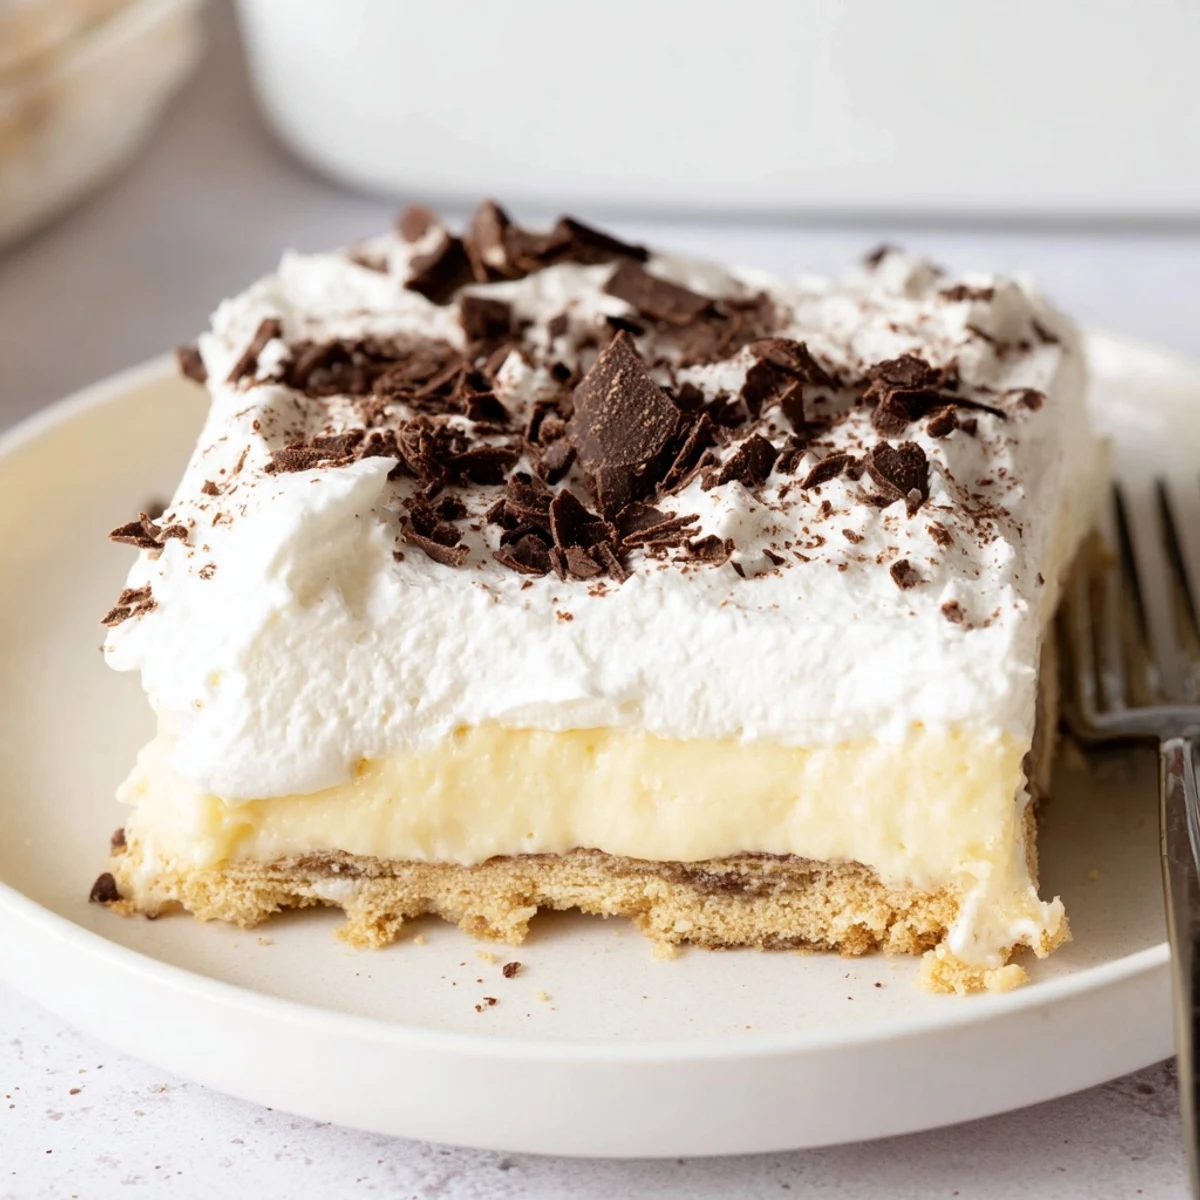
 In under 25 minutes of hands-on time, assemble a crunchy graham-cracker base, a cloudlike whipped cream layer and a silky instant vanilla pudding. Spoon layers into a 23x23 cm dish, chill at least 2 hours until set, then slice to serve 8. No oven required; try chocolate pudding, chocolate-cookie layers or fresh berries for variation. Contains dairy and gluten—check labels for allergens.
One rainy Saturday, I got the urge for something sweet but absolutely refused to turn on the oven. The steady drum of raindrops on the window made the kitchen feel especially cozy, and this layered, chilled dessert suddenly called my name. By the time it was assembled, the smell of chocolate shavings mingled with vanilla instantly brightened the whole room. Sometimes, dessert just needs to be effortless and joyful.
Last spring I whipped up this no bake layered treat for an impromptu game night. Everyone gathered around the table as I sliced through silky chilled layers, and there was genuine excitement as each piece revealed its stripe of soft pudding and billowy cream. Even those who usually claim not to like dessert asked for seconds. Good company and easy desserts make the best memories.
Ingredients
- Graham crackers or digestive biscuits: Their slight crunch and toasty flavor hold the layers together; I crush them in a sturdy zip bag for less mess.
- Unsalted butter: Melted, it helps the base bind perfectly—use fresh butter for the cleanest taste.
- Cold heavy whipping cream: Cold cream whips fastest and becomes the fluff we all adore, so chill your bowl too.
- Powdered sugar: Sifts in smoothly and sweetens the cream without any grit.
- Vanilla extract: Just a teaspoon adds warmth; real vanilla is worth it if you have it.
- Instant vanilla pudding mix: This sets quickly and adds body; dont overbeat it or it thickens too much.
- Cold whole milk: The fat in whole milk gives the pudding its rich texture, so avoid skim for best results.
- Chocolate shavings or cocoa powder (optional): These finish the dessert with just enough bitterness and color to keep it interesting.
Instructions
- Build the base:
- Mix the crushed graham crackers with melted butter in a big bowl until they look like damp sand. Press the mixture firmly into your baking dish, listening for the soft crunch, and try to make the layer as even as possible.
- Whip up the cream:
- Pour the cold cream into a chilled bowl, then add powdered sugar and vanilla extract. Beat with an electric mixer (or your wrist!) until stiff peaks form—your arm gets tired just as the cream peaks, every time.
- Set the pudding:
- Whisk the instant pudding mix with cold milk for 2 minutes; it thickens just as you start wondering if you got it right. Let it stand for 5 minutes—it will look wobbly at first but trust the process.
- Layer the cream:
- Scoop half the whipped cream onto the biscuit base and gently spread it, swirling the spatula to get those satisfying, soft ridges along the edges.
- Add the pudding:
- Pour the thickened vanilla pudding evenly over the whipped cream, smoothing it right to the corners so no one misses out.
- Top with more cream:
- Spread the remaining whipped cream over the pudding—its okay if your spatula swipes are a little rustic here.
- Finish and chill:
- Sprinkle the top with chocolate shavings or cocoa powder if you like, then cover the dish tightly and refrigerate for at least 2 hours. The wait is the hardest part, so distract yourself with a coffee.
- Slice and serve:
- Once it feels set, use a sharp knife to cut chilled slices and serve immediately—the first forkful always tastes like a reward.
 Save to Pinterest
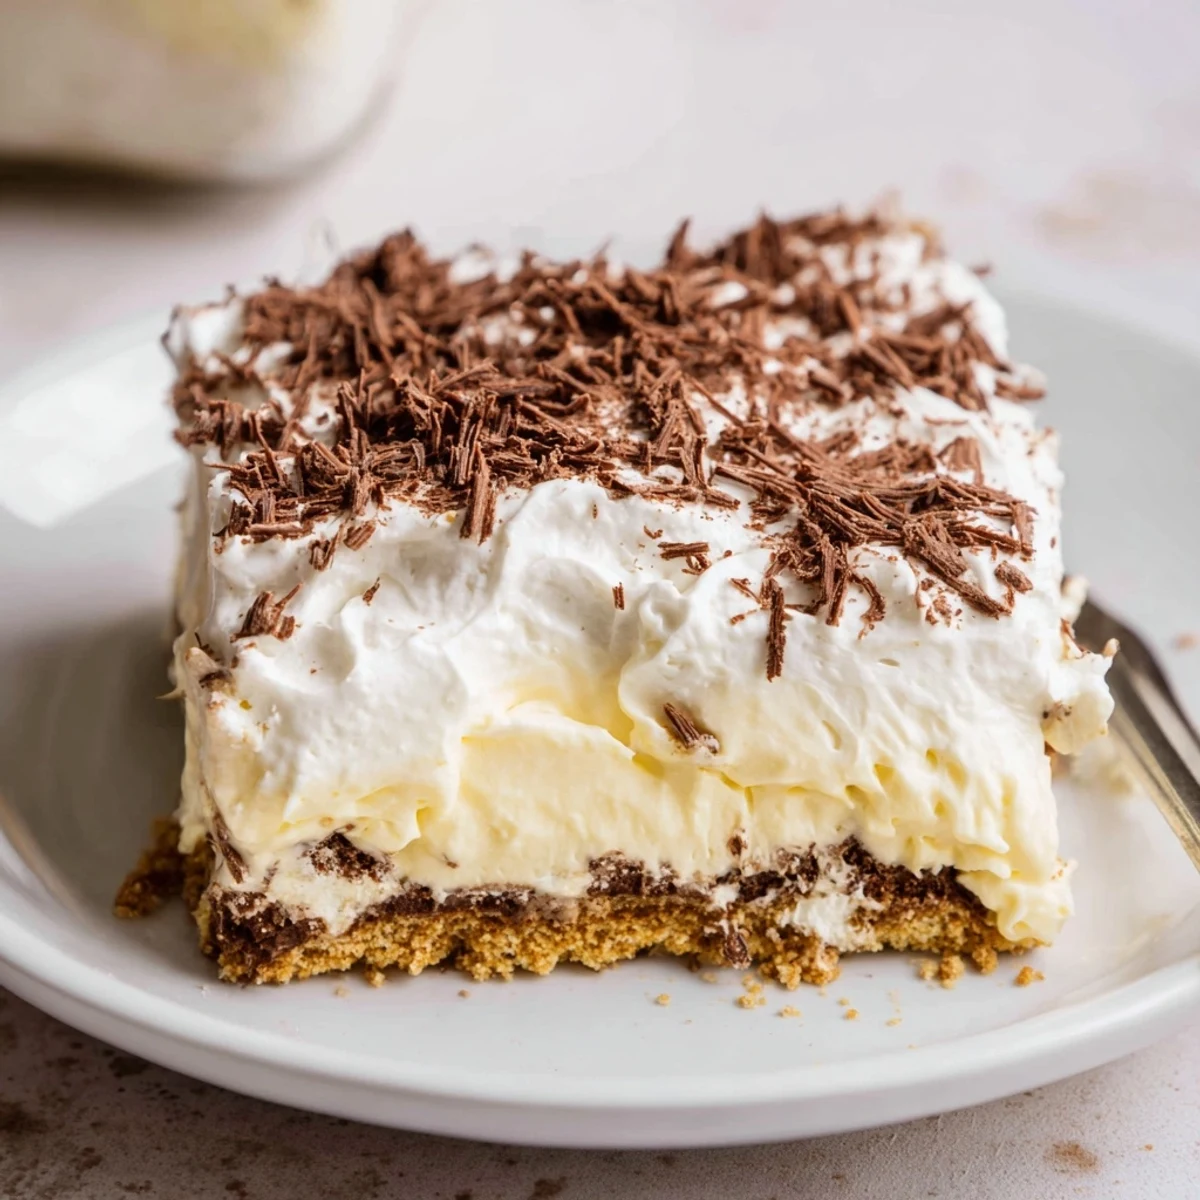
 The first time I brought this dessert to a barbecue, it vanished before I could even grab a second slice. Someone joked that it must be secretly store-bought because it looked so layered and neat. Just like that, this became the requested finale for our summer get-togethers—my secret easy win.
How to Add a Personal Twist
Its amazing how this dessert adapts. Ive stirred sliced strawberries or bananas between the layers for color and freshness, and sometimes swapped in chocolate pudding for a double hit of comfort. A little orange zest on top once made everyone pause and ask what the secret ingredient was—tiny changes can really shake things up.
Serving and Storing Suggestions
After slicing, I like to serve this straight from the pan for rustic charm. Leftovers (if you have any!) keep well in the fridge for a couple of days, tightly covered to keep the cream soft and fluffy. Surprisingly, the flavor deepens by the second day and the cookies soften in the most delicious way.
Little Moments That Matter
Dogs thumping their tails under the table and laughter echoing while you swirl the cream—these are the real flavors in a kitchen. Little hands have helped with sprinkling cocoa, and the first slice is almost always a bit messier than planned, but that only adds to the fun. The simplicity of mixing and layering leaves plenty of time for stories and smiles.
- Make sure your dish is deep enough so layers dont overflow.
- A thin knife dipped in hot water slices dessert neatly with minimal sticking.
- If short on time, 1 hour in the freezer can substitute for part of chilling—just dont forget its in there.
 Save to Pinterest
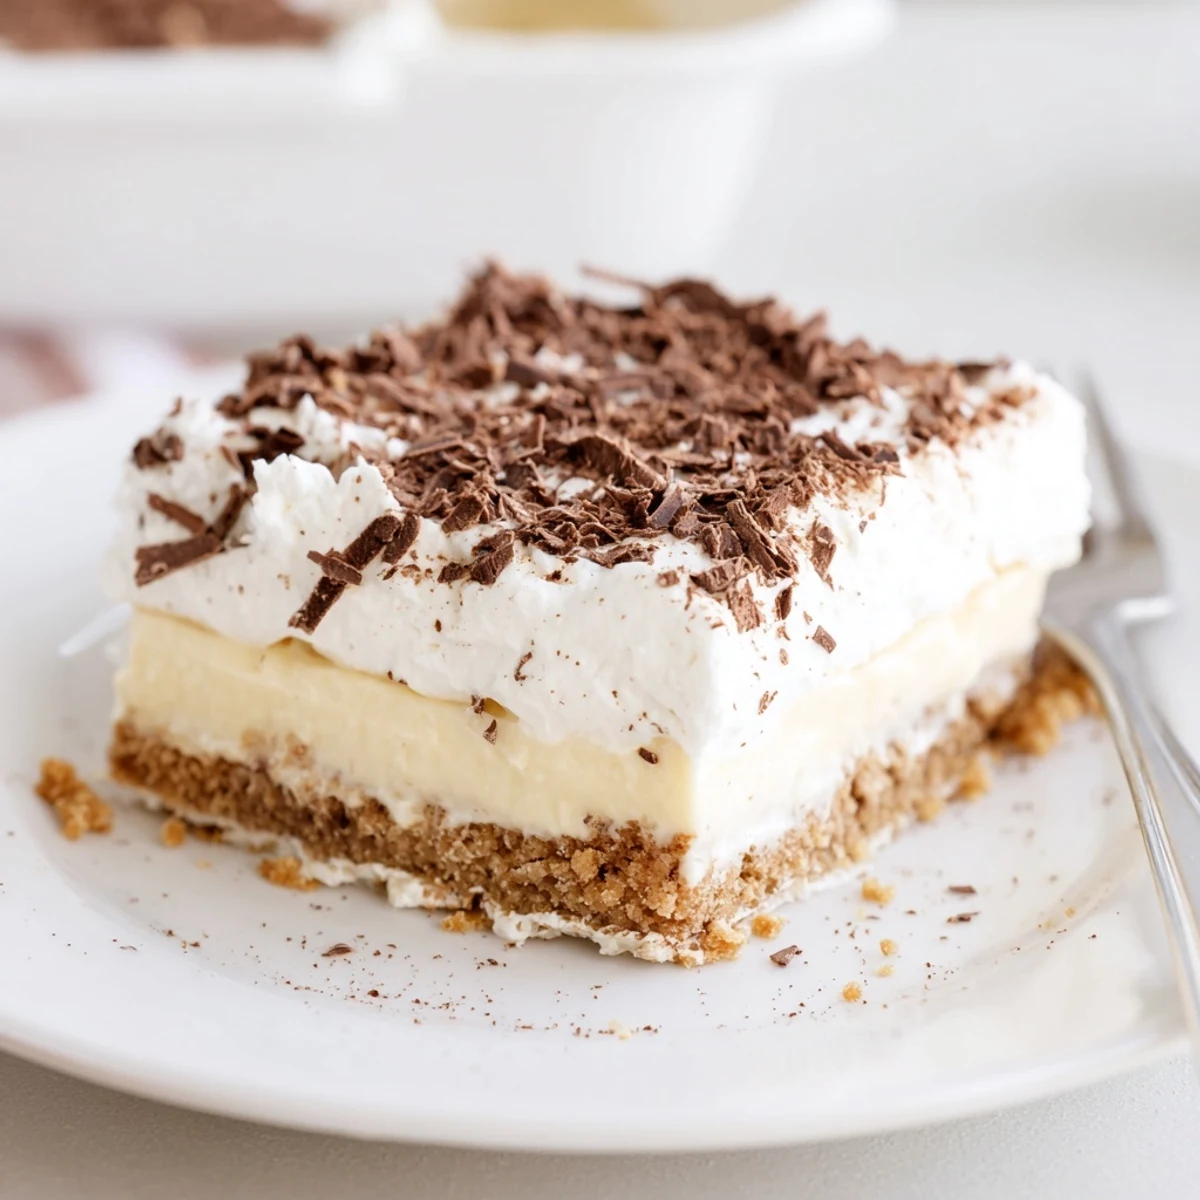
 Theres nothing fussy or precious here—just honest, layered delight and plenty of reasons to share. I hope you enjoy every cool, creamy bite as much as I always do.
Questions & Answers
- → How long should it chill before serving?
-
Chill at least 2 hours so layers firm up; for the cleanest slices refrigerate overnight. Longer chilling deepens the flavors and firms texture.
- → How do I get stiff peaks for the whipped layer?
-
Use cold heavy cream and chilled mixing bowl. Start on medium, then increase speed until peaks hold. Avoid overbeating or it will turn grainy.
- → Can I swap graham crackers for something else?
-
Yes—use digestive biscuits, chocolate cookies for a richer base, or crushed nuts mixed with butter for a gluten-reduced option if needed.
- → Any tips for neat layers when slicing?
-
Chill thoroughly, run a sharp knife under hot water and wipe between cuts, and slice with steady downward pressure for clean portions.
- → How long does this keep in the fridge?
-
Stored covered, it keeps 3–4 days in the refrigerator. Note texture may soften over time, so serve within a couple of days for best contrast between layers.
- → Can I prepare it ahead and freeze?
-
Freezing can change texture of whipped cream and pudding. It’s best made ahead and refrigerated; if freezing, wrap tightly and thaw slowly in the fridge before serving.