 Save to Pinterest
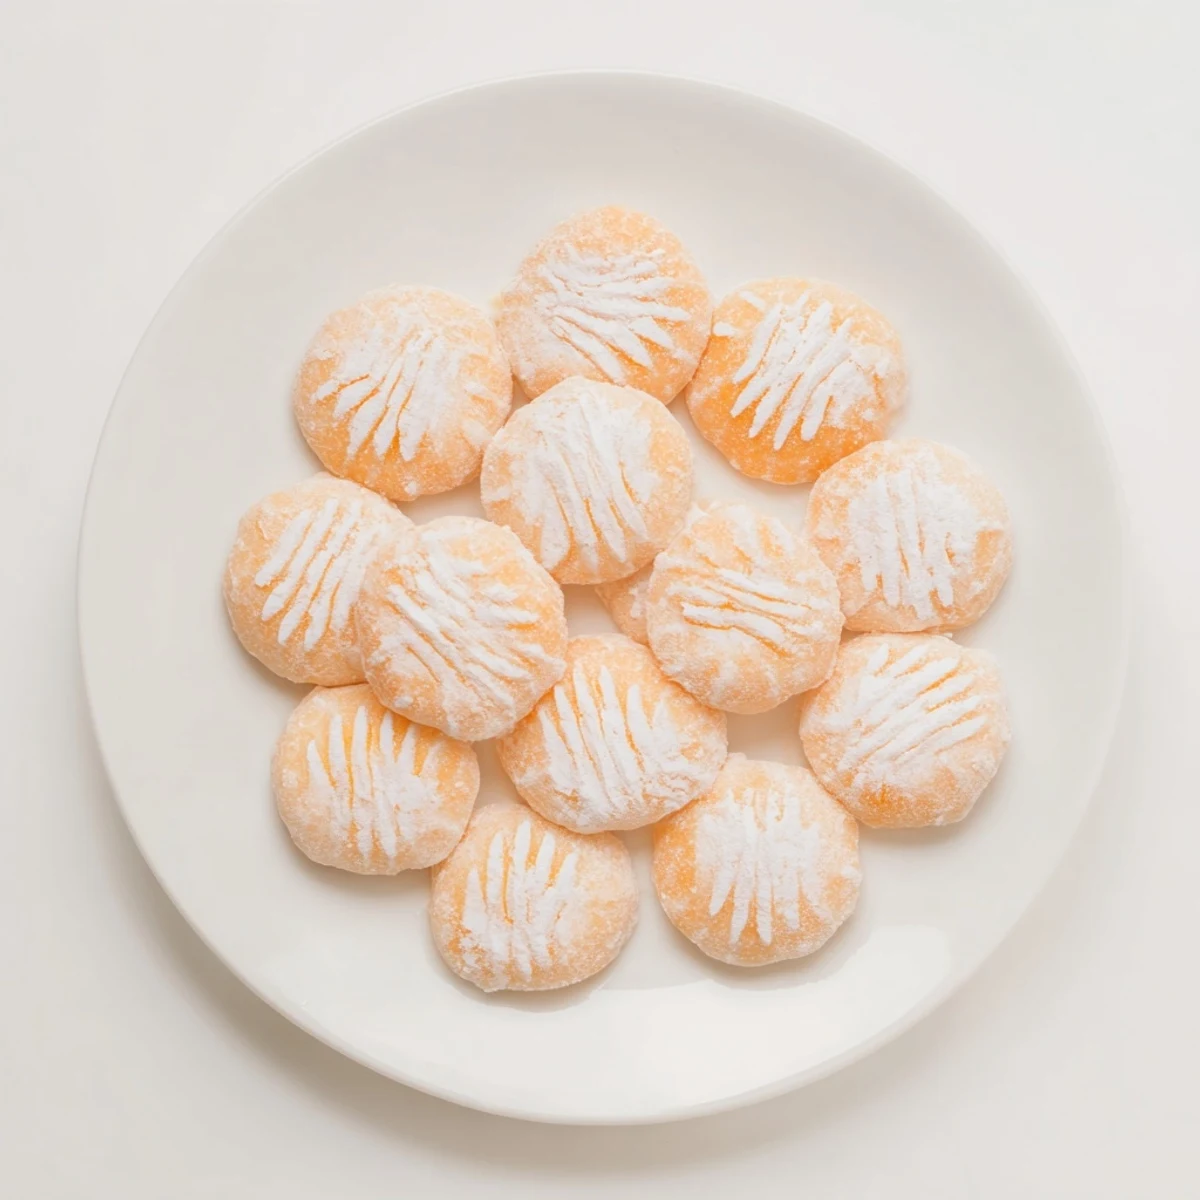
 These delicate mints combine softened cream cheese and butter with zesty orange extract for a smooth, melt-in-your-mouth experience. The dough comes together quickly, then requires chilling to firm up before serving.
Perfect for weddings, baby showers, or holiday gatherings, these colorful confections can be customized with food coloring to match any event theme. The naturally gluten-free treats yield about 60 pieces and store beautifully for up to a week.
For best results, use room-temperature ingredients and sift your powdered sugar to avoid lumps. Press a decorative pattern with a fork for an elegant finish.
My grandmother kept a crystal dish of these orange mints on her entry table year round. Something about that bright citrus flavor wrapped in creamy sweetness made every guest feel special. When I finally learned how simple they were to make, I understood why she always had them ready.
Last Christmas I made three batches for cookie boxes and my sister called to say they were the first thing gone from her sharing plate. Now they are non negotiable for my holiday baking lineup.
Ingredients
- Cream cheese: Make sure it is truly softened to room temperature or you will end up with lumpy mints
- Unsalted butter: Room temperature butter blends seamlessly into the cream cheese base
- Orange extract: Start with half a teaspoon then taste and add more if you love that bright citrus punch
- Powdered sugar: Sifting first prevents stubborn lumps that will never fully mix in
- Orange food coloring: A little goes a long way so add one drop at a time
- Extra powdered sugar: Keep some nearby for dusting your hands and work surface
Instructions
- Blend the base:
- Beat the softened cream cheese and butter together until completely smooth and no lumps remain
- Add flavor:
- Mix in the orange extract and food coloring until evenly distributed throughout the creamy mixture
- Build the dough:
- Gradually incorporate powdered sugar half a cup at a time until the dough holds together and feels like soft playdough
- Shape the mints:
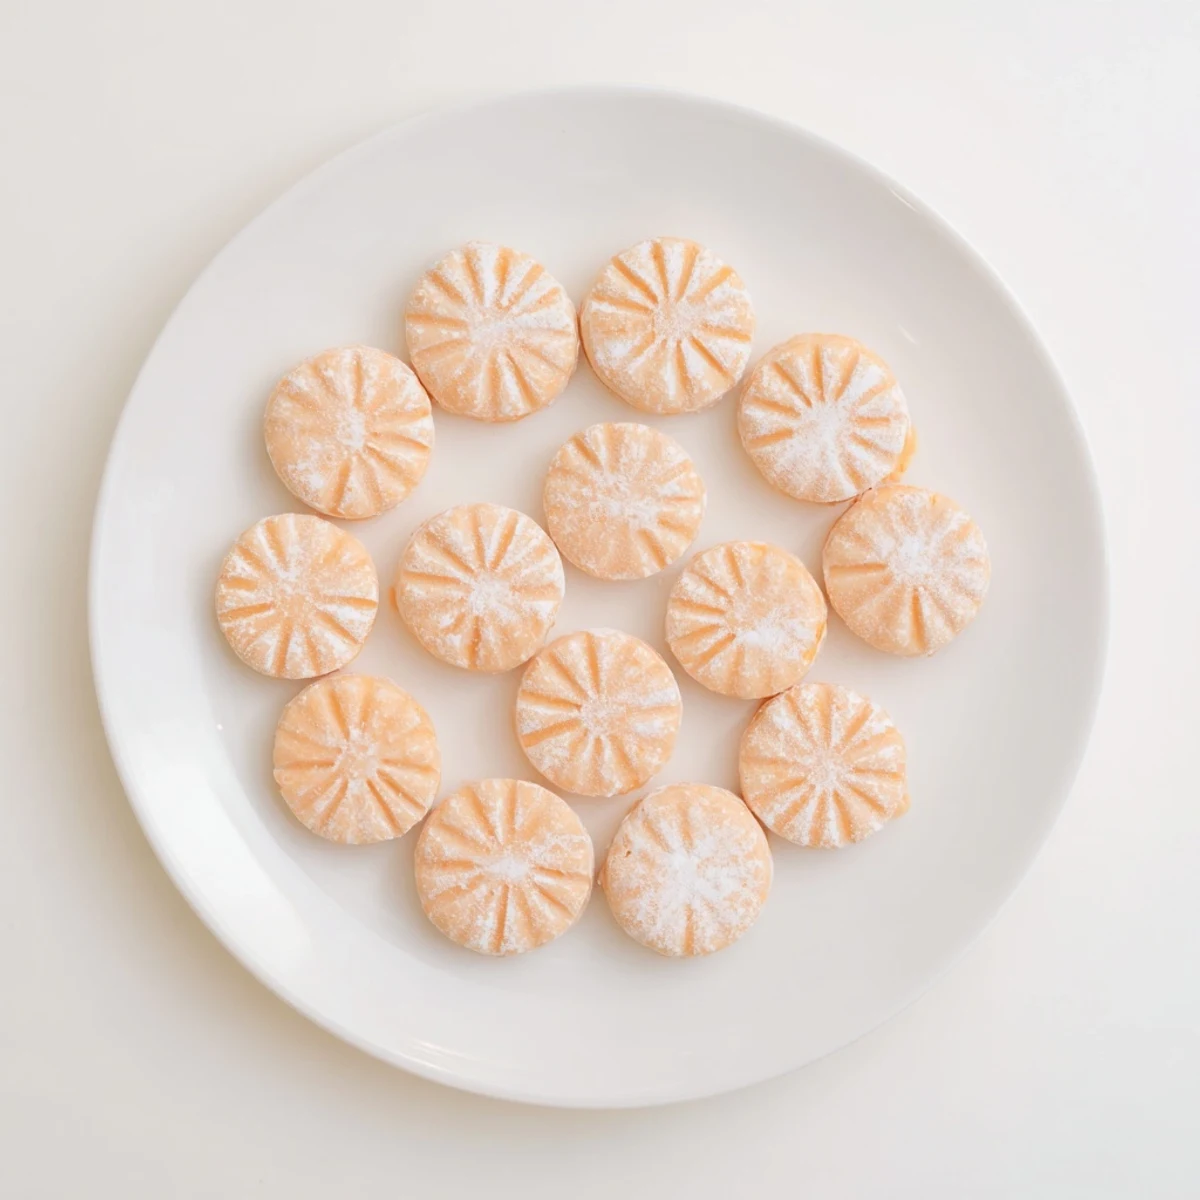
- Roll into small balls then flatten gently with a fork to create those classic ridged patterns
- Chill to set:
- Refrigerate for at least one hour so they firm up and hold their shape perfectly
 Save to Pinterest
 My niece helped me make a batch for her birthday party and took such pride in pressing little fork designs into each one. Seeing her carefully arranged plate of mints made me realize these are about more than just candy.
Making Them Your Own
You can swap lemon or lime extract for the orange and match the food coloring accordingly. Peppermint extract with green or red coloring works beautifully for Christmas too.
Getting The Perfect Texture
The key is stopping when the dough feels like soft cookie dough not adding sugar until it becomes stiff. Overly stiff mints lose that lovely melt in your mouth quality that makes them special.
Presentation Ideas
These mints look stunning in clear treat bags tied with ribbon or arranged in pretty candy dishes at parties. They also make excellent homemade gifts when layered in mason jars.
- Try dipping the edges in colored sugar for extra sparkle
- Use a small cookie stamp for professional looking designs
- Keep them chilled until serving time for the best texture
 Save to Pinterest
 These little orange mints have become my go to hostess gift and party contribution. Something about their bright flavor and pretty appearance just makes people smile.
Questions & Answers
- → How long do these need to chill?
-
The mints require at least 1 hour of chilling time to firm up properly. For the best texture, don't skip this step—it helps them hold their shape and develop that signature melt-in-your-mouth consistency.
- → Can I use different citrus flavors?
-
Absolutely. Swap the orange extract for lemon, lime, or even peppermint extract. You can also add freshly grated citrus zest along with the extract for a more intense, natural flavor.
- → Why is my dough too sticky?
-
If the dough feels sticky, gradually add more powdered sugar, about 1 tablespoon at a time, until it forms a smooth, workable dough. The humidity in your kitchen can affect how much sugar you'll need.
- → Do these need to be refrigerated?
-
Yes, because they contain cream cheese and butter. Store them in an airtight container in the refrigerator for up to 1 week. They can also be frozen for up to 2 months—just thaw in the fridge before serving.
- → Can I make these ahead for an event?
-
These are perfect for making ahead! Prepare them 2-3 days before your event and keep them refrigerated. If freezing, make them up to 2 months in advance and thaw overnight in the refrigerator.
- → What's the best way to get consistent sizing?
-
Use a small cookie scoop or melon baller to portion uniform balls before rolling. Aim for about 3/4-inch balls for classic mint-sized confections that look professional and elegant.