 Save to Pinterest
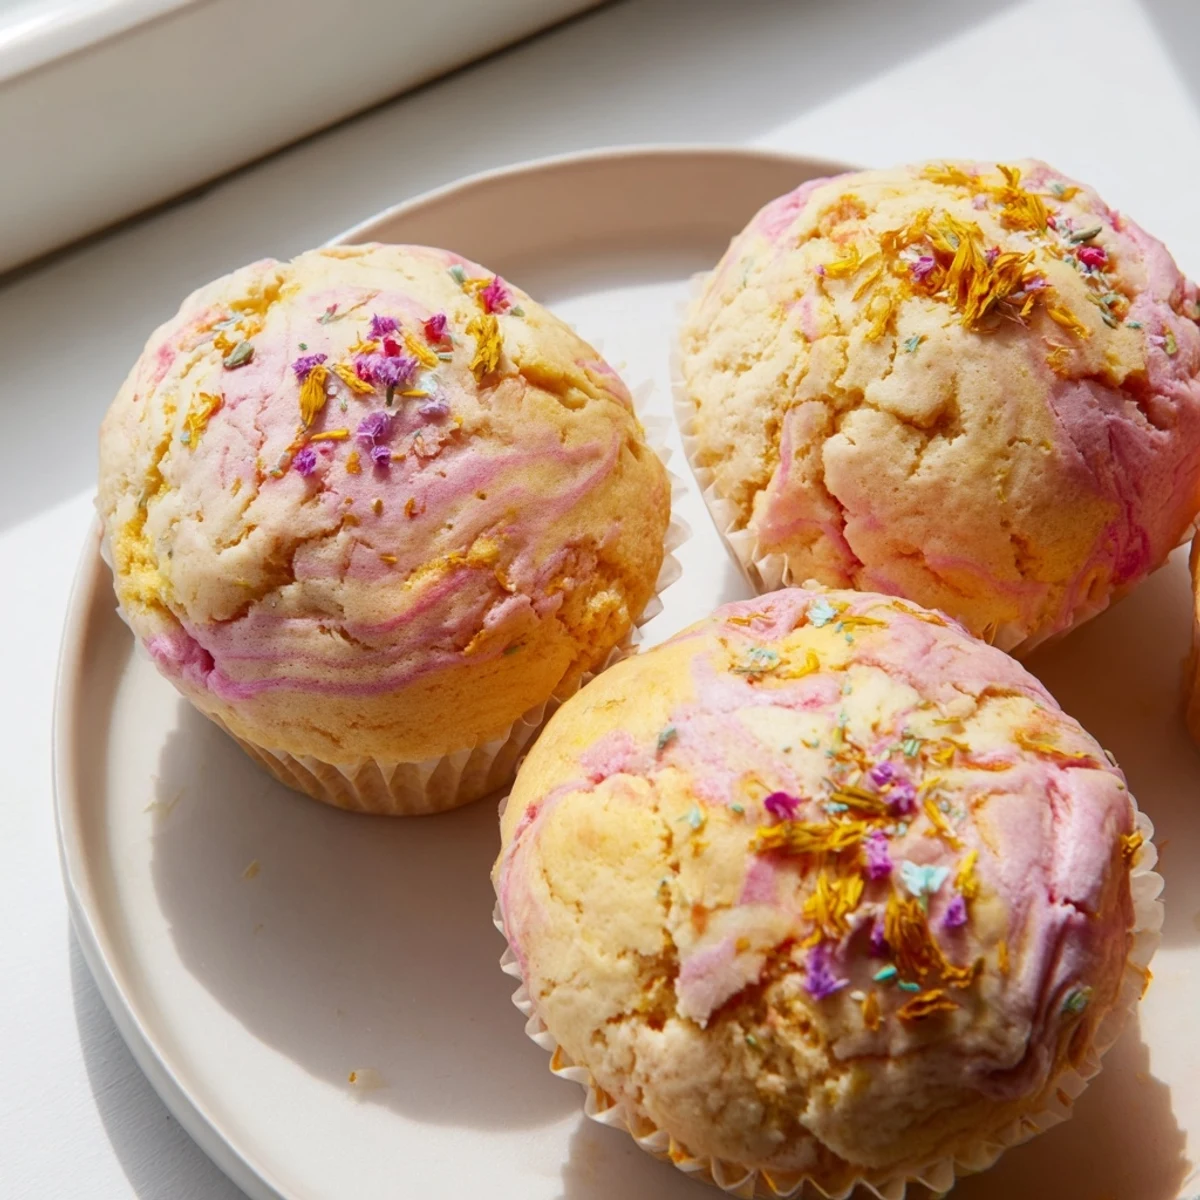
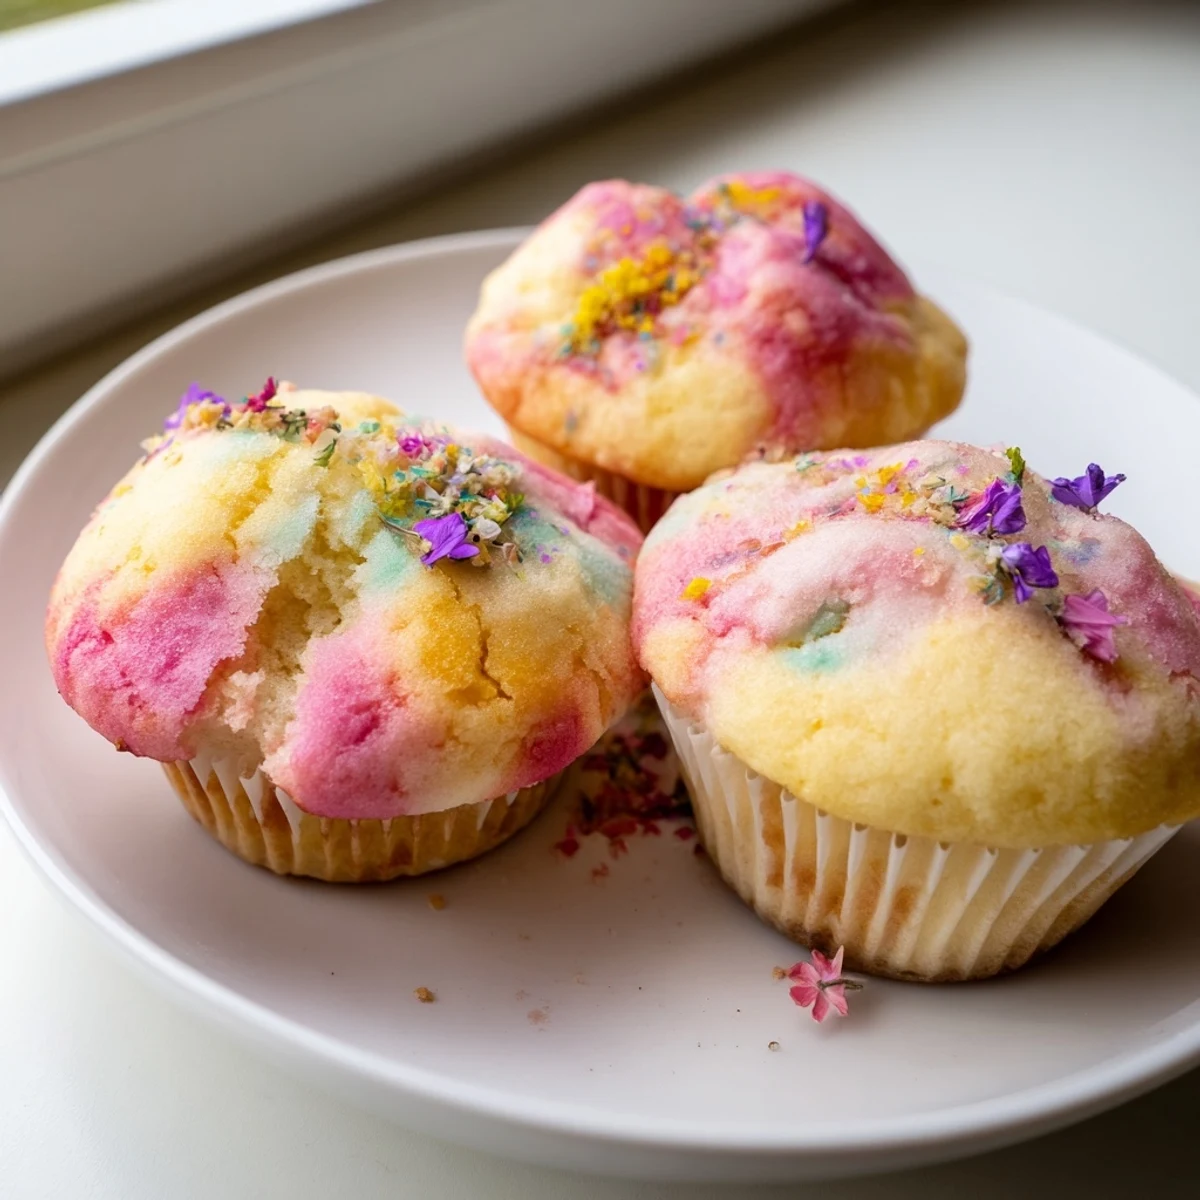
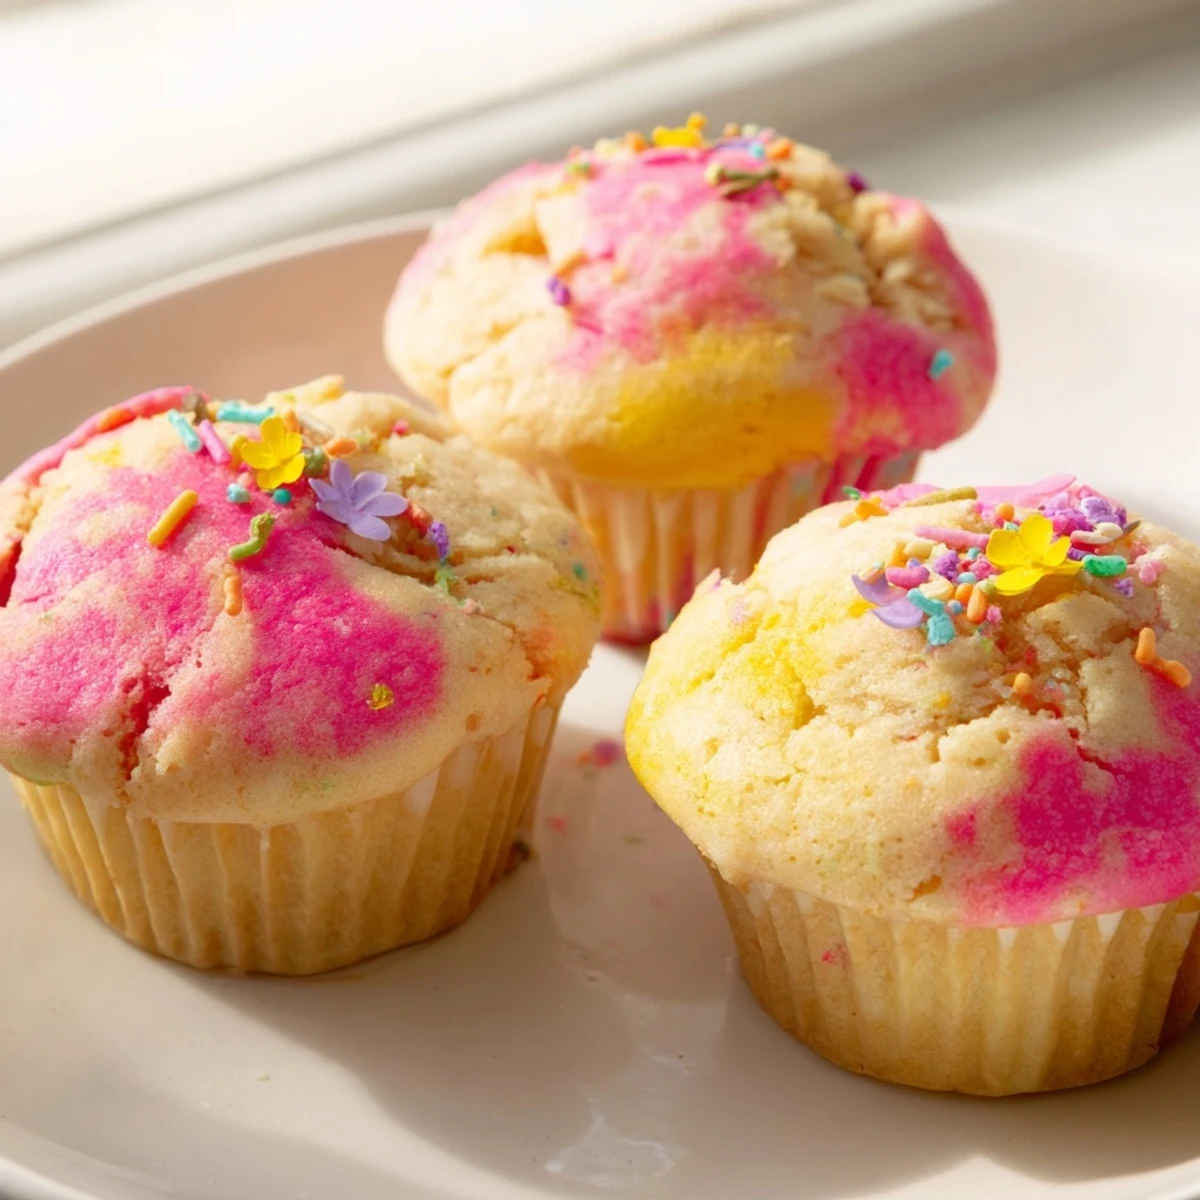
 These delicate steamed cupcakes feature a beautiful blooming top that forms naturally during the steaming process. The method yields exceptionally moist, fluffy treats without needing an oven - perfect for when you want quick homemade desserts. The batter comes together in minutes and steams in just 12-15 minutes, creating tender crumb and stunning visual appeal. Optional food coloring creates gorgeous layered or marbled effects that make these perfect for celebrations.
The rainy afternoon my sister's oven died unexpectedly became the happy accident that introduced me to steamed cupcakes. I was skeptical about how they'd turn out without that dry oven heat, but watching them rise through the steamy glass lid changed everything. Those little domes puffed up like tiny clouds, and when I lifted the lid, they had these gorgeous cracked tops that looked exactly like blooming flowers. Now they're my go-to when I want something impressive but don't want to heat up the whole kitchen.
I made these for my neighbor's daughter who couldn't have dairy and needed something special for her birthday. When she saw the pastel layers swirled together and those beautiful cracked tops, her eyes lit up like it was Christmas morning. The whole family gathered around the steamer watching them rise through the cloudy glass, and I've never felt more like a magician in my own kitchen.
Ingredients
- 1¾ cups all-purpose flour: This forms the tender structure of your cupcakes. I've found that measuring by weight (220g) gives the most consistent results.
- 1 tsp baking powder: Essential for that signature blooming rise. Fresh baking powder makes a noticeable difference in how high they puff.
- ½ tsp baking soda: Works with the baking powder to create extra lift in the steamy environment.
- ⅛ tsp salt: Just enough to enhance sweetness without making them taste salty.
- ¾ cup granulated sugar: This sweetens and helps create that beautiful cracked top as it caramelizes slightly in the steam.
- 2 large eggs room temperature: Room temperature eggs incorporate better creating a smoother batter. Cold eggs can cause the butter to seize.
- ½ cup whole milk: Whole milk yields the most tender crumb. I've tried low fat versions and they're slightly less fluffy.
- ⅓ cup melted unsalted butter: Butter gives superior flavor but neutral oil works too. Melt it completely so it distributes evenly.
- 1 tsp vanilla extract: Pure vanilla extract makes these taste bakery quality. I never skimp on vanilla.
Instructions
- Prepare your steamer setup:
- Fill your steamer with water and bring it to a gentle simmer. Line your cupcake molds with paper liners this prevents sticking and makes cleanup effortless.
- Whisk the dry ingredients together:
- In a medium bowl combine flour baking powder baking soda and salt. Whisking them now ensures even distribution throughout the batter.
- Create the wet mixture:
- Beat eggs and sugar in a large bowl until pale and thick. This takes about 2 minutes and incorporates air for extra lift. Stir in milk melted butter and vanilla until smooth.
- Combine wet and dry ingredients:
- Fold the dry mixture into the wet ingredients using a spatula. Stop as soon as flour streaks disappear overmixing makes tough cupcakes.
- Add color if desired:
- Divide batter and fold in food coloring for the blooming effect. Layer different colors in the molds for a surprise inside or swirl gently for marbling.
- Fill your cupcake molds:
- Spoon batter into prepared liners filling each about three quarters full. This allows room for rising without overflow during steaming.
- Steam with the cloth trick:
- Place molds in steamer leaving space between them for steam circulation. Cover the lid with a clean cloth this catches condensation so it doesn't drip onto your cupcakes.
- Steam until perfectly done:
- Cook over medium heat for 12 to 15 minutes. The tops should crack beautifully and a toothpick inserted in the center comes out clean.
- Cool and decorate:
- Let cupcakes rest in the molds for 5 minutes before removing. Decorate with sprinkles edible flowers or chocolate chips while slightly warm so they stick.
 Save to Pinterest
 My daughter now asks for these every Sunday afternoon. We stand by the steamer together watching through the fogged glass as the tops slowly crack open like little flowers. It's become our special tradition simple sweet and completely oven free.
The Secret Behind The Blooming Effect
That beautiful cracked top happens because steam creates an incredibly moist environment. As the cupcakes cook the structure sets quickly on the outside while the inside continues expanding. This pressure pushes through the center creating those gorgeous splits that look like petals unfurling. The higher the protein content in your flour the more pronounced these blooms become.
Flavor Variations Worth Trying
I've experimented extensively with different flavor combinations and some have become absolute staples. Citrus zest added to the batter creates bright refreshing cupcakes that feel lighter. A tablespoon of cocoa powder mixed into the dry ingredients makes chocolate lovers swoon. Coconut milk swapped for regular milk gives subtle tropical notes that pair perfectly with mango or passion fruit decorations on top.
Storage And Make Ahead Tips
These steam beautifully in the morning and stay perfectly moist until afternoon tea. Store them in an airtight container at room temperature for up to three days. The texture actually improves slightly on day two as flavors meld together. For longer storage freeze undecorated cupcakes for up to two months and thaw at room temperature before adding your finishing touches.
- Place a piece of bread in the storage container to keep them extra moist
- Refrigerate decorated cupcakes if you've used perishable toppings
- Steam frozen cupcakes for 2 minutes to refresh them before serving
 Save to Pinterest
 These little cupcakes have saved more dinner parties and last minute birthday celebrations than I can count. There's something magical about watching them bloom through the steam knowing something so beautiful requires so little effort.
Questions & Answers
- → What makes cupcakes bloom while steaming?
-
The blooming effect occurs naturally as steam rapidly expands the batter, causing the tops to crack open beautifully. This creates the signature flower-like appearance without any special techniques.
- → Can I make these without a traditional steamer?
-
Yes! You can create a makeshift steamer by placing a heat-proof plate on a trivet inside a large pot with simmering water. Cover tightly with a lid wrapped in a kitchen towel to catch condensation.
- → How do I know when steamed cupcakes are done?
-
Insert a toothpick into the center - it should come out clean or with just a few moist crumbs. The tops should have bloomed and feel springy when lightly touched, typically after 12-15 minutes.
- → Why cover the steamer lid with a cloth?
-
The cloth prevents condensation from dripping onto the cupcakes during steaming. Water droplets would make the tops soggy and interfere with the beautiful blooming effect.
- → Can I prepare the batter ahead of time?
-
For best results, steam the batter immediately after mixing. The baking powder and baking soda start working right away, and waiting too long may reduce the blooming effect and fluffy texture.