 Save to Pinterest
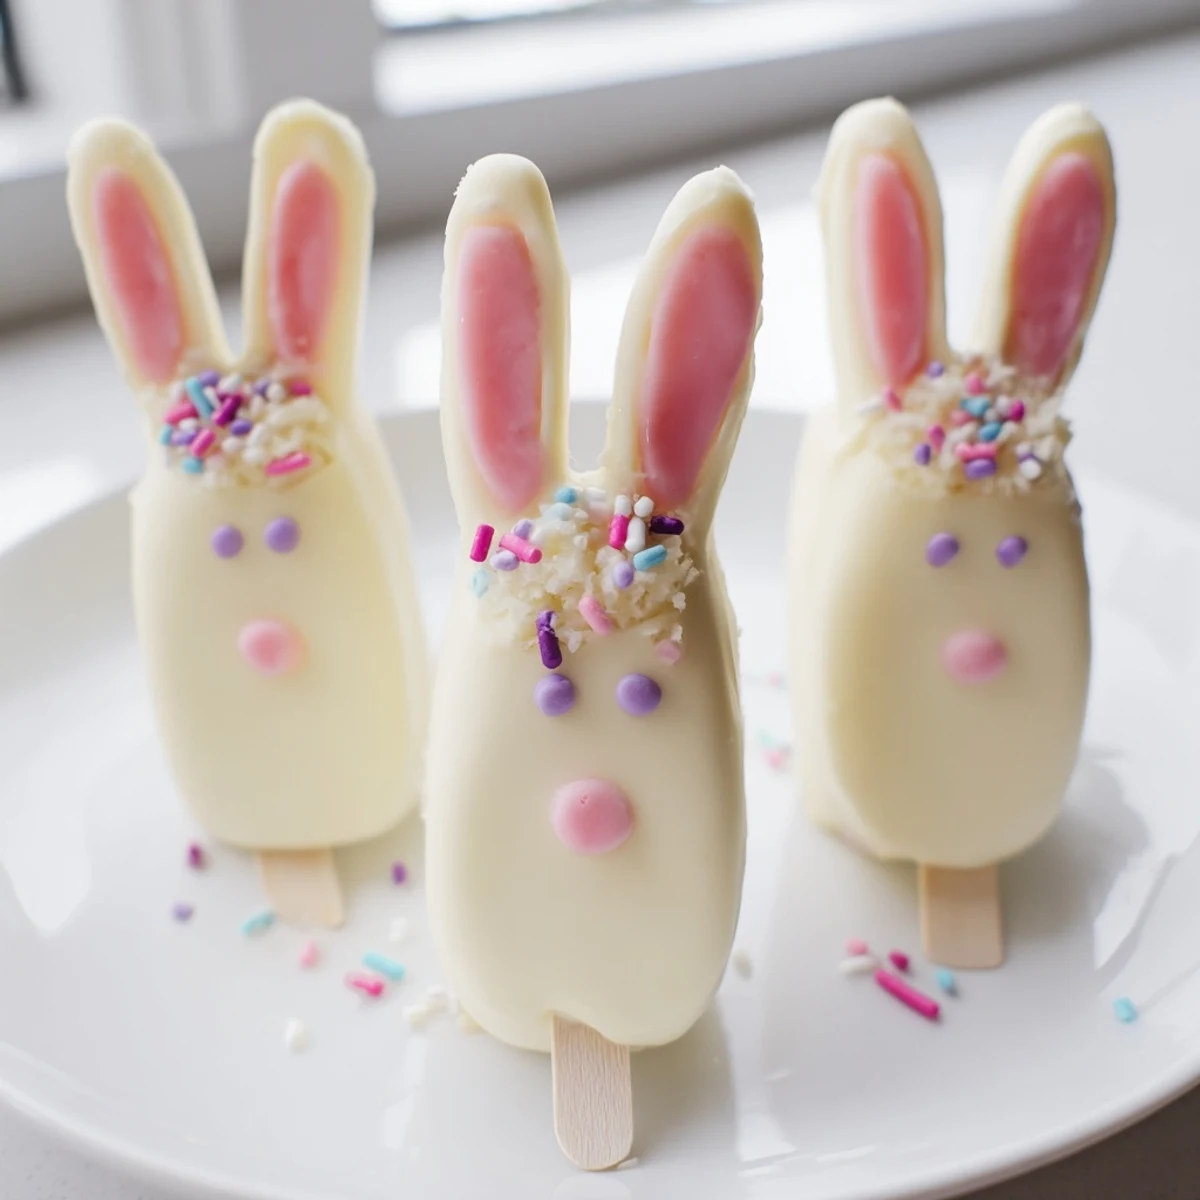
 These delightful bunny-shaped treats combine moist vanilla cake blended with cream cheese and butter, formed into adorable faces and coated in smooth white chocolate. The festive shape and customizable decorations make them perfect for Easter celebrations, spring parties, or anytime you want to add whimsy to dessert time.
Each treat features a fudgy cake interior that holds its shape beautifully on a stick, while the crisp white chocolate shell provides satisfying crunch. The decorating possibilities are endless—use candy eyes, fondant ears, sprinkles, or food coloring pens to create unique bunny personalities.
These handheld desserts are ideal for Easter baskets, dessert tables, or as a fun activity to make with children. The simple preparation comes together in just one hour, and you can customize the cake flavor inside or add swirls of color to the white chocolate coating for extra visual appeal.
The kitchen was already covered in flour when my niece suggested we make something extra special for Easter brunch. These bunny cakesicles became the highlight of the day, and honestly watching a group of kids carefully decorate their own bunny faces was worth every sprinkle that ended up on the floor.
Last spring I made these for a neighborhood egg hunt and the moms kept asking where I bought them. The truth is they are surprisingly simple, and the way the white chocolate cracks when you bite into them is pure magic.
Ingredients
- Vanilla cake crumbs: The foundation of your cakesicle. Use leftover cake or bake a simple vanilla sponge and let it cool completely before crumbling.
- Cream cheese: This binds everything together. Make sure it is softened to room temperature so it mixes smoothly without lumps.
- Unsalted butter: Adds richness and helps the cake mixture hold its shape when you form the bunny faces.
- Powdered sugar: A little sweetness to balance the cream cheese and butter mixture.
- Vanilla extract: Pure vanilla extract makes the cake flavor pop against the white chocolate coating.
- White chocolate: Use good quality white chocolate or candy melts for the smoothest dipping experience.
- Edible gel food coloring: Perfect for coloring bunny ears and noses without thinning the chocolate.
- Cakesicle sticks: These are thicker than regular cake pop sticks and hold the weight better.
- Decorations: Candy eyes, sprinkles, and fondant let everyone customize their own bunny face.
Instructions
- Mix the cake mixture:
- Combine cake crumbs, softened cream cheese, butter, powdered sugar, and vanilla extract in a medium bowl. Mix until you have a dough that holds together when squeezed.
- Shape bunny faces:
- Divide mixture into 8 portions and form flattened ovals with slightly pointed tops for bunny ears. Insert cakesicle sticks into the bottom center of each shape.
- Chill the cakesicles:
- Place shaped cakesicles on a parchment-lined tray and refrigerate for 20 to 30 minutes until firm to the touch.
- Melt the white chocolate:
- Melt white chocolate in a microwave-safe bowl in 30 second intervals, stirring between each heating until completely smooth.
- Coat each bunny:
- Dip each chilled cake pop into the melted chocolate, swirling gently to coat completely. Tap against the bowl edge to remove excess coating.
- Add decorations:
- While the chocolate is still soft, press candy eyes into place and add sprinkles for whiskers or noses before the coating sets.
- Finish with details:
- Let cakesicles set at room temperature for about 30 minutes or refrigerate briefly for faster setting. Use food coloring pens for final touches like bunny mouths or ear details.
 Save to Pinterest
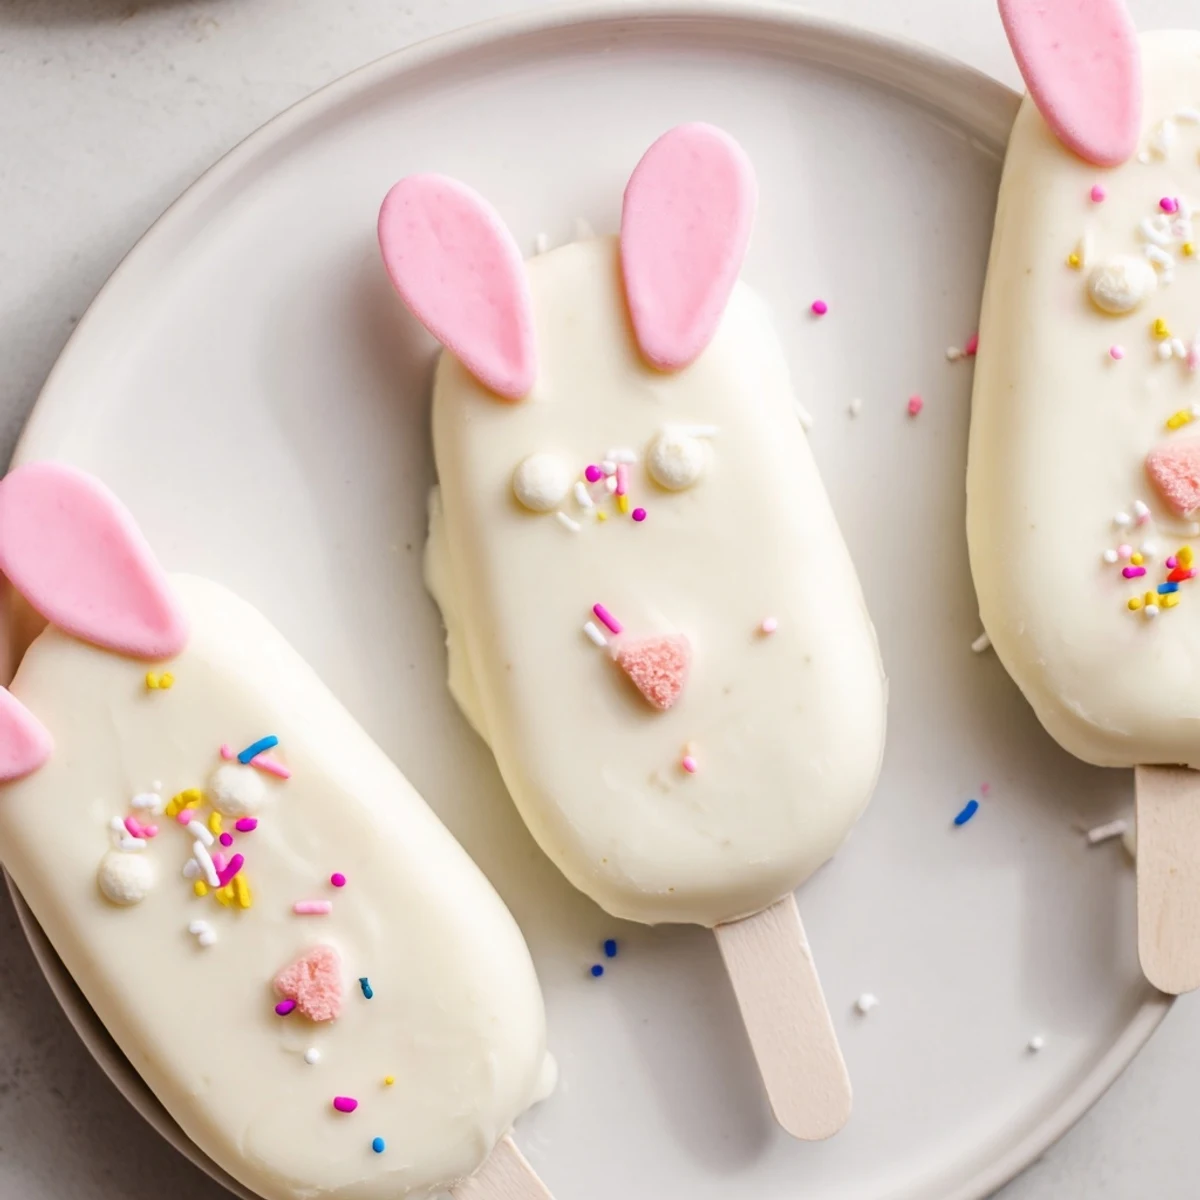
 My friend Lisa brought these to our Easter potluck and they disappeared in minutes. The kids were so proud of their bunny creations that they insisted on taking them home in goody bags instead of eating them there.
Making Them Ahead
You can prepare the cake mixture and shape the bunny faces up to two days in advance. Keep them covered in the refrigerator until you are ready to dip and decorate. This makes party prep so much easier.
Decoration Ideas
Beyond the classic candy eyes, try using pink sprinkles for noses and tiny heart-shaped confetti for cheeks. Fondant rolled thin and cut into ear shapes adds a professional touch while staying completely edible.
Storage And Serving
Store finished cakesicles in an airtight container in the refrigerator for up to three days. Let them come to room temperature for about 10 minutes before serving so the white chocolate coating is perfect.
- Stand them upright in a jar filled with sugar or Easter grass for serving
- Wrap individually in clear bags tied with pastel ribbons for party favors
- Keep chilled until party time to prevent the chocolate from softening
 Save to Pinterest
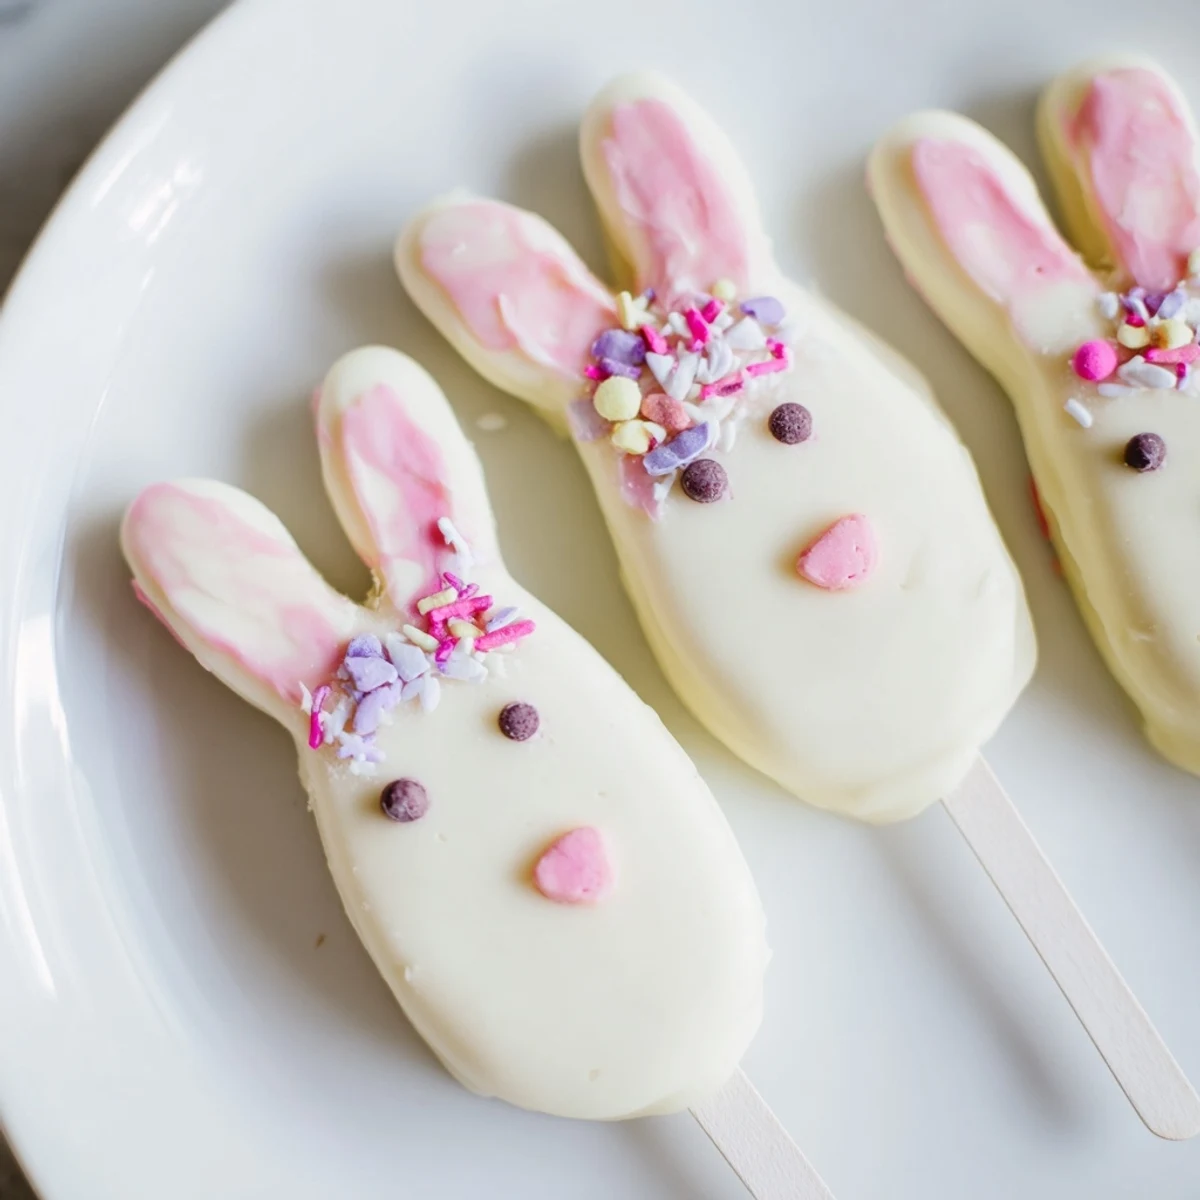
 These bunny cakesicles bring such joy to Easter celebrations. Watching faces light up when they see the dessert table is exactly why I love making them year after year.
Questions & Answers
- → How far ahead can I make these bunny treats?
-
You can prepare these up to 3 days in advance when stored properly in an airtight container in the refrigerator. The white chocolate coating helps keep the cake interior fresh. For best results, add delicate decorations like fondant ears or candy features closer to serving time to prevent softening or moisture absorption.
- → What other cake flavors work well inside?
-
While vanilla is classic and pairs beautifully with white chocolate, you can experiment with chocolate cake for a contrast, lemon for bright spring flavor, or even red velvet for visual appeal. Just ensure your cake crumbs are finely crumbled and mixed thoroughly with the binding ingredients so the shapes hold together properly when dipped.
- → Do I need a special mold to make these?
-
A cakesicle mold is helpful for achieving uniform shapes, but it's not essential. You can hand-shape the cake mixture into flattened ovals or bunny faces using your hands or a small cookie cutter. The key is working with the mixture when it's slightly chilled, as it holds its shape better and prevents sticking to your hands or work surface.
- → Why did my white chocolate coating crack?
-
Cracking typically occurs when the temperature difference between the chilled cake center and warm chocolate is too extreme. Let your shaped cake pops sit at room temperature for 5-10 minutes before dipping. Also ensure your chocolate isn't too hot—ideally it should be barely warm to the touch, around 90°F for proper coating consistency and smooth finish.
- → Can I freeze these for later?
-
Yes, you can freeze undecorated, coated treats for up to 1 month. Wrap each individually in plastic wrap, then place in a freezer-safe container. Thaw overnight in the refrigerator before adding final decorations. Avoid freezing treats with moisture-sensitive decorations like candy eyes or sprinkles, as condensation can make them dissolve or become sticky.
- → What's the best way to melt white chocolate for coating?
-
Melt in short 30-second bursts in the microwave, stirring thoroughly between each interval. White chocolate is more delicate than dark chocolate and can seize or become grainy if overheated. You want it smooth and fluid but not hot. If it's too thick for easy dipping, add a teaspoon of coconut oil or vegetable shortening to thin it slightly without affecting the flavor.