 Save to Pinterest
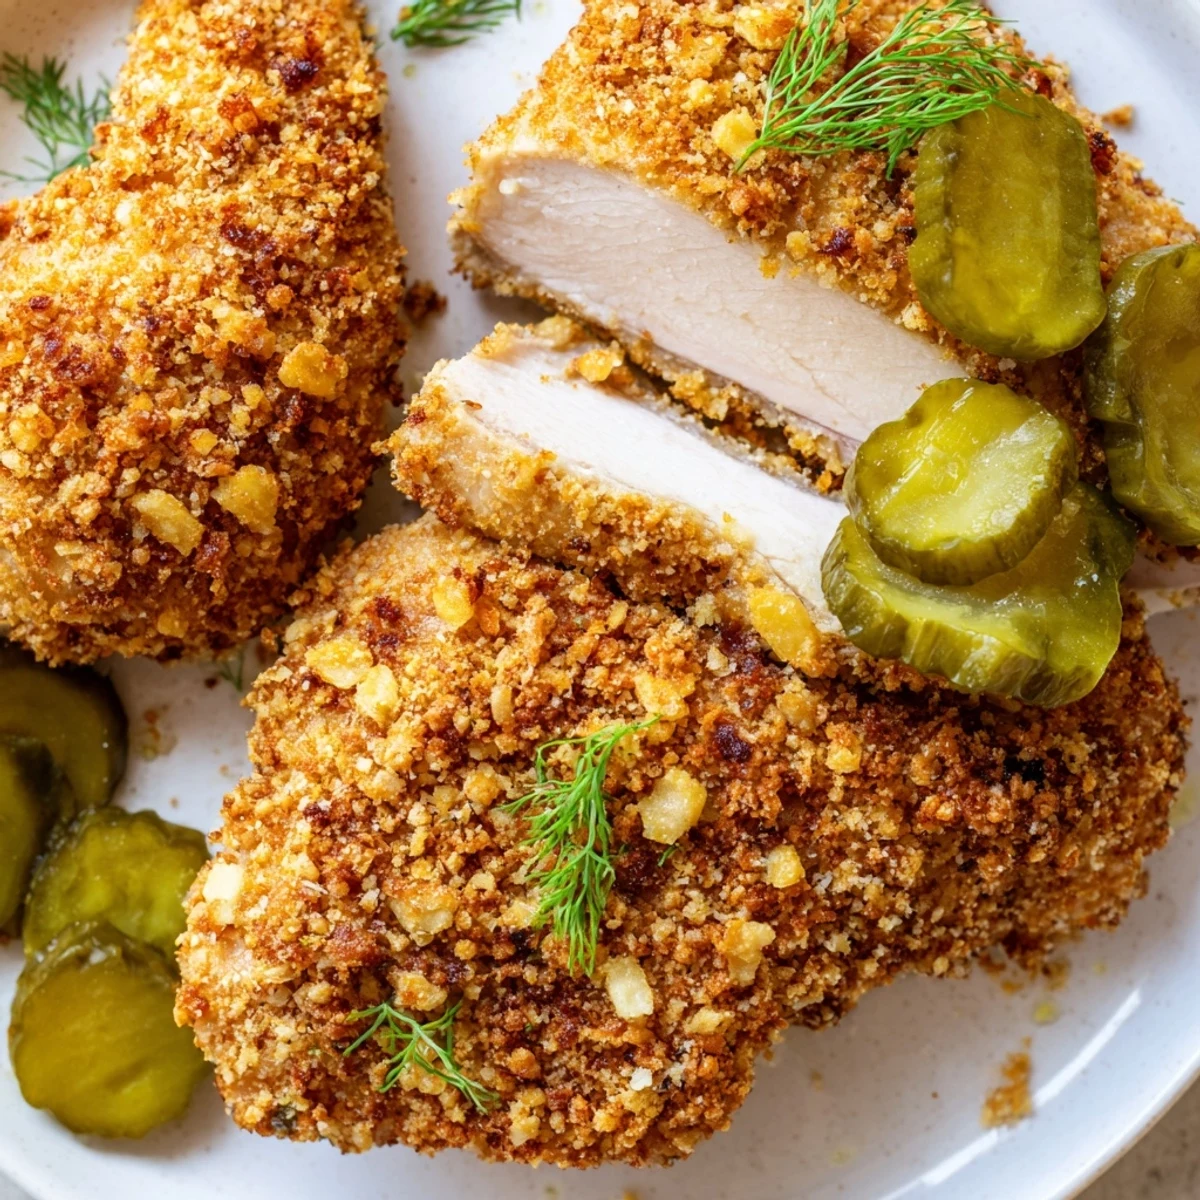
 Marinate chicken in dill pickle juice with chopped pickles and garlic powder for 1-12 hours to infuse tang. Dredge pieces in seasoned flour and panko, double-dipping through an egg wash for a sturdy, crispy crust. Fry in 1/2 inch vegetable oil, 4-6 minutes per side, until 165 F/74 C and golden; transfer to a rack to drain. Serve hot with extra pickles, fresh dill, or sides like coleslaw; swap gluten-free crumbs as needed.
The first time I fried up this crispy dill pickle chicken, my kitchen was overtaken by the bracing aroma of tangy brine meeting hot oil—a scent so sharp it made me grin. I didn't grow up with pickles in my chicken, but after raiding the pickle jar one rainy Saturday, curiosity got the best of me. The crackle in the pan had my dog pacing expectantly at my heels, hoping for a fallen breadcrumb. I'd call it an improvised triumph for any pickle-lover with a skillet and a little nerve.
I brought this to a backyard cookout one humid July night, a move I only half-committed to until I saw a cousin swipe the last piece before dinner was even served. We laughed about the "pickle chicken caper" for weeks, and it's now requested each summer. It's become my go-to on nights when a regular roast just feels a bit too predictable. Sharing a platter piled high with golden-crisp chicken seems to bring everyone closer around the table.
Ingredients
- 4 boneless, skinless chicken thighs or breasts: Thighs stay extra juicy but breasts work beautifully if you prefer a leaner cut; try to pound them to an even thickness for perfect cooking.
- 1 cup dill pickle juice: Grab the juice from a jar of classic garlic dills—the brine both tenderizes and infuses a punch of flavor.
- 2 tablespoons chopped dill pickles: These bits add tiny bursts of pickle flavor; regular or spicy pickles both work depending on your mood.
- 1 teaspoon garlic powder: It melds into the marinade, giving subtle depth that plays well with the tanginess.
- 1 cup all-purpose flour: A dry base that promotes crunch—shake off excess so your breading isn't gummy.
- 1 cup panko breadcrumbs: These Japanese crumbs deliver the crispiest crust; don't be tempted to skip or substitute regular breadcrumbs.
- 1 teaspoon paprika: This adds color and a touch of smokiness to the crust.
- 1 teaspoon onion powder: It brings savory notes that enhance everything without overpowering.
- ½ teaspoon salt: Always season the breading—lightly, because the pickle brine is already salty.
- ½ teaspoon black pepper: Freshly cracked if you've got it, for the best aroma.
- 2 large eggs: Eggs bind the crust, so let them come to room temperature for easier coating.
- 2 tablespoons water: Thins out the eggs just enough to coat evenly.
- Vegetable oil for frying (about 1 cup): Aim for a neutral oil with a high smoke point; I use canola or sunflower.
Instructions
- Brine the chicken:
- Nestle the chicken into a resealable bag and pour over the pickle juice, chopped pickles, and garlic powder. Massage the bag gently, then refrigerate for at least an hour (overnight is magic for flavor).
- Mix the breading:
- Toss flour, panko, paprika, onion powder, salt, and black pepper together in a shallow bowl. It will look speckled and smell savory—try not to sneeze from the pepper.
- Whisk the egg wash:
- Beat eggs and water in another shallow bowl until well combined and a little frothy at the edges.
- Dry and prep the chicken:
- Pull the chicken from the marinade and gently pat dry with paper towels so the crust can stick; avoid scrubbing off all the pickle bits.
- Bread the chicken:
- First, press the chicken into the flour mixture, dip in the egg wash, and then press again in the flour mixture so you're not shy on crunch. I like to use one hand for wet ingredients and one for dry to stay less messy.
- Heat the oil:
- Pour about half an inch of oil into a large skillet and set over medium-high heat until a crumb sizzles instantly on contact—it should shimmer, not smoke.
- Fry in batches:
- Carefully lay in a few pieces at a time, letting them fry for 4-6 minutes each side—you'll hear that satisfying sizzle and see the crust turn deep golden. Flip only once and adjust the heat if browning too quickly.
- Drain and garnish:
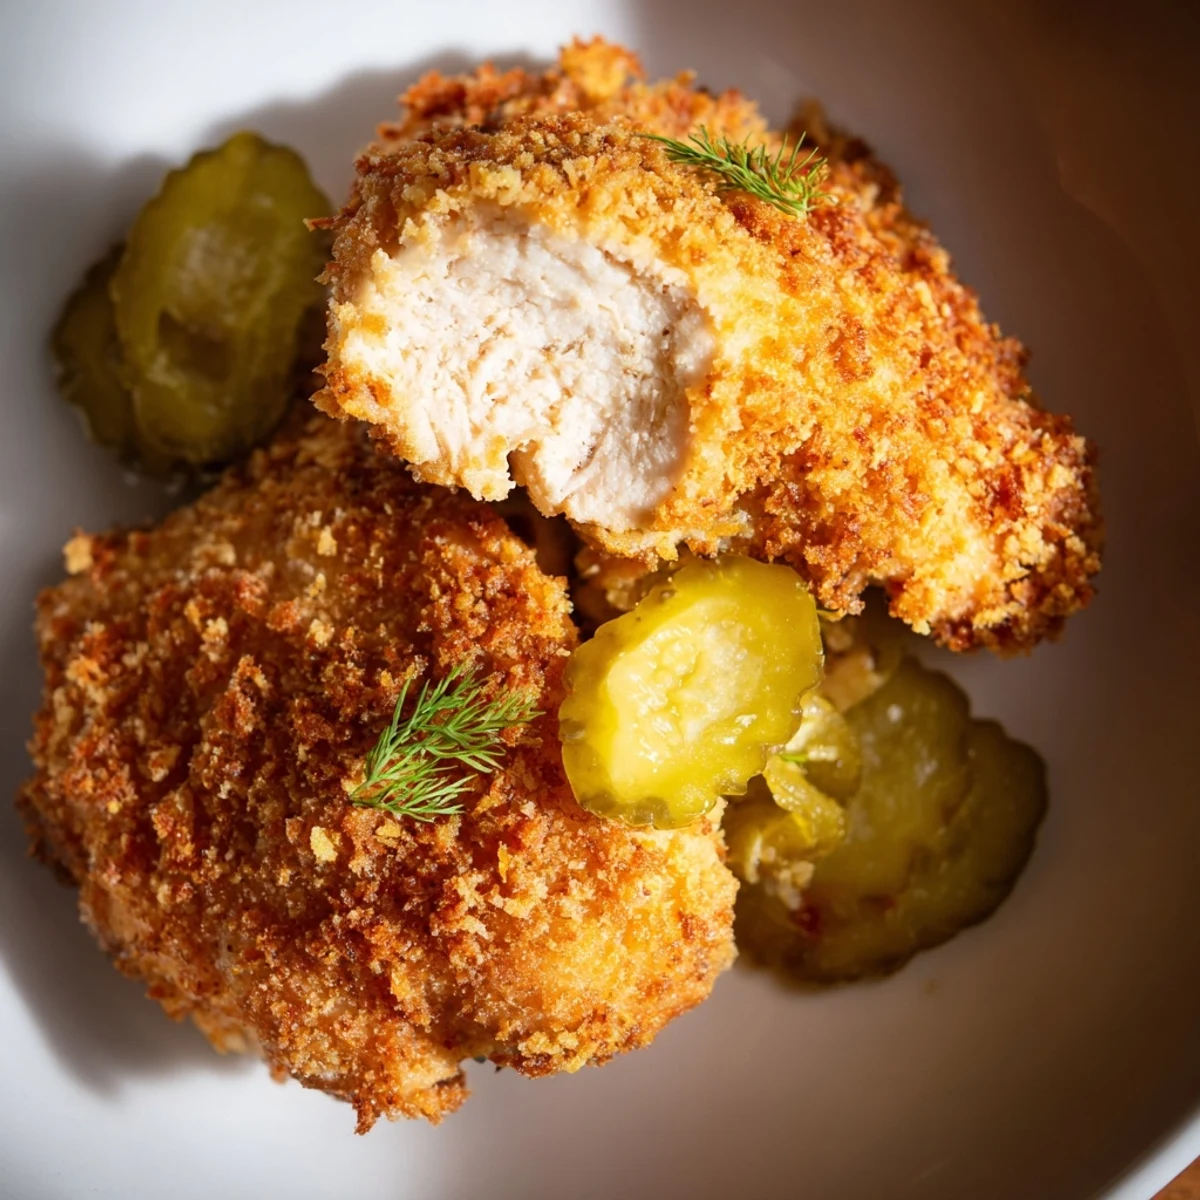
- Transfer the cooked chicken to a wire rack or paper towels to drain and stay crisp. Sprinkle with extra dill pickles or fresh dill if the mood strikes, and serve piping hot.
 Save to Pinterest
 There's something unforgettable about that platter of pickle-crusted chicken disappearing faster than any dish I've ever served—even my pickiest eater went back for seconds without a sideways glance. That first time, the conversation shifted from the weather to passionate debates about what else should be brined and fried. It's become a reminder that simple food can inspire surprising joy. Honestly, it's a little bit of fried alchemy in my own kitchen.
Getting the Perfect Crunch (and Avoiding Soggy Chicken)
Staying patient after frying is tough, but it pays off—the crust actually gets crispier if you let it rest for just a few minutes. If you stack the pieces right away, you'll steam the bottom and lose some of that satisfying snap. I learned quickly that a wire rack is my secret weapon. Even just five minutes makes all the difference in texture.
Fun Ways to Serve (Besides With Fries)
Once, I tucked these crispy chicken pieces into soft rolls with a little extra chopped pickle and zingy slaw, and they vanished in seconds. They're lively alongside potato salad or a big, crunchy coleslaw, and leftovers make an unforgettable sandwich. For a picnic, I bring them already cooled—they're delicious cold, too. For parties, slice them up and serve as finger food with toothpicks and a cup of spicy mayo for dipping.
Essential Gear and Easy Clean-Up Tricks
Having a few shallow bowls for your breading setup feels like a minor luxury—less jostling and far less mess. I use tongs for both frying and flipping to keep my fingers safe from splatters, and managing the oil is so much easier in a skillet with high sides. Lining the countertop with old newspaper or parchment under your rack makes clean-up painless, especially when cooking for a crowd.
- Double-check that you have enough oil before you start frying.
- Don't skip the wire rack if you want serious crunch.
- Wash up as you go—grease waits for no one.
 Save to Pinterest
 Here's to chicken that's anything but boring, and to the crispy, tangy surprises you can whip up with a jar of pickles. May your kitchen smell amazing, and your plate never be empty for long.
Questions & Answers
- → How long should I marinate the chicken?
-
Marinate for at least 1 hour for noticeable flavor; 4-12 hours yields deeper tang. Avoid exceeding 12 hours for very thin pieces to prevent texture breakdown.
- → Which cut of chicken works best?
-
Boneless, skinless thighs stay juicier under the brine and frying; breasts work fine if not over-marinated and are ideal for a leaner finish.
- → How do I keep the breading extra crispy?
-
Pat pieces dry before breading, press the panko firmly to adhere, fry in hot oil without crowding, and drain on a wire rack instead of paper to maintain crispness.
- → Can I bake instead of fry?
-
Yes: spray or brush the breaded chicken with oil and bake at 425°F (220°C) for 18-25 minutes, flipping halfway, until golden and cooked through; finish under the broiler for extra crisp.
- → How can I make this gluten-free or spicier?
-
Use gluten-free flour and breadcrumbs for a gluten-free version. Add 1/2 teaspoon cayenne or smoked paprika to the breading for a spicy kick.
- → What's the best way to reheat leftovers?
-
Reheat in a 375°F oven on a rack for 8-12 minutes to restore crispness, or use an air fryer at 350°F for 4-6 minutes; avoid the microwave to prevent sogginess.